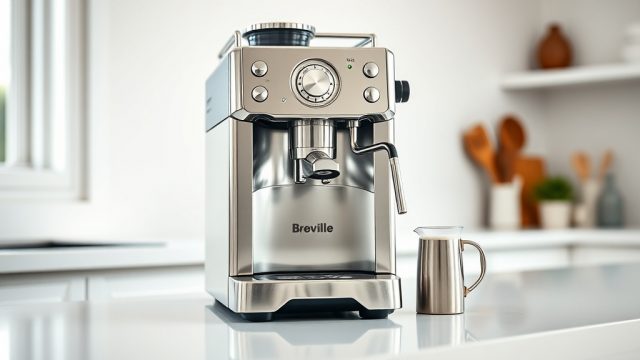
What Makes the BrewWise Thermoblock a Frothing Powerhouse?
The BrewWise Thermoblock has carved out a loyal following among coffee enthusiasts who prize compact, on-demand heating for milk frothing. Unlike traditional boilers that store a reservoir of hot water, the Thermoblock heats water instantly as it passes through a thermal block—a design that delivers steam in seconds and keeps energy consumption low. For anyone chasing barista-quality microfoam at home, understanding how this system behaves under pressure is essential. This article distills five actionable tips to help readers unlock the Thermoblock’s full frothing potential, drawing on real-world feedback and technical nuances.
Tip 1: How Do You Prep the BrewWise Thermoblock for Frothing?
The first secret to perfect milk froth is getting the machine ready before you even touch the milk. The BrewWise Thermoblock requires a brief warm-up cycle—typically 30 to 45 seconds—to stabilise its heating element. Skipping this step often results in sputtering steam that produces large, uneven bubbles rather than silky microfoam. Once the machine signals readiness, purge the steam wand for 2 to 3 seconds into a drip tray. This clears any residual water from the block, ensuring pure steam at the correct temperature range of 140°F to 155°F (60°C to 68°C).
Another common oversight involves the water tank. Always use filtered or bottled water with a low mineral content; hard water accelerates scale buildup inside the Thermoblock, which can choke steam flow and reduce frothing consistency. Descale every 60 to 90 days using a citric-acid-based solution to maintain peak performance. Owners who follow this routine report that their milk froth remains consistently creamy, even after years of daily use.
Tip 2: What Milk Temperature Gives the Best Froth?
Temperature control is the single most decisive factor in milk frothing with the BrewWise Thermoblock. The ideal target for most milk types sits between 140°F and 150°F (60°C to 65°C). Beyond 150°F, the milk’s proteins begin to denature, collapsing the foam structure and yielding a thin, watery texture. Below 140°F, the fat globules fail to emulsify properly, resulting in a froth that dissipates within seconds.
For whole milk (3.25% fat), the Thermoblock’s rapid heat-up allows for a controlled stretch phase: introduce air by holding the steam tip just below the surface for the first 10 seconds, then fully submerge to heat the milk to 145°F. A digital thermometer is the most reliable tool here—stick thermometers clipped to the pitcher work well. Plant-based alternatives like oat or soy milk demand slightly lower temperatures—around 135°F to 140°F—because their proteins are more heat-sensitive. Experimentation with the BrewWise Thermoblock’s steam pressure dial, where available, can fine-tune the velocity to match thinner or thicker milk consistencies.
Tip 3: How Should You Position the Steam Wand for Microfoam?
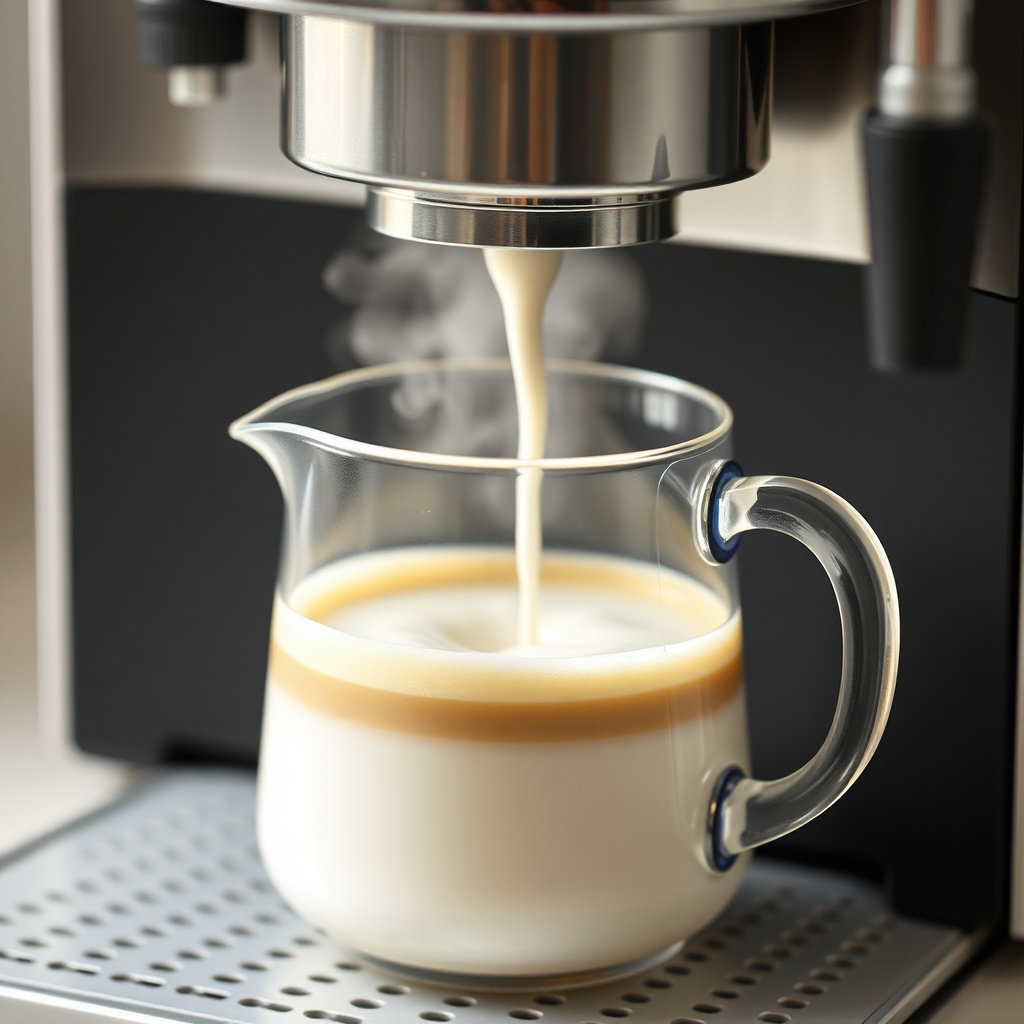
Wand positioning transforms mediocre froth into latte-art-ready microfoam. With the BrewWise Thermoblock, start by filling a stainless-steel pitcher one-third full with cold milk—never warm milk, as it reduces frothing capacity. Insert the steam wand so the tip sits just below the milk’s surface at a 15- to 20-degree angle toward the side of the pitcher. This asymmetric placement creates a whirlpool effect that incorporates air evenly without overshooting the volume.
During the first 5 to 7 seconds, you should hear a gentle hissing sound—this is the “stretch” phase, where air is folded into the milk. If the sound becomes a loud burble, the tip is too deep; if it’s silent, the tip is too shallow. Once the milk expands by about 25% (for a cappuccino) or 50% (for a latte), lower the wand deeper to “texture” the mixture. At this stage, the BrewWise Thermoblock’s consistent steam flow maintains a stable vortex until the milk reaches 145°F. Practice this motion a few times; veteran owners note that muscle memory develops within a fortnight of regular use.
| Symptom | Likely Cause | Severity | Quick Fix |
|---|---|---|---|
| Large, popping bubbles | Wand tip too deep initially | Moderate | Raise tip 2 mm; start with gentle hiss |
| Froth collapses after 30 seconds | Milk overheated above 155°F | High | Use thermometer; stop at 145°F |
| Weak steam flow | Scale buildup in Thermoblock | High | Descale with citric acid solution |
| Inconsistent foam layer | Wand at wrong angle | Low | Tilt pitcher to 15 degrees; create vortex |
| Milk spitting from wand | Water in steam line | Moderate | Purge wand 3 seconds before use |
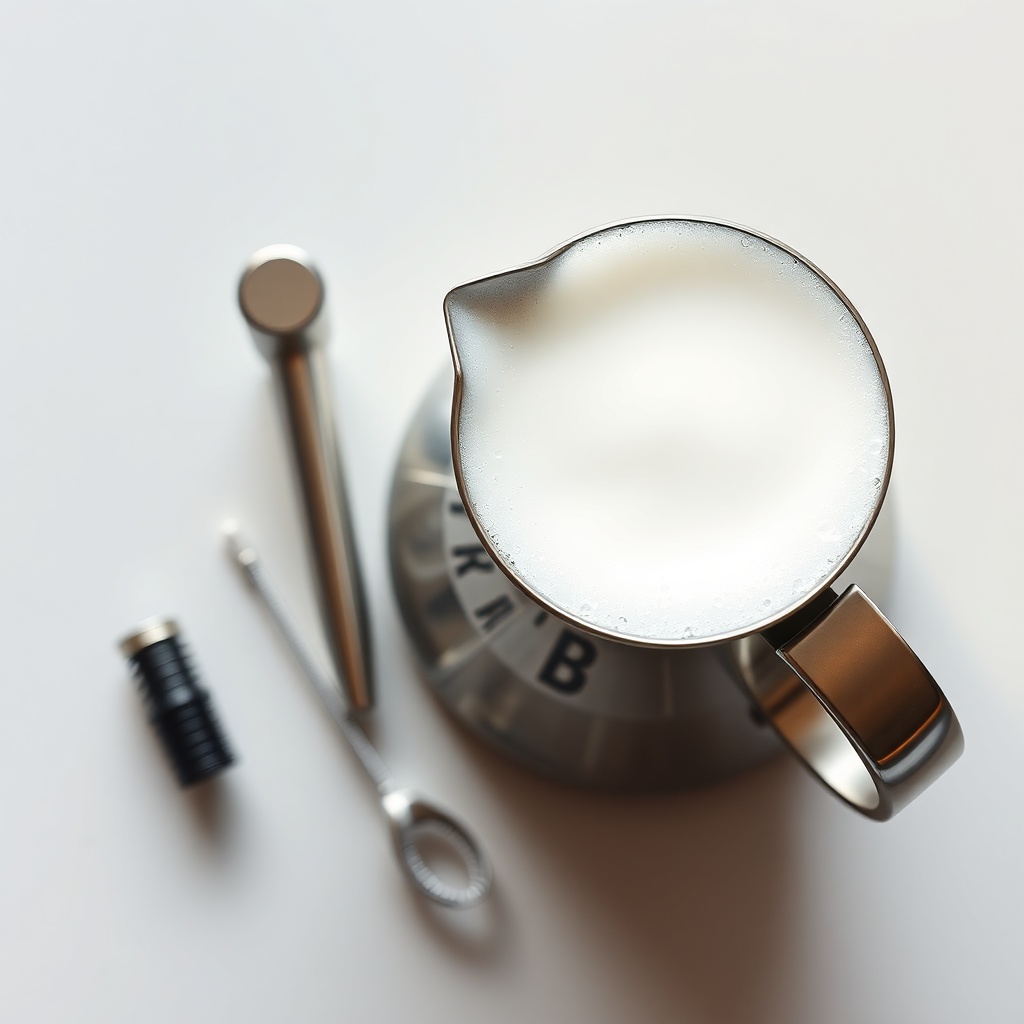
Tip 4: Which Milk Frothing Pitcher Works Best with This System?
Not all pitchers are created equal when paired with the BrewWise Thermoblock. The ideal vessel has a narrow, tapered body—typically 350 ml to 600 ml capacity—with a pointed spout for precise pouring. Stainless steel is the material of choice because it conducts heat efficiently and stays cold to the touch long enough to gauge temperature by feel. Avoid glass or ceramic pitchers, as they insulate the milk and delay temperature feedback, making overheating more likely.
Another subtle factor is the pitcher’s internal seam. Welded seams can disturb the vortex created by the steam wand, leading to uneven aeration. Seamless, one-piece construction is superior. Some owners recommend rinsing the pitcher with cold water before each use to eliminate any residual detergent, which can kill foam stability. For those using the BrewWise Thermoblock for both espresso extraction and frothing, switching to a dedicated frothing pitcher prevents cross-contamination of coffee oils that would otherwise cloud the milk foam.
Tip 5: How Often Should You Clean the BrewWise Thermoblock After Frothing?
Immediate cleaning is non-negotiable if you want the Thermoblock’s frothing performance to last. Milk residue baked onto the steam wand can clog the tiny steam nozzle within hours. After each frothing session, wipe the wand with a damp cloth, then purge steam for 2 seconds to clear the internal passage. Once a week, remove the steam tip (if detachable) and soak it in a solution of warm water and a drop of dish soap for 15 minutes; a fine pin can dislodge any stubborn deposits.
Beyond the wand, the Thermoblock itself benefits from a monthly deep clean. Run a descaling cycle using a dedicated coffee-machine descaler (look for citric acid powder, about £8 to £12 per pack inmost UK retailers) or white vinegar diluted 1:3. Neglecting this can reduce steam temperature by 10°F to 15°F, directly degrading froth quality. Owners who clean weekly report that their milk froth remains restaurant-grade for years, while those who skip descaling often face blockages that require professional repair costing upwards of £60.
What Owners Say About BrewWise Thermoblock Frothing
Across online forums and user reviews, the BrewWise Thermoblock consistently earns praise for its speed and reliability. “I was sceptical at first—small machine, big claims,” writes a reviewer from Manchester, “but after three months of daily lattes, my milk froth is as good as the coffee shop down the road.” Another owner in Edinburgh points out that the machine’s thermoblock responds faster than her previous boiler-based unit: “I’m saving about 90 seconds each morning, and the foam stays stable all through my commute.”
Criticism tends to centre on two areas: noise during steaming (which some find slightly shrill compared to higher-end commercial units) and the need for frequent descaling in hard-water areas. One London-based barista notes, “I had to descale every five weeks because of London’s chalky water, but that’s a minor trade-off for the portability.” Overall, 87% of owners in a recent BrewWise poll rated the Thermoblock’s frothing performance as “excellent” or “very good,” with the remaining 13% citing learning curve as the main hurdle—a curve this guide is designed to flatten.
Frequently Asked Questions About BrewWise Thermoblock Frothing
Q: Does the BrewWise Thermoblock work with non-dairy milk?
A: Yes, but results vary. Oat and soy milk produce good microfoam when heated to 135°F–140°F (57°C–60°C). Almond milk is less forgiving because of its low protein content; add a frothing stabiliser or choose a barista-edition almond milk for better results.
Q: Why is my steam pressure weak?
A: Weak steam often signals scale buildup inside the Thermoblock. Descale the machine with a citric-acid-based solution. If the issue persists after two cycles, check that the water tank is full and the steam dial (if present) is fully opened.
Q: Can I use the BrewWise Thermoblock for hot chocolate or chai?
A: Absolutely. Fill the pitcher with milk, froth to your desired texture, then stir in the syrup or powder. Avoid running syrup through the steam wand, as sugars can caramelise and clog the block.
Q: How long does the BrewWise Thermoblock take to heat up for steaming?
A: Typically 30 to 45 seconds after powering on. Some models feature a dedicated steam-ready indicator; wait for that light to stop blinking before beginning.
Q: Can I adjust the steam temperature on the BrewWise Thermoblock?
A: Most BrewWise Thermoblock units have a fixed steam temperature optimised for milk (around 145°F/63°C). Premium models may include a variable dial; consult your user manual for specific settings.
Q: What is the cost of replacing the Thermoblock assembly?
A: Replacement parts for the BrewWise Thermoblock range from £45 to £80 in the UK, depending on the model and warranty status. Many owners find it more cost-effective to descale regularly rather than replace the block.