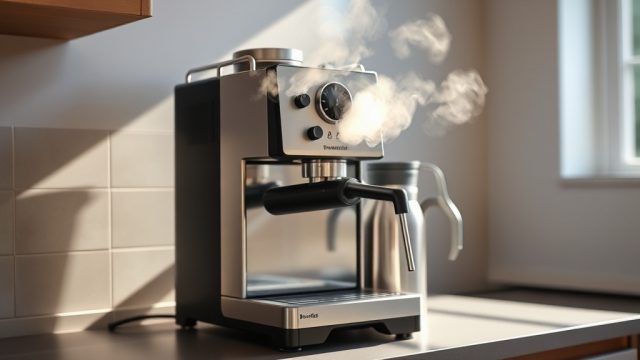
Why Does the BrewWise Thermoblock Thermostat Fail and What Are the Signs?
The thermoblock in a BrewWise coffee or espresso machine is the core heating element that rapidly brings water to the optimal brewing temperature. When the thermostat within this block fails, the machine can no longer maintain consistent heat, leading to under-extracted coffee, erratic steam pressure, or a complete failure to heat. Early diagnosis is critical because a failing thermostat can strain the entire system, potentially causing damage to the pump or the thermoblock itself if left unchecked.
Common signs of thermostat failure include the machine taking significantly longer to heat up, water temperature fluctuating wildly during a shot (observable by inconsistent flow), or the machine cycling on and off repeatedly without reaching a stable state. If the machine displays a flashing warning light or refuses to turn on after a normal cooldown cycle, the thermostat may have tripped permanently or gone open-circuit.
How Do I Test the BrewWise Thermoblock Thermostat for a Short or Open Circuit?
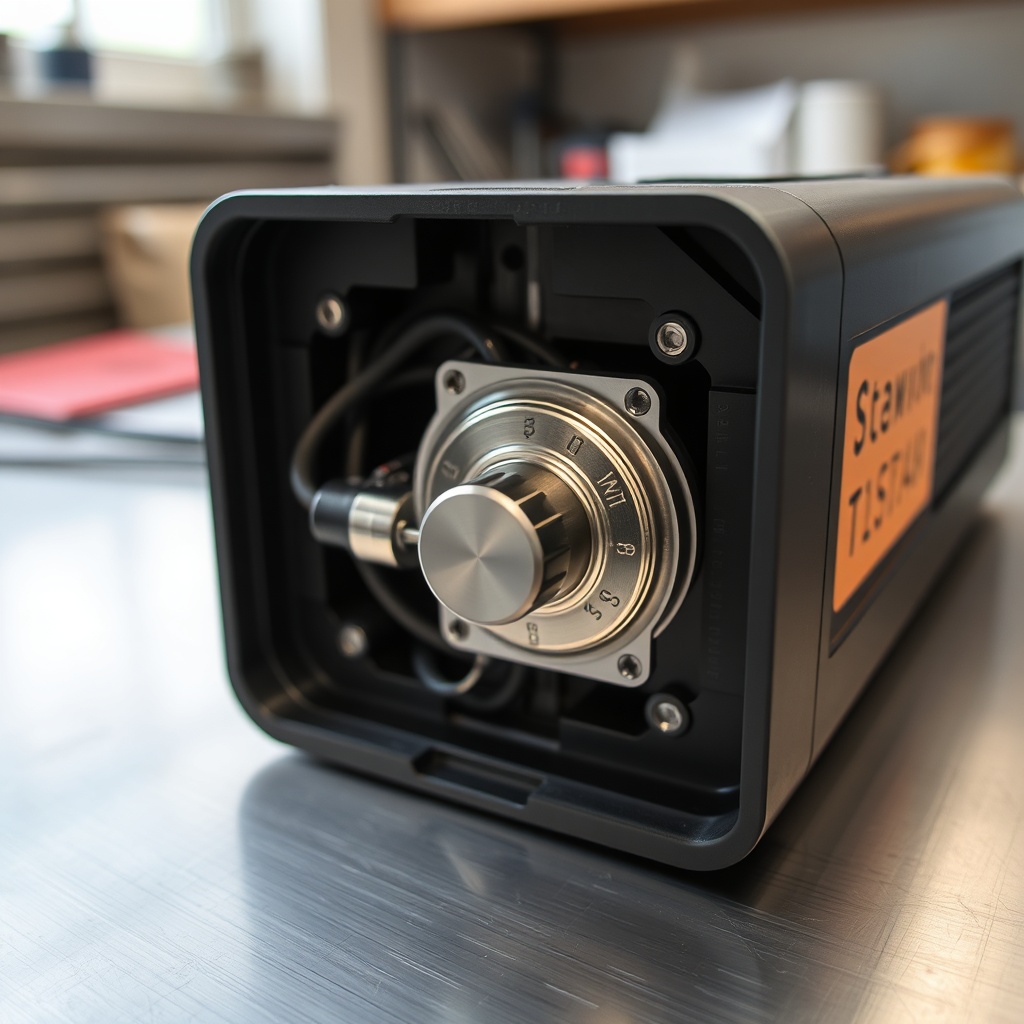
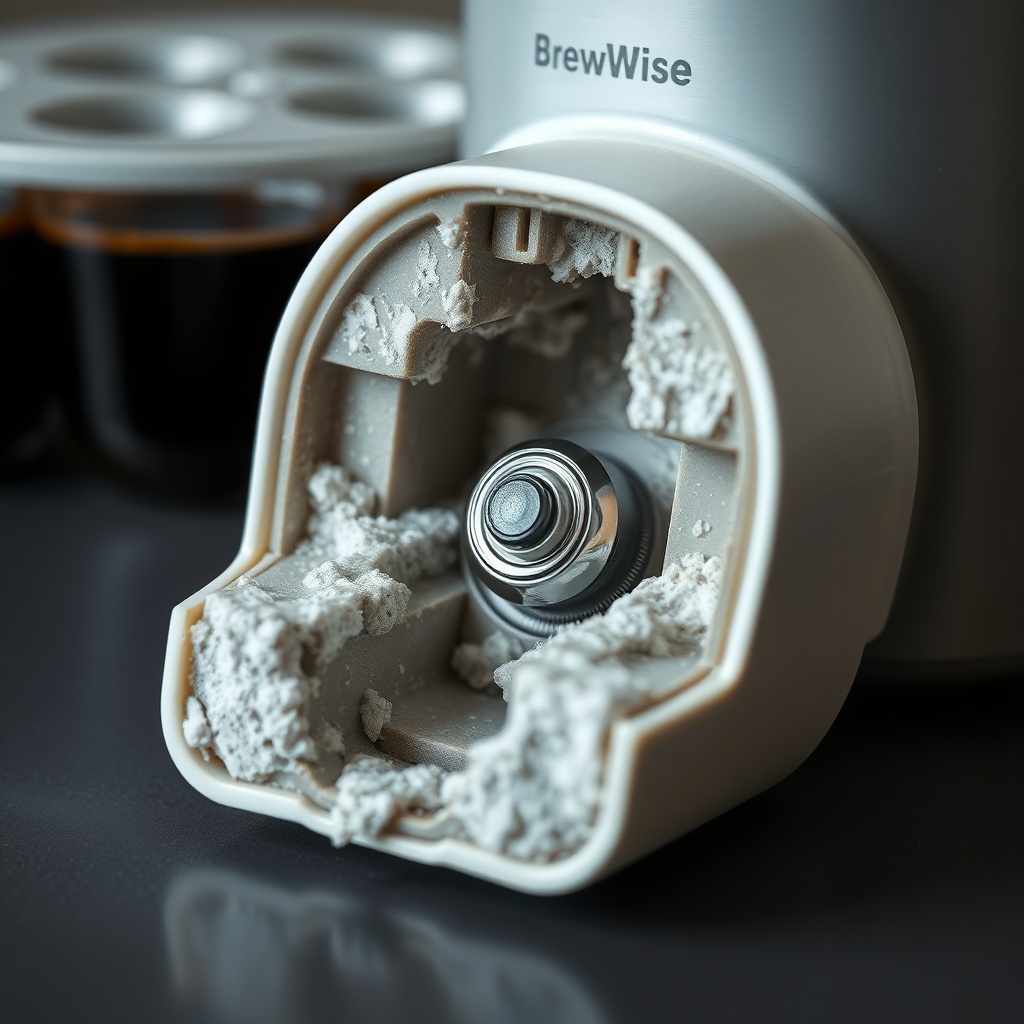
Testing the thermostat is a straightforward electrical task that requires a multimeter. Start by unplugging the machine and removing the outer casing to access the thermoblock. Locate the thermostat—typically a small, coin-shaped disc or a cylindrical sensor with two wires clipped or soldered onto the thermoblock surface.
Set your multimeter to the continuity or resistance setting (ohms). Disconnect the wires carefully, noting their positions. Place the multimeter probes on the two thermostat terminals. A functional thermostat at room temperature should show near-zero resistance (continuity). If you read infinite resistance (OL on the display), the thermostat is open-circuit and must be replaced. If it reads unusually low resistance (under 5 ohms when cold), it may be shorted, causing the machine to overheat rapidly.
- Open-circuit: Machine will not heat at all; no continuity reading.
- Short-circuit: Machine overheats and triggers a thermal fuse; continuity remains even when hot.
- Intermittent failure: Resistance fluctuates when gently tapping the component; replace immediately.
If the thermostat passes the cold test but fails under load, perform a hot test: heat the thermoblock by running a brew cycle, then check continuity again. A working thermostat should open (lose continuity) when it reaches its rated temperature (often 85°C or 95°C). If it stays closed, it is stuck shut and must be replaced to avoid overheating damage.
What Tools and Parts Are Needed to Replace a Failing BrewWise Thermostat?
Replacing the thermostat is an intermediate-level repair that typically takes 30–60 minutes. Ensure you have the correct replacement part—BrewWise thermoblock thermostats are often rated at 15A, 250V, with a specific temperature opening point (e.g., 95°C for brew, 125°C for steam). Using an incorrect rating can cause premature failure or safety hazards.
| Tool/Part | Purpose | Estimated Cost (GBP) |
|---|---|---|
| Multimeter | Test continuity and resistance | £15–£40 |
| Replacement Thermostat (matched to model) | Direct swap for faulty component | £8–£25 |
| Thermal paste (5g tube) | Ensure proper heat transfer between thermostat and thermoblock | £4–£8 |
| Phillips screwdriver set | Remove casing and thermoblock mounting screws | £5–£15 |
| Heat shrink tubing or electrical tape | Insulate wire connections post-repair | £3–£5 |
To perform the replacement, unscrew the old thermostat from the thermoblock, clean the surface with isopropyl alcohol, apply a thin layer of thermal paste, and press the new thermostat firmly into place. Reconnect the wires, using heat shrink to cover any exposed connections. Resist the temptation to reuse old thermal paste—fresh paste prevents air gaps that cause inaccurate temperature readings.
How Can Water Hardness Cause Thermostat Failure in a BrewWise Thermoblock?
Hard water is a leading cause of thermostat failure because mineral scale (calcium carbonate) builds up directly on the thermoblock surface, insulating the thermostat from the metal. This causes the thermostat to read a lower temperature than the actual block, forcing it to run hotter and longer, eventually melting internal components or tripping the thermal fuse.
BrewWise thermoblocks are particularly sensitive to scale because their narrow water channels can become blocked, reducing flow and causing localised overheating. If your region has hard water (above 120 ppm), setting the machine’s water hardness setting correctly is essential. Refer to the BrewWise Thermoblock: What Water Hardness Setting for Best Espresso? guide for exact calibration steps.
Ignoring scale can lead to a condition called “thermal runaway,” where the thermostat fails open or closed due to excessive heat. In severe cases, the thermostat may weld itself shut, requiring complete replacement of the thermoblock assembly. Regular descaling—every 3 months for hard water areas—mitigates this risk. See the BrewWise Thermoblock: 3 Descaling Frequency Mistakes That Shorten Lifespan article for common pitfalls.
What Are the Step-by-Step Troubleshooting Steps for BrewWise Thermoblock Thermostat Errors?
When the machine exhibits temperature-related errors, follow this structured approach before ordering a replacement:
- Check power and reset: Unplug the machine for 30 minutes to allow the internal thermal fuse to reset (if not permanently blown). Plug back in and test heat-up cycle.
- Inspect for visible damage: Look for burnt connectors, melted wire insulation, or cracks on the thermoblock casing. If visible, stop immediately and replace the thermostat.
- Confirm water flow: Run a water-only cycle with no coffee. If water barely flows, scale is likely blocking the channels. Perform a descaling cycle before retesting temperature.
- Measure thermostat resistance: Using the multimeter test described earlier. Record the reading—if it’s open (OL), the thermostat needs replacement.
- Simulate operation: With the machine on but not brewing, measure voltage at the thermostat terminals (carefully!). You should see mains voltage (230V in UK) when the machine is heating, then drop to 0V when it cycles off. No voltage indicates a control board issue, not a thermostat fault.
- Check calibration: Some BrewWise models allow minor temperature offset adjustments via the control panel. If the thermostat is functional but readings drift, you might adjust the offset. Read the guide on BrewWise Thermoblock: How to Adjust Brew Temperature for Better Extraction for detailed instructions.
What Owners Say About BrewWise Thermoblock Thermostat Reliability and Fixes
Owners of BrewWise machines widely acknowledge that the thermostat is the most common point of failure, but they praise the repairability of the design. On UK coffee forums, many report that after replacing the thermostat (often costing under £20), their machines returned to peak performance for another two to three years. One owner noted, “After the first thermostat failed at 18 months, I replaced it with an industrial-rated 15A version. It’s been solid for 4 years now—no issues.”
A frequent complaint is that the stock thermostat can be slightly underspecced for continuous use in heavy commercial environments. However, for home users, the failure rate is generally low if the water hardness setting is correctly configured. Several owners recommend BrewWise Thermoblock: Best Grinder Settings for Espresso Extraction as a complementary fix—because a finer grind can reduce brew time demands, easing stress on the heating system.
Another common tip from experienced users is to always replace the thermal fuse simultaneously with the thermostat, as the fuse often degrades from repeated thermal cycling. Many owners also stress that steam pressure issues are not always thermostat-related; check BrewWise Thermoblock: Troubleshooting Low Steam Pressure for additional causes.
Finally, extraction time is a key indicator of temperature stability. If the thermostat replacement seems flawless but coffee tastes sour or bitter, consult BrewWise Thermoblock: How Long Should Extraction Take for Optimal Flavor? to dial in your process.
Frequently Asked Questions
What is the typical lifespan of a BrewWise thermoblock thermostat?
Under normal home use with soft water, a BrewWise thermostat typically lasts 2–4 years. Hard water and daily heavy use can reduce this to 12–18 months. Replacements are considered routine maintenance.
Can I bypass the thermostat to test the machine?
No. Bypassing the thermostat is dangerous and can cause the thermoblock to overheat uncontrollably, leading to fire or permanent damage. Always replace a faulty thermostat with a correctly rated component.
Is the BrewWise thermostat universal across all models?
No. While many BrewWise models share a similar physical size (disc shape, 2-pin connector), the temperature rating varies. Brew models use 90–95°C thermostats; steam models use 125–135°C. Always check your machine’s service manual for the exact part number.
How much does it cost to replace a BrewWise thermostat professionally?
Professional repair shops in the UK typically charge £50–£90 for labour plus parts (£8–£25). DIY replacement costs about £10–£30 for the part and basic tools if not already owned.
Does the thermostat affect steam pressure?
Indirectly, yes. If the thermostat fails open, the machine cannot heat the block, so no steam is produced. If it fails closed (stuck on), the block may overheat, causing the steam safety valve to release, reducing pressure. See our low steam pressure guide for detailed diagnostics.
Can I replace the thermostat without draining the water system?
Yes, because the thermostat is mounted externally on the thermoblock. However, be cautious—if the machine is hot, wait for it to cool fully to avoid burns. The water system remains sealed during this repair.