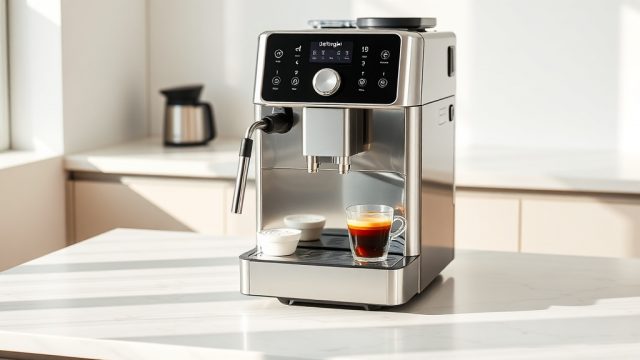
The BrewWise Thermoblock is a popular espresso machine known for its consistent heating and reliable performance. However, like all espresso machines, the brew group gasket wears out over time, leading to leaks and poor extraction. Replacing this gasket is a straightforward maintenance task that can restore your machine’s performance and extend its lifespan. This guide walks you through the process, from identifying symptoms to installing a new gasket.
How Can You Tell the Brew Group Gasket Needs Replacing?
Before diving into the replacement, it’s crucial to recognise the signs of a worn gasket. The most common symptom is water leaking from around the portafilter during brewing. You might also notice a sudden drop in extraction time or inconsistent pressure. If the gasket appears cracked, hardened, or has visible deformation, it’s time for a change. Another tell-tale sign is the portafilter turning too far to the left or right without locking firmly.
When the gasket degrades, it no longer forms a proper seal against the portafilter basket. This not only causes messy leaks but also affects the quality of your espresso. The water will find the path of least resistance, bypassing the coffee grounds entirely. This results in under-extracted, watery shots that lack crema and flavour. Regularly inspecting the gasket every three to six months is good practice for any BrewWise Thermoblock owner.
Ignoring a worn gasket can lead to more serious issues. Water can seep into the machine’s internal components, potentially causing electrical shorts or corrosion. It’s a small part that plays a big role in protecting your investment. Replacing it promptly is both cost-effective and simple.
What Tools and Parts Do You Need for the Replacement?
Gathering the right tools beforehand ensures a smooth replacement process. You’ll need a new BrewWise Thermoblock brew group gasket, which is a silicone or rubber ring designed specifically for your model. Additionally, a flathead screwdriver or a gasket removal tool is essential for prying out the old gasket. A small brush or cloth is useful for cleaning the gasket groove.
You may also require a philips-head screwdriver if your model’s shower screen is held in place by screws. Some BrewWise Thermoblock versions require removing the shower screen to access the gasket fully. It’s wise to check your machine’s manual beforehand. A pair of rubber gloves can provide better grip when handling the new gasket.
Purchase your replacement gasket from a reputable source to ensure it matches the exact specifications. Using an incorrectly sized gasket will cause the same leaking issues. Many owners recommend buying a spare gasket to have on hand, as they are inexpensive and wear predictably. The typical cost for a genuine BrewWise Thermoblock gasket is between £6 and £12, making it an affordable maintenance part.
| Tool/Accessory | Purpose | Approximate Cost (GBP) |
|---|---|---|
| BrewWise Thermoblock Brew Group Gasket | Replacement seal for portafilter | £6 – £12 |
| Flathead Screwdriver or Gasket Removal Tool | Prying out the old gasket | £3 – £10 |
| Small Brush or Cloth | Cleaning the gasket groove | £1 – £5 |
| Philips-head Screwdriver (if needed) | Removing shower screen | £2 – £8 |
| Rubber Gloves (optional) | Better grip for installing gasket | £2 – £4 |
How Do You Remove the Old Brew Group Gasket?
Start by ensuring your BrewWise Thermoblock is turned off and completely cool to avoid burns. Remove the water tank and drip tray to provide easier access to the brew group area. Empty the portafilter and remove it from the group head. You should now see the old gasket seated inside the ring-shaped groove at the top of the group head.
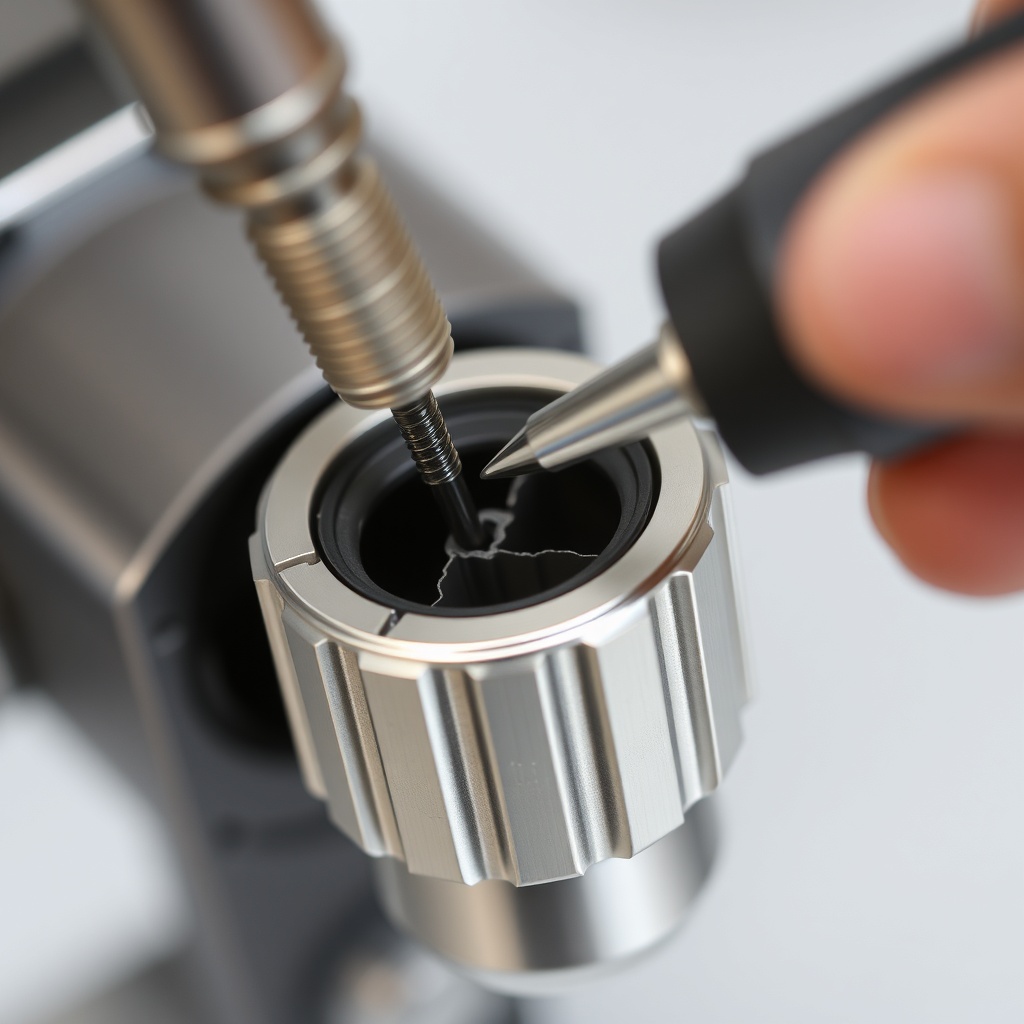
Insert the flathead screwdriver or removal tool gently under the edge of the gasket. Work it around the circumference, prying the gasket outward in small increments. Be careful not to scratch the metal surface of the group head. The old gasket will eventually pop out completely. If it’s stubborn, apply gentle twisting motions. Some gaskets may be brittle and break into pieces, which is perfectly normal.
Once removed, inspect the groove for any leftover debris or hardened gasket fragments. Use your small brush or cloth to clean the area thoroughly. Pay special attention to the inner lip where the gasket seats. Any residue will compromise the seal of the new gasket. This is also an excellent opportunity to adjust brew temperature settings if you’ve been considering it.
How Do You Install the New Brew Group Gasket?
Take your new BrewWise Thermoblock gasket and orient it correctly. Most gaskets have a specific top and bottom; refer to your manual or note that the smoother side usually faces outward (toward the portafilter). Gently press one edge of the gasket into the groove. Use your thumbs to work it evenly around the entire circumference, ensuring it sits flush and level.
The gasket should slide into the groove without excessive force. If it feels too tight, double-check that you have the correct size. Lubricating the gasket with a tiny drop of food-grade silicone grease can help it seat properly, though this is optional. Ensure no part of the gasket is twisted or bunched up. A properly installed gasket will sit flat against the group head surface.
If your model requires a shower screen, reattach it now, securing any screws firmly but not overtightening. Reinstall the drip tray and water tank. Perform a test run without coffee by locking the portafilter in place and running a short brew cycle. Check for any leaks around the portafilter. If none appear, your installation is successful. Remember that a new gasket may need a few shots to fully seat and create a perfect seal.
What Maintenance Should You Perform After Replacing the Gasket?
After successfully replacing the gasket, it’s wise to recalibrate your machine’s settings. The new seal will affect pressure and flow, so you may need to adjust your water hardness setting for optimal extraction. Hard water can accelerate gasket wear, so using softened or filtered water is recommended.
Clean the group head and shower screen thoroughly using a group head brush and a dedicated espresso machine cleaner. This removes any old coffee oils and residue that could affect the new gasket’s longevity. Pay attention to the gasket itself; avoid scrubbing it with harsh chemicals.
Establish a regular descaling schedule based on your water hardness. For most BrewWise Thermoblock owners, descaling every 2-3 months prevents mineral buildup that can stiffen the gasket and cause premature failure. Check out common descaling frequency mistakes to avoid damaging your machine. Additionally, inspect the gasket monthly for any signs of wear, such as cracking or flattening.
Monitoring extraction times after the replacement is also beneficial. A new gasket should result in more consistent shot times. If you notice drastic changes, revisit your grinder settings. The best grinder settings can vary depending on the gasket condition and age.
What Owners Say
BrewWise Thermoblock owners consistently praise the machine’s build quality and the ease of performing this replacement. Many note that the gasket is a wear item that is simple to change, even for beginners. “I replaced mine in under ten minutes, and the leaking stopped immediately,” shared one owner on a popular forum. “It’s the cheapest fix you can do that makes the biggest difference.”
Some owners caution against using generic gaskets, as they may not fit perfectly. “I bought a third-party gasket, and it was too thick; the portafilter wouldn’t lock in properly,” reported another user. Investing in an official BrewWise Thermoblock gasket is recommended for best results. Users also recommend cleaning the gasket groove thoroughly before installation to avoid any debris interference.
Several owners emphasised the importance of performing this replacement proactively rather than waiting for leaks. “I change my gasket every six months as part of my routine maintenance. It’s cheap insurance against water damage,” wrote a long-term user. The consensus is clear: replacing the brew group gasket is a straightforward, cost-effective task that maintains your machine’s performance and protects it from more severe issues.
Frequently Asked Questions
How often should I replace the BrewWise Thermoblock brew group gasket?
Most owners replace the gasket every 6 to 12 months, depending on usage frequency and water hardness. Heavy daily use may require replacement every 3 to 6 months. Regular inspection is key.
Can I use a universal gasket instead of a BrewWise Thermoblock specific one?
While universal gaskets exist, it’s strongly recommended to use the genuine BrewWise Thermoblock part. Incorrect sizing can cause leaking or portafilter locking issues, potentially damaging the group head.
What happens if I ignore a worn brew group gasket?
Ignoring a worn gasket can lead to water leaks into the machine’s internals, causing electrical damage or corrosion. It also results in poor extraction quality, with watery, under-extracted espresso lacking crema.
Do I need to lubricate the new gasket during installation?
Lubrication is optional but can help the gasket slide into the groove more easily. Use a food-grade silicone grease sparingly. Avoid petroleum-based lubricants, which can degrade the silicone.
Why does my portafilter still leak after replacing the gasket?
If leaking persists, check that the gasket is correctly seated and not twisted. Ensure the portafilter basket is not overfilled or damaged. Also, verify you have the correct gasket size for your model. A loose fit indicates a wrong size.
Can a faulty gasket cause my BrewWise Thermoblock to overheat?
No, a faulty gasket does not directly cause overheating. Overheating is more often related to thermostat issues. If you suspect thermostat failure, refer to our diagnosis and repair guide for professional troubleshooting.