Gaggia Classic Pro: How to Adjust OPV for 9 Bar
The Gaggia Classic Pro ships from the factory with an over-pressure valve (OPV) set to around 12 bar—too high for optimal espresso extraction. Dialling it down to 9 bar transforms shot quality, reducing channeling and bitterness while improving crema and body. This guide walks you through the adjustment, explains why it matters, and answers common owner questions.
If you haven’t yet decided on the Gaggia Classic Pro, start with our comprehensive Gaggia Classic Pro Buying Guide: Is It Right for You? before diving into modifications.
Why Does the Default OPV Pressure Cause Problems?
Gaggia set the OPV at roughly 12 bar to accommodate pressurised baskets and inconsistent pre-ground coffee. However, specialty coffee demands 9 bar at the group head for balanced extraction. At 12 bar, water forces through the puck unevenly, creating micro-channels that over-extract some areas while under-extracting others. The result: sour-bitter shots with thin crema and a harsh finish. Adjusting the OPV to 9 bar reduces this turbulence, giving you a more forgiving pressure profile that highlights sweetness and clarity.
For cafés and home baristas chasing third-wave results, this mod is non-negotiable. It also reduces wear on the pump and seals, as the machine isn’t constantly working against excess backpressure.
What Tools and Parts Do You Need for the OPV Adjustment?
The adjustment is purely mechanical—no replacement parts required unless you want to install a pressure gauge for verification. Here’s what you’ll need:
- Small flathead screwdriver (2–3 mm tip)
- 10 mm socket wrench or spanner (for the OPV locknut)
- 9 bar calibrated pressure gauge (optional, but recommended for accuracy)
- Blind basket (included with the machine)
- Towel or cloth (to catch drips)
- Torx T20 screwdriver (to remove the top cover)
If you’re also dealing with water quality, read our guide on Gaggia Classic Pro: Best Water Filter Options to protect your machine from scale while dialling in the new pressure.
How Do You Access the OPV on the Gaggia Classic Pro?
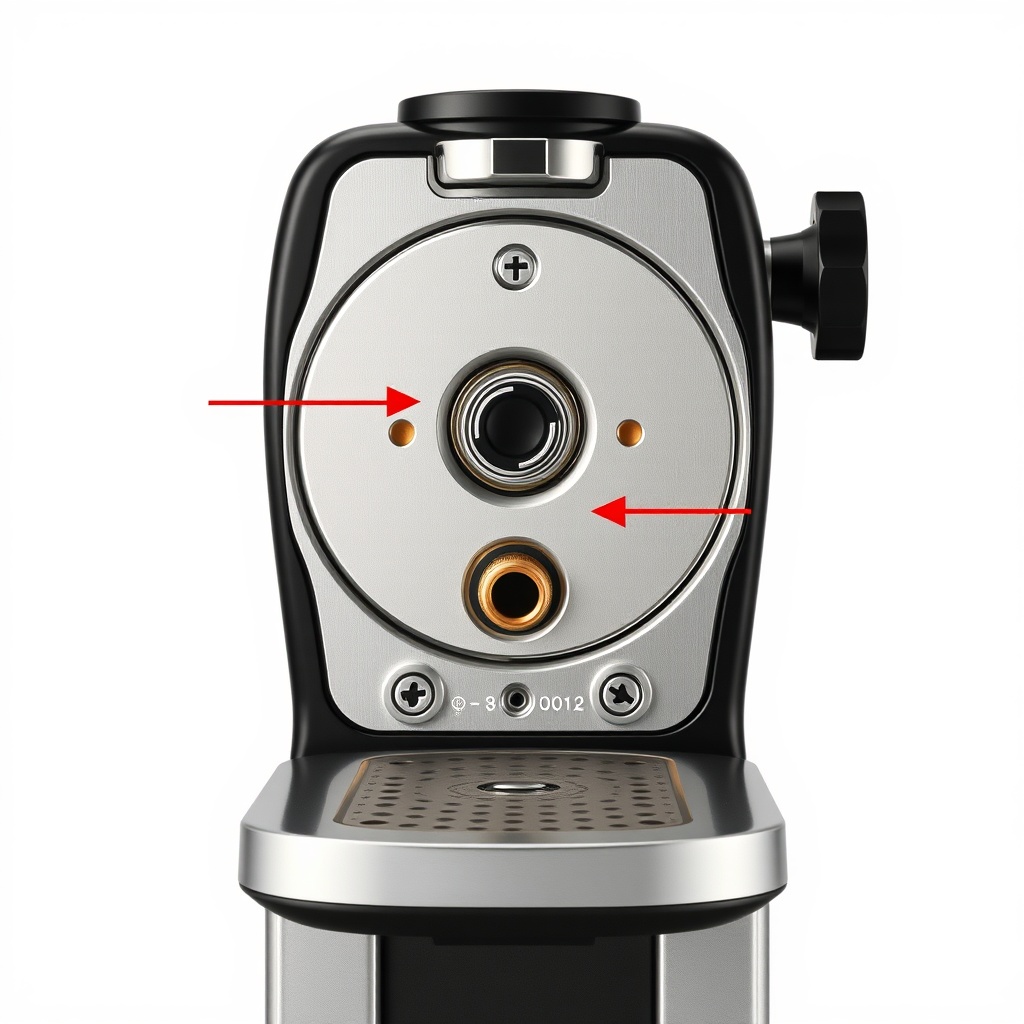
Unplug the machine and let it cool completely. The OPV sits on the right side of the pump inside the chassis. Remove the water tank and drip tray, then use the Torx T20 driver to remove the two screws at the back of the top cover and the four screws under the drip tray area (two front, two rear). Lift the top cover straight up—it’s clipped at the front, so gently pry it loose. You’ll now see the brass OPV assembly with a hex locknut and a central screw.
Be careful not to dislodge any wiring. The OPV is the component with a spring-loaded adjusting screw, usually marked with a white plastic cap or a small brass nut. If you’re uncertain, trace the tube from the pump outlet—it leads directly to the OPV.
What’s the Step-by-Step Process to Set the OPV to 9 Bar?
Follow these steps in order. If you don’t have a pressure gauge, you can use the “blind basket test” (the machine will produce a distinct sound change when you hit 9–10 bar), but a gauge is far more precise.
| Step | Action |
|---|---|
| 1 | Remove the top cover and locate the OPV |
| 2 | Loosen the locknut with a 10 mm spanner (anticlockwise) – do not remove it entirely |
| 3 | Insert the blind basket into the portafilter and lock it into the group head |
| 4 | Turn the machine on, wait for the brew switch light, then press the brew button |
| 5 | Using the flathead screwdriver, turn the central OPV screw clockwise to increase pressure, anticlockwise to decrease. Listen for the pump sound to stabilise—adjust in small increments (1/8 turn) |
| 6 | If using a gauge, attach it to the portafilter; aim for a steady 9.0–9.5 bar reading on the gauge |
| 7 | Once set, hold the locknut with the spanner and tighten the central screw gently with the screwdriver to lock the adjustment |
| 8 | Release the brew button, remove the blind basket, reassemble the top cover and tank |
After adjustment, run a full tank of water through the group head without coffee to flush any debris. Then pull a test shot with your usual grind—if it gushes, grind finer; if it chokes, grind coarser. 9 bar gives you a wider sweet spot, but grind remains king.
The entire process takes about 20 minutes for a first-timer. If you’re also working on milk texturing, check our Gaggia Classic Pro Milk Steaming: Tips for Silky Microfoam after you’ve dialled in the pressure.
What Pressure Is ‘Too High’ or ‘Too Low’ for the Gaggia Classic Pro?
Here’s a severity table to help you gauge if your current OPV setting needs adjustment. The factory setting (12 bar) is in the “Needs attention soon” column because it’s functional but far from optimal for specialty coffee.
| Pressure Range | Usually Not Urgent | Needs Attention Soon |
|---|---|---|
| 8.5–9.5 bar | Ideal for most coffees—balanced extraction, good crema, low channeling | N/A |
| 9.5–11 bar | Acceptable for dark roasts or pressurised baskets; may still produce good results | If you prefer light roasts or experience sour-bitter shots, adjust down |
| 11–13 bar | Factory default (approx. 12 bar) – functional but suboptimal for specialty | Strongly recommended to adjust; risks channeling and shortened pump life |
| Below 8 bar | N/A | Adjust immediately—insufficient pressure yields watery, under-extracted shots |
If your gauge shows below 8 bar, the OPV spring may be worn or the adjustment screw has loosened. Replace the spring (part number GG00013) or re-tighten the screw.
Does Adjusting the OPV Affect Warranty or Safety?
Gaggia’s warranty policy varies by region, but opening the chassis to adjust the OPV is considered a user modification in most markets. In the UK and EU, the Consumer Rights Act 2015 protects you only if the modification doesn’t cause the fault—but you risk voiding the pump or seal warranty. Many authorised service centres will still honour the rest of the warranty if the OPV adjustment is the only change and no damage is visible. For peace of mind, document the adjustment with photos and keep the original OPV setting (mark the screw position before turning).
Safety-wise: always unplug the machine before disassembly. The pump and OPV operate at mains voltage (230V in the UK). If you’re uncomfortable with electronics, ask a local espresso repair shop to do the adjustment—they’ll charge around £20–£30 and can verify the pressure with a gauge.
What Owners Say
Owners who perform the 9 bar mod consistently report two things: improved flavour clarity and easier dialling-in. One Reddit user notes: “My shots went from ‘drinkable with milk’ to ‘actually enjoyable as espresso’ after adjusting the OPV. The bitterness disappeared, and I could finally taste the fruit notes in my Ethiopian beans.” Another owner on a UK forum shared: “I was worried about messing up the machine, but the video guides made it simple. Now I grind at 2 notches finer than before—the puck is more forgiving.”
However, a few caution that the mod doesn’t fix poor grind quality. “I adjusted to 9 bar but my cheap grinder still produced inconsistent shots. The machine works at its best with a dedicated espresso grinder,” writes one experienced user. If you’re new to espresso, consider upgrading your grinder first—then apply the OPV mod to unlock the Gaggia’s full potential.
Frequently Asked Questions
- Do I need a pressure gauge to adjust the OPV?
No—you can use the “sound method” by listening for the pump to change pitch at the target pressure. But a gauge (£15–£25) guarantees accuracy and avoids over- or under-adjusting. - Will adjusting to 9 bar damage my Gaggia Classic Pro?
No, 9 bar is within the pump’s design range. It actually reduces strain on the pump and seals compared to the factory 12 bar setting. - Can I set the OPV to 8 bar instead of 9?
Yes—some light roasts benefit from 8 bar to reduce channeling. Start at 9 bar and experiment by small adjustments (0.5 bar increments). - My machine still shows 12 bar after adjustment—what went wrong?
You probably didn’t fully tighten the locknut after adjustment, or the OPV spring is stuck. Back off the screw completely, then re-adjust from scratch. - Does this mod work on the older Gaggia Classic (pre-2018)?
Yes, the pre-2018 models have the same brass OPV. The process is identical. - Will lowering the pressure affect steam performance?
No—the steam boiler operates independently of the OPV. Steam pressure remains unchanged.