Why Does OPV Adjustment Matter for Pressure and Temperature on the Gaggia Classic Pro?
The Gaggia Classic Pro is widely regarded as one of the best entry-level espresso machines for home baristas who want to mod and customise their rig. However, out of the box, the over-pressure valve (OPV) is typically set to around 12–15 bar, which is considerably higher than the ideal 9 bar for espresso extraction. This excess pressure can lead to channelling, bitter shots, and poor temperature stability. Adjusting the OPV to a lower setting—usually 9 bar—improves flow rate, reduces wear on the pump, and helps maintain a more consistent brew temperature throughout the shot. In this guide, we focus on the exact tool sizes you need for the OPV adjustment on the Gaggia Classic Pro, so you can dial in pressure without guesswork.
What Tool Size Do I Need for the Gaggia Classic Pro OPV Adjustment?
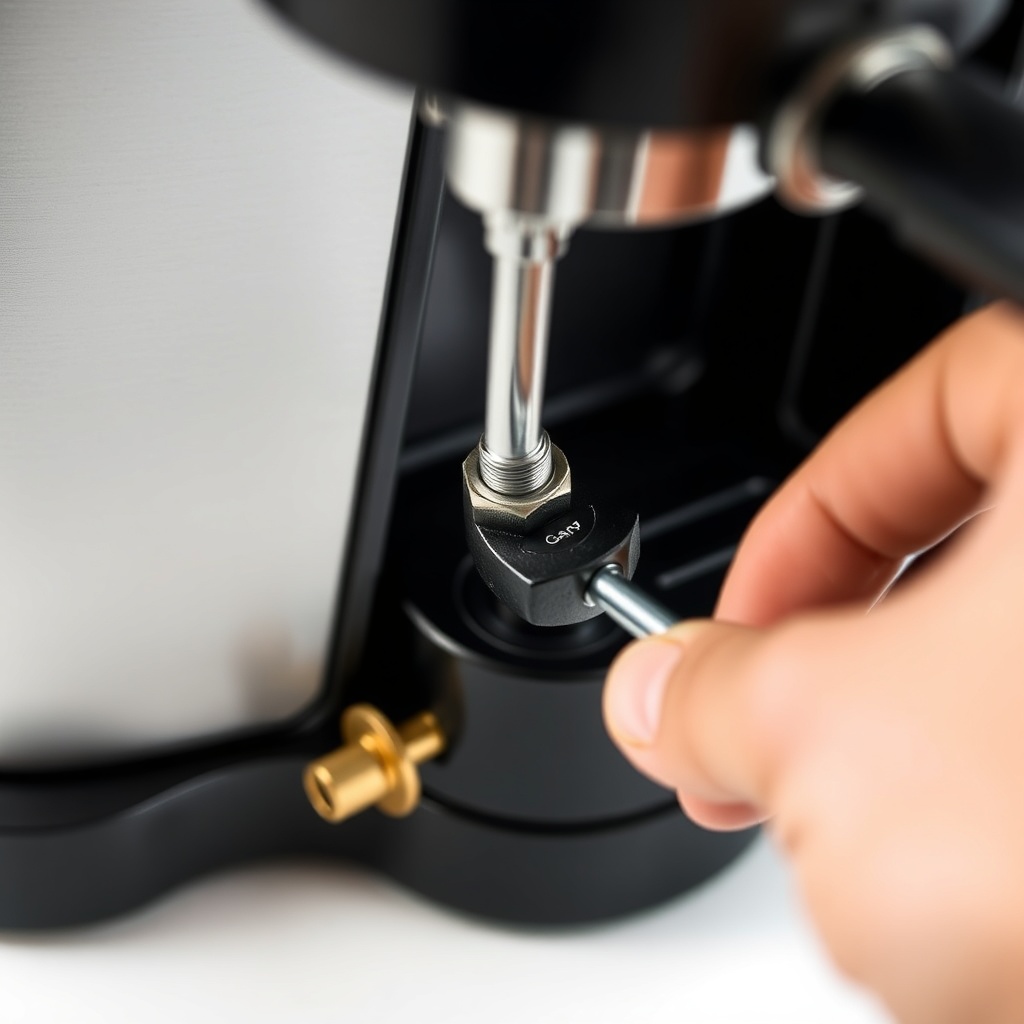
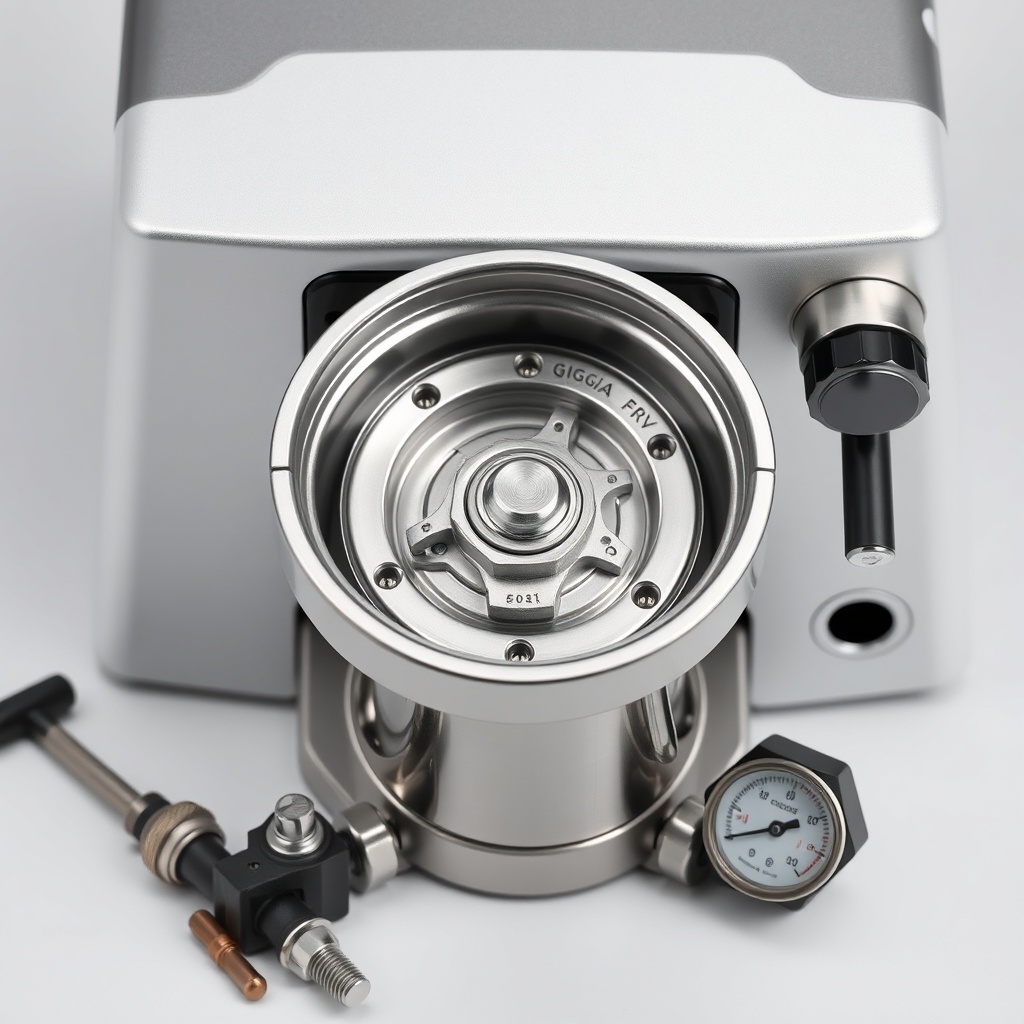
The Gaggia Classic Pro uses a brass OPV assembly located inside the machine, accessible after removing the water tank and top panel. The adjustment nut is a standard 6 mm hex (Allen) key. However, some newer models (post-2019) may require a 5.5 mm or even a 7 mm hex key depending on the batch. Always verify by inspecting the nut visually before purchasing tools. A 6 mm hex key is the most common, but we recommend buying a set of hex keys from 4 mm to 8 mm to be prepared. The adjustment itself is simple: turn clockwise to increase pressure, anticlockwise to decrease. Many owners report that a quarter turn anticlockwise from factory setting brings pressure down to 9 bar.
How Does OPV Adjustment Affect Brew Temperature?
Pressure and temperature are intrinsically linked in espresso machines. When the pump delivers excessive pressure (above 9 bar), water flows faster through the coffee puck, leading to a drop in brew temperature because the heating element cannot keep up with the rapid flow. Conversely, setting the OPV to 9 bar slows the flow slightly, allowing the thermoblock (in the Gaggia Classic Pro) to maintain a more stable temperature—typically around 90–94°C at the group head. This stability is crucial for extracting balanced flavours. Many users add a PID controller later, but the OPV mod is the first step towards temperature consistency. For best results, combine this mod with a naked portafilter and a quality water filter to prevent scale buildup that can further destabilise temperature.
| Hex Key Size (mm) | Common Use | Typical Pressure After Adjustment | Notes |
|---|---|---|---|
| 5.5 | Rare, some 2020 batches | 8.5–9.5 bar | Check nut flat width with caliper |
| 6.0 | Most common (90% of units) | 9 bar (¼ turn anticlockwise) | Standard hex key included in most sets |
| 7.0 | Found on older Classic (pre-2018) | 8–10 bar | May require slight filing if too tight |
| 8.0 | Not used on Classic Pro | N/A | Only for larger valves |
Can I Adjust OPV Without a Pressure Gauge?
Technically, yes, but it is not recommended. Without a pressure gauge installed, you are guessing the outcome. The OPV adjustment is highly sensitive—a mere 1/8 turn can change pressure by 1.5–2 bar. Many owners turn the nut anticlockwise by a fixed amount (e.g., 1/4 turn) and then test the shot. If the espresso flows too fast (under-extracted) or too slow (over-extracted), they adjust again. This trial-and-error approach works but can waste coffee and time. A dedicated pressure gauge kit (costing around £25–£35) attaches to the portafilter and gives real-time readings. Once you install it, you can dial in 9 bar precisely. Alternatively, you can use a bottomless portafilter and observe the flow pattern—if it sprays or channelling occurs, pressure is likely too high.
What Are the Best Tools for Gaggia Classic Pro OPV Adjustment?
Beyond the hex key, you will need a few basic tools to access the OPV:
- Hex key set (4–8 mm): Expect to pay around £8–£12 for a decent set from brands like Wera or Draper.
- Torx T10 screwdriver: For removing the top panel (some models use Phillips, but Torx is common in later versions). Cost: £5–£10.
- Small flathead screwdriver: For prying off plastic clips. Cost: £3–£5.
- Pressure gauge kit: Approximately £25–£30 from coffee accessory retailers. This includes a portafilter adapter and gauge.
- Microfibre cloth and brush: To clean dust from the interior. Cost: under £5.
Investing in a proper hex key set (preferably with ball ends for angled access) makes the adjustment easier. Avoid using improvised tools—stripping the brass nut can lead to costly repairs. If you are unsure about the process, refer to the buying guide for comprehensive modding advice.
What Owners Say About OPV Adjustment on the Gaggia Classic Pro
Owners consistently report that lowering the OPV to 9 bar transforms the machine. One reviewer on a UK-based forum noted: “I used a 6 mm hex key and turned it 1/4 anticlockwise. My shots went from bitter and thin to rich with crema—night and day.” Another owner mentioned that temperature stability improved noticeably: “Before, the second shot would be cooler; now it’s consistent start to finish.” However, a few owners warn that over-adjusting (more than 1/2 turn) can cause the pump to struggle with backpressure. The consensus is that the mod is essential for anyone serious about espresso, and it pairs perfectly with milk steaming tips to create silky microfoam. Many also combine it with a PID for ultimate control. The only downside? The OPV nut can be tricky to reach, especially for those with larger hands—patience is key.
Frequently Asked Questions
1. What size hex key does the Gaggia Classic Pro OPV use?
Most units use a 6 mm hex key. However, some batches may require 5.5 mm or 7 mm. Always check the nut size with a caliper before purchasing.
2. Can I adjust OPV without removing the water tank?
No, you must remove the water tank and top panel to access the OPV. It is a 15-minute task that requires a Torx T10 or Phillips screwdriver.
3. Will OPV adjustment void my warranty?
In the UK, modifying the machine may void the warranty if the change causes damage. However, many retailers accept the mod as standard practice if performed carefully. Check your warranty terms.
4. How often should I adjust the OPV?
Only once, unless you change pumps or see pressure drift due to scale buildup. If you notice inconsistent shots, check the pressure with a gauge first, then adjust. Use a descaler regularly to prevent scale from affecting the valve.
5. What happens if I set the pressure too low (under 8 bar)?
Too low pressure (<8 bar) can result in under-extracted, watery espresso. The pump may also struggle to maintain flow. Stick to 8.5–9.5 bar for best results.
6. Do I need to install a pressure gauge permanently?
Not permanently—you can rent or borrow a gauge for the adjustment. But many owners install a permanent gauge in the drip tray or group head for ongoing monitoring. See the low steam pressure guide for related issues.