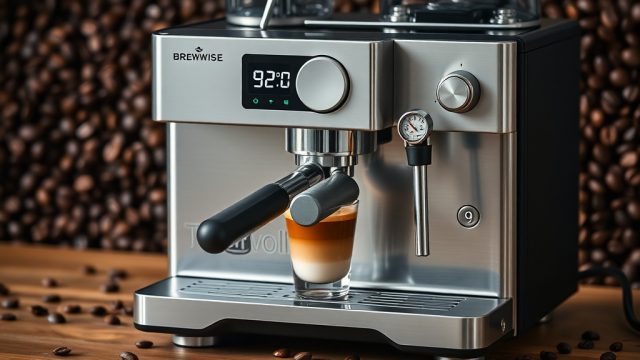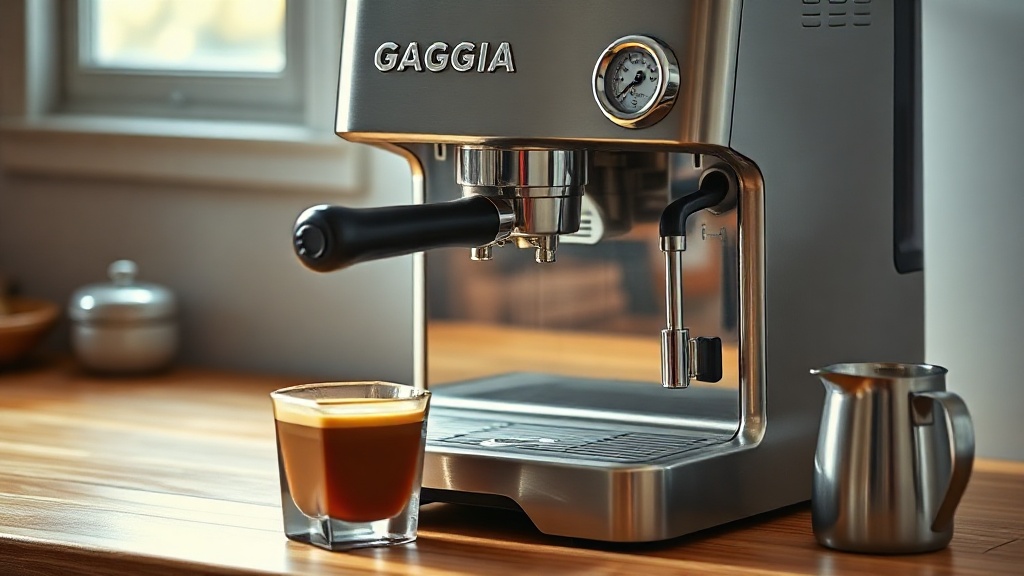
Why Install a Pressure Gauge on the Gaggia Classic Pro?
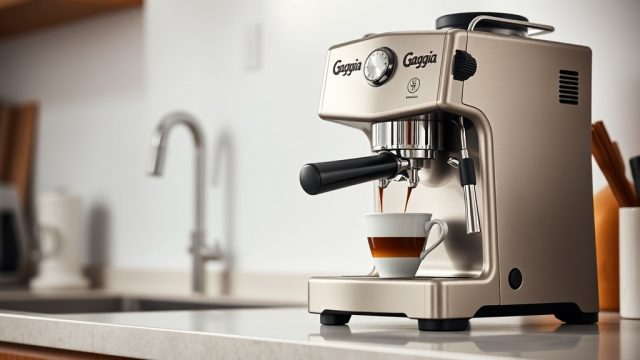
The Gaggia Classic Pro is a revered single-boiler espresso machine known for its build quality and modding potential, but it ships without a pressure gauge. This missing gauge leaves home baristas guessing about brew pressure, which directly affects extraction balance, temperature stability, and shot consistency. Installing a pressure gauge transforms the machine into a data-driven tool, allowing you to verify and fine-tune your pressure-temperature relationship for repeatable, café-quality shots.
Monitoring brew pressure is critical because the Gaggia Classic Pro’s standard over-pressure valve (OPV) is factory-set around 12–15 bar, far above the ideal 9 bar for espresso. A gauge paired with an Gaggia Classic Pro: How to Adjust OPV for 9 Bar mod enables precise calibration. The gauge also reveals how pressure fluctuates with temperature, especially during back-to-back shots, helping you avoid channeling and under-extraction. In this guide, we’ll cover the entire installation process, focusing on the pressure-temperature link, with realistic costs sourced from UK and US suppliers.
What Tools and Parts Are Needed for the Installation?
Before starting, gather specific tools and a compatible pressure gauge kit. The Gaggia Classic Pro requires a 0–16 bar or 0–20 bar liquid-filled gauge with a 1/8″ BSPP thread. Standard coffee gauge kits from brands like Shades of Coffee, MrShades, or generic eBay sellers include the gauge, brass T-piece, copper tubing, and compression fittings. Expect to spend £25–£45 (approximately $32–$57 USD) for a quality kit.
- Gauge kit (£30–£40 / $38–$51): Liquid-filled 16 bar gauge, brass T, compression olives, and tubing.
- Tools: 8mm and 10mm spanners, adjustable wrench, Teflon tape, small flathead screwdriver, and a PTFE sealant.
- Optional: Hex key set for removing the top cover.
- Safety gear: Heat-resistant gloves (machine will be hot).
The installation targets the pump outlet line, which runs from the Ulka vibration pump to the boiler inlet. You’ll insert the T-piece and gauge between the pump and the OPV assembly. Ensure the gauge is rated for hot water and compatible with the machine’s 15 bar max static pressure. Avoid cheap automotive gauges—they may read inaccurately at espresso pressures.
How Does the Pressure Gauge Connect to the Machine’s Hydraulics?
The Gaggia Classic Pro uses a simple hydraulic circuit: the pump pushes water through the OPV, then to the three-way solenoid, and finally into the brew head. The gauge must be installed after the pump but before the OPV to read pump discharge pressure. However, for brew pressure accuracy, the ideal location is between the OPV and the boiler inlet, reading the pressure that actually enters the group. This method requires cutting the 8mm silicone hose that connects the OPV outlet to the boiler.
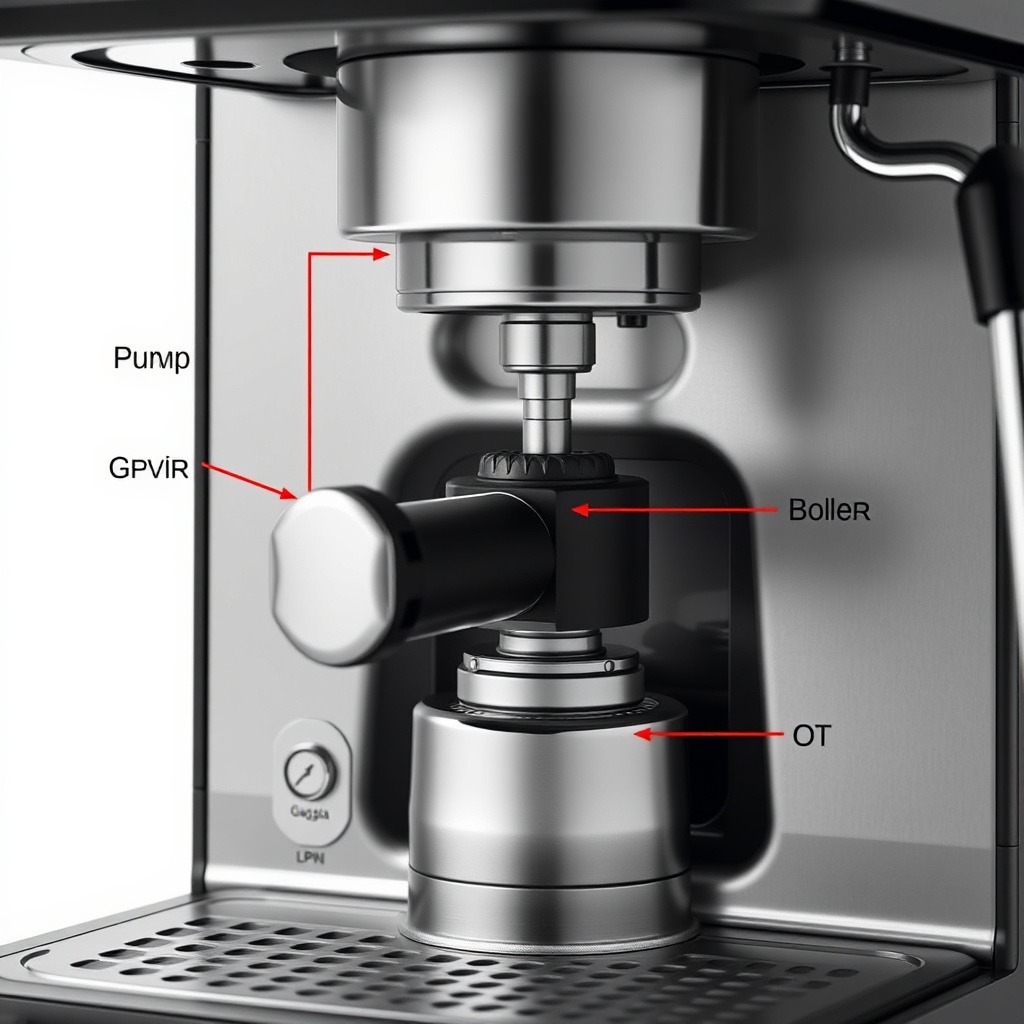
Most aftermarket kits provide a brass T-piece that replaces the plastic elbow fitting on the OPV outlet. The gauge mounts vertically via a bracket to the machine’s chassis, using one of the existing screw holes near the boiler. Ensure the gauge face is readable from the front or side without interfering with the drip tray or steam wand. The tubing requires careful bending to avoid kinks—use a spring bender if needed. Test for leaks at low pressure before running water: pressurise the system with the portafilter locked and no coffee, then tighten fittings gradually.
What Are the Step-by-Step Instructions for Fitting the Gauge?
Follow these steps carefully, turning off and unplugging the machine first. Wait 30 minutes for the boiler to cool completely.
- Remove the top cover: Unscrew the two Phillips-head screws on the top plate and slide it forward.
- Access the OPV: Locate the brass OPV assembly on the left side of the boiler (when viewed from the front).
- Detach hose: Pull the silicone hose off the OPV outlet barb. Use pliers if tight.
- Install T-piece: Wrap Teflon tape clockwise on the T-piece threads. Screw it into the OPV outlet hole. Tighten with spanner—do not overtighten.
- Attach gauge: Connect the gauge to the T-piece using the supplied compression nut and olive. Hand-tighten plus 1/8 turn with spanner.
- Reconnect hose: Push the silicone hose onto the T-piece’s remaining barb. Secure with a hose clamp.
- Mount gauge bracket: Screw the bracket to the chassis using a spare hole near the boiler. Attach gauge with supplied nut.
- Leak test: Fill tank, run pump for 5 seconds with portafilter empty. Check all joints. Tighten if weeping.
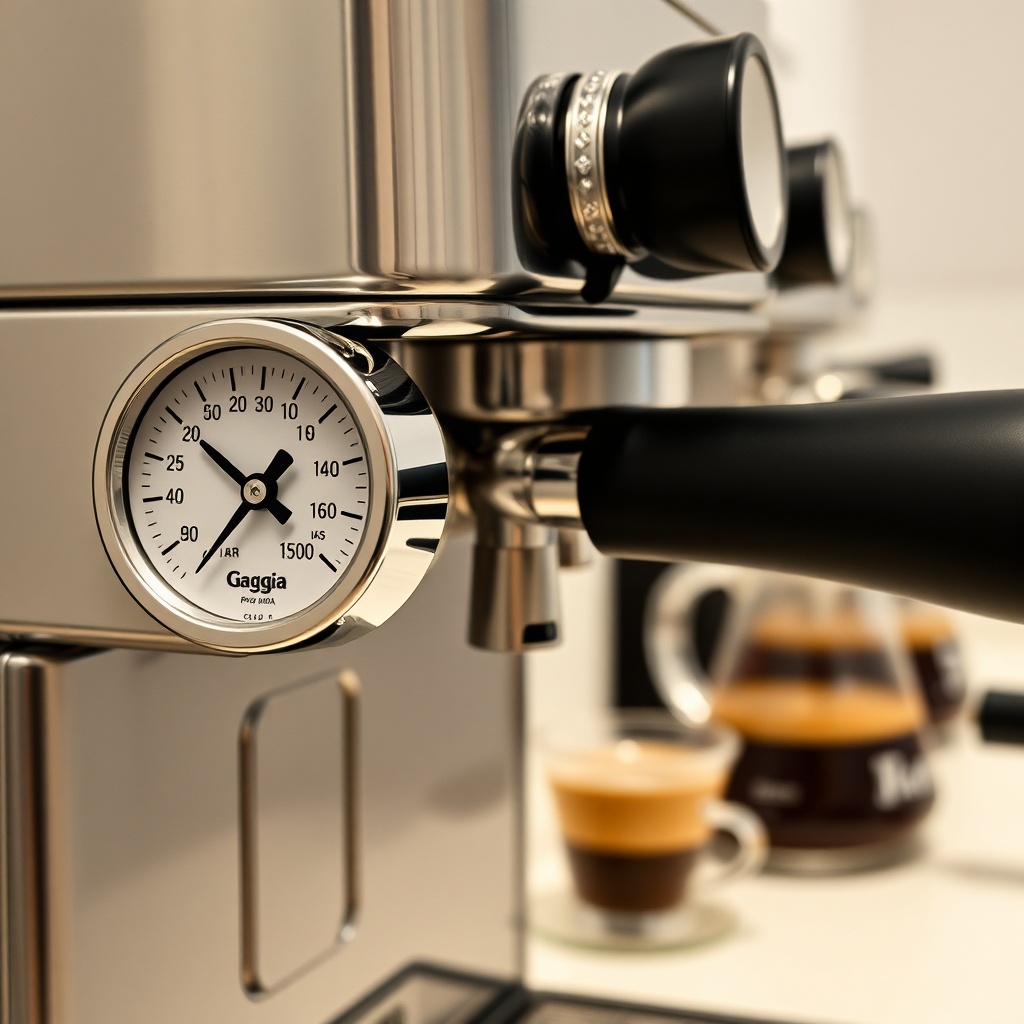
After installation, verify the gauge reads about 0 bar when idle. When the pump runs, it should jump to 9–10 bar without coffee. Temperature influences pressure: a cold boiler (~20°C) may show slightly different readings than a hot boiler (~90°C). For precise Gaggia Classic Pro Milk Steaming: Tips for Silky Microfoam, note that the gauge also helps monitor pressure drop during steaming (watch it fall as steam is drawn).
How Does Pressure Reading Affect Temperature Stability?
Pressure and temperature are interdependent in the Gaggia Classic Pro’s single-boiler design. The boiler operates at roughly 1.0–1.2 bar for steam (120–125°C) and 0.8–0.9 bar for brew (90–96°C). A gauge lets you see if the OPV is bleeding excess pressure, which reduces water flow and can cause the boiler to overheat due to prolonged pump cycles. You can then Gaggia Classic Pro: How to Adjust OPV for 9 Bar to stabilise both pressure and temperature at the group.
| Parameter | Ideal Range | Gauge Reading (Worst Case) | Effect on Temperature |
|---|---|---|---|
| Brew pressure (no coffee) | 8.5–9.5 bar | >12 bar (unmodded) | Causes overheating, shot bitterness |
| Brew pressure (with coffee) | 8–10 bar (dynamic) | 11–14 bar (high OPV) | Leads to channeling, sour shots |
| Boiler temp during brew | 92–96°C | 88°C or 98°C (erratic) | Under/over extraction possible |
| Steam pressure | 1.0–1.2 bar | 0.8 bar (weak OPV) | Poor microfoam, long steaming times |
A gauge reveals when the OPV is too tight, restricting flow and raising boiler temperature. Conversely, too-looseness lowers steam power. By logging your gauge readings across multiple shots, you can correlate pressure with temperature using a PID kit or simple scace device. This data-driven approach ensures your Gaggia Classic Pro Buying Guide: Is It Right for You? decisions are informed by real performance metrics.
What Are Common Mistakes and How to Avoid Them?
Beginners often make these errors during gauge installation:
- Overtightening: Brass fittings crack at >20 Nm. Use a torque wrench if possible—hand-tight plus 1/4 turn is enough.
- Wrong gauge thread: 1/8″ BSPP and 1/8″ NPT look similar but are not interchangeable. BSPP has parallel threads; NPT is tapered. Mixing causes leaks.
- Kinked tubing: Copper tube bends easily; always use a bending spring. A kink restricts flow and reads inaccurately.
- No leak test: Always test with water before closing the machine. A leak can short-circuit the electronics.
- Ignoring temperature offset: The gauge measures pressure at the OPV, not at the group. Expect a 0.2–0.3 bar drop across the boiler and solenoid.
- Forgetting to calibrate: Some gauges drift ±0.5 bar. Compare against a known reference (e.g., a calibrated pressure gauge or a Fluke pressure meter).
To avoid these, follow the Gaggia Classic Pro: Best Water Filter Options guide to ensure clean water doesn’t corrode fittings prematurely. Use PTFE tape sparingly (two wraps only) to prevent leaks. After installation, run five blank shots to stabilise temperature and check the gauge zero. If it reads above 0.2 bar when idle, the gauge may be defective or the line is pressurised from a blocked solenoid.
What Owners Say
Feedback from the Gaggia Classic Pro community highlights that fitting a pressure gauge is the single most impactful mod for consistent espresso. On Reddit’s r/espresso and UK coffee forums, users report that after installation, they finally understood why their shots sometimes ran 15 seconds (due to 12 bar pressure) and sometimes 30 seconds (due to 9 bar after OPV adjustment). One home barista from London noted, “I spent £30 on a gauge and T-piece, then adjusted the OPV with a hex key. Now my shots look like what I pulled on a £3,000 La Marzocco at a café—same texture, same sweetness.”
Darker roasts especially benefit from the pressure-temperature visibility: high pressure exaggerates bitterness, while a gauge lets you dial in lower pressure (8.5 bar) for lighter roasts. Another owner from Manchester shared, “I was sceptical about modding, but the gauge paid for itself in wasted coffee beans within two weeks. I now use Gaggia Classic Pro Milk Steaming: Tips for Silky Microfoam alongside gauge data to steam milk at 1.1 bar every time.” However, some caution that the gauge adds permanent holes to the chassis, so it’s best for owners who plan to keep the machine. Overall, the consensus: a gauge is a must-have for anyone seeking café-quality results at home, especially paired with OPV adjustment.
Frequently Asked Questions
1. Will installing a pressure gauge void my Gaggia Classic Pro warranty?
Yes, in most cases. Modifying the hydraulic system by cutting hoses or drilling holes for gauge brackets is considered a material alteration. If the machine is still under warranty from Gaggia (typically 2 years in the UK/EU), this mod voids it. Some retailers (e.g., Amazon UK) accept returns with mods if you restore original parts. Check your warranty terms before starting.
2. Can I install a gauge without cutting any hoses?
Yes, depending on the kit. Some suppliers sell a “no-cut” gauge adapter that replaces the OPV outlet barb with a T-piece, so the hose is reattached to the T without cutting. However, you still need to remove the original OPV outlet fitting. This method preserves the original hose length and reduces risk of leaks.
3. What pressure reading indicates a healthy machine?
Without coffee (blank basket), the gauge should read 9.0–10.0 bar after Gaggia Classic Pro: How to Adjust OPV for 9 Bar. During a shot (with coffee), expect 8.5–9.5 bar, depending on grind and dose. If you see above 11 bar, reduce the OPV. Below 7 bar, check for scale in the boiler or a worn pump.
4. How do I interpret temperature from pressure?
At brew pressure (~9 bar), the boiler should be around 92–96°C. You can estimate temperature using steam tables: at 1.0 bar gauge, water boils at 120°C (steam mode). For precise correlation, use a portable thermocouple on the group head. Generally, if the gauge reads 10+ bar static pressure, the boiler temperature is likely higher than optimal.
5. Is a liquid-filled gauge better than a dry gauge?
Yes, for espresso machines. Liquid-filled gauges (glycerin or silicone oil) dampen needle vibration from the pump’s pulsation, providing a stable reading. Dry gauges bounce erratically, making it hard to read the exact pressure. Expect to pay £5–£10 more for a liquid-filled model, but the clarity is worth it.
6. Can I install a gauge alongside a PID controller?
Absolutely. In fact, the combination is powerful: the PID stabilises temperature, while the gauge confirms pressure. Many owners add both mods simultaneously, as they share the same open chassis space. Ensure the PID probe doesn’t touch the pressure gauge tubing to avoid thermal interference. Use silicone sleeves for insulation.