Why Is My Gaggia Classic Pro Steam Pressure So Low?
The Gaggia Classic Pro is renowned for its espresso brewing ability, but its steam wand can occasionally frustrate users with weak pressure. If your milk frothing lacks the power to create microfoam, the issue is often mechanical or procedural rather than a design flaw. This guide walks you through the most common causes of low steam pressure, providing step-by-step fixes to restore the machine’s performance. For a full overview of the model’s capabilities, see our Gaggia Classic Pro Buying Guide: Is It Right for You?.
Could an Incorrect OPV Setting Be Causing Low Steam Pressure?
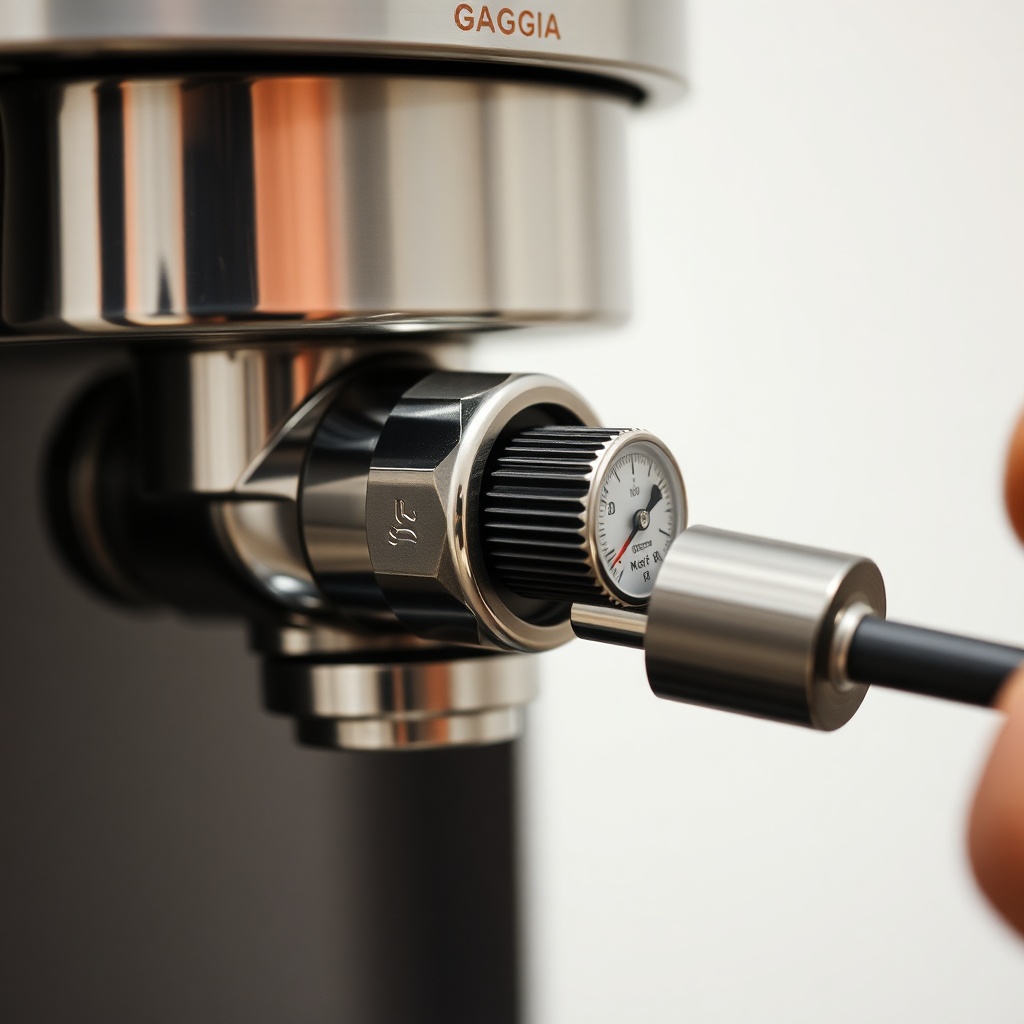
The over-pressure valve (OPV) on the Gaggia Classic Pro regulates the boiler pressure. Factory settings often exceed 12 bar, which can negatively affect both brewing and steaming. When the OPV is set too high, the pump may struggle, and steam pressure can drop as the system experiences unnecessary strain. Lowering the OPV to 9 bar is a standard mod that improves steam consistency. Check out our dedicated guide on Gaggia Classic Pro: How to Adjust OPV for 9 Bar for precise instructions.
To diagnose this, attach a pressure gauge to the portafilter—if brewing pressure exceeds 10 bar, the OPV likely needs adjustment. A quick test is to run the steam wand with the panarello attachment removed. If the flow is weak, the OPV may be the culprit. Signs include frothing that starts strong but quickly fades or milk that remains lukewarm.
Severity Table: OPV Setting Impact on Steam
| OPV Pressure (Bar) | Steam Performance | Severity | Recommended Action |
|---|---|---|---|
| 12–15+ (factory default) | Inconsistent, weak steam, pump noise | High | Adjust to 9 bar |
| 9–10 | Steady, powerful steam, good microfoam | Low | No adjustment needed |
| Below 8 | Very weak steam, may not froth | Critical | Increase pressure or check pump |
Is a Clogged Steam Wand Reducing Steam Flow?
Milk residue can build up inside the steam wand over time, especially if it isn’t purged immediately after each use. A partial clog restricts steam flow, reducing pressure at the tip. To test, remove the steam tip and run the steam function. If pressure improves significantly, the tip or wand is blocked. Soak the tip in a solution of white vinegar and water (1:2 ratio) for 15 minutes, then rinse thoroughly. For deeper blockages, use a thin needle or steam wand cleaning tool to dislodge dried milk.
Preventive maintenance is key—always purge the wand for 2–3 seconds after steaming. If your water is hard, mineral scale can also accumulate inside the boiler, affecting overall steam pressure. Regular descaling every 2–3 months is recommended. For guidance on water quality, read our Gaggia Classic Pro: Best Water Filter Options.
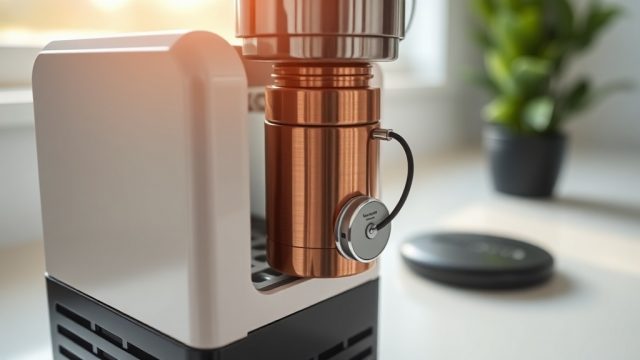
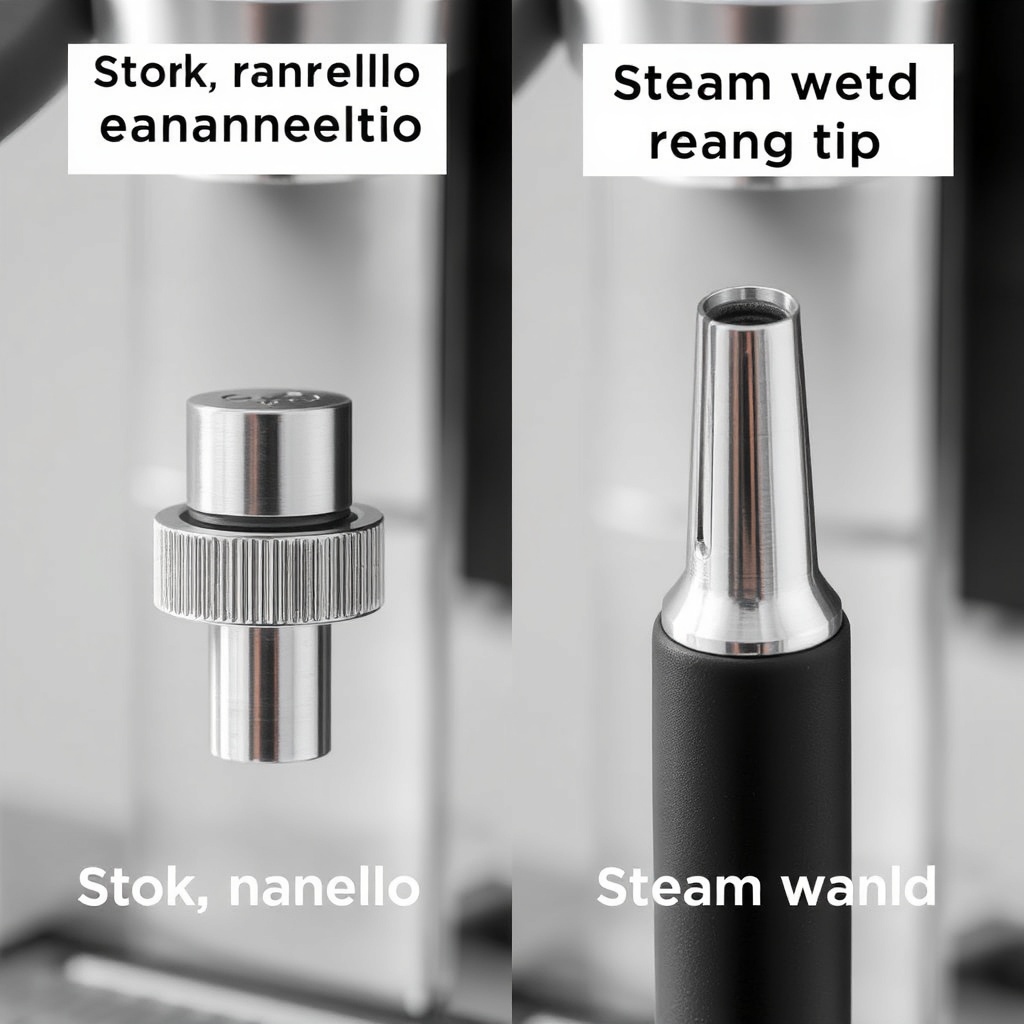
Does the Panarello Attachment Cause Pressure Loss?
The Gaggia Classic Pro ships with a panarello steam wand, which is designed to create foam automatically by drawing in air. However, this plastic attachment often restricts steam pressure because its internal nozzle is narrower and includes a spring mechanism. For maximum steam power, unscrew the panarello sleeve entirely and use the underlying metal steam wand. This exposes a single-hole tip that delivers higher velocity steam, producing drier, silkier microfoam—albeit with a steeper learning curve. Many users remove the panarello permanently.
If you prefer to keep the panarello, ensure the O-ring seal inside the wand holder is intact—a worn seal can cause steam to leak before reaching the tip. Check for visible gaps or hissing sounds during operation. A replacement O-ring costs around £5 (€6 or $7) and can restore full pressure.
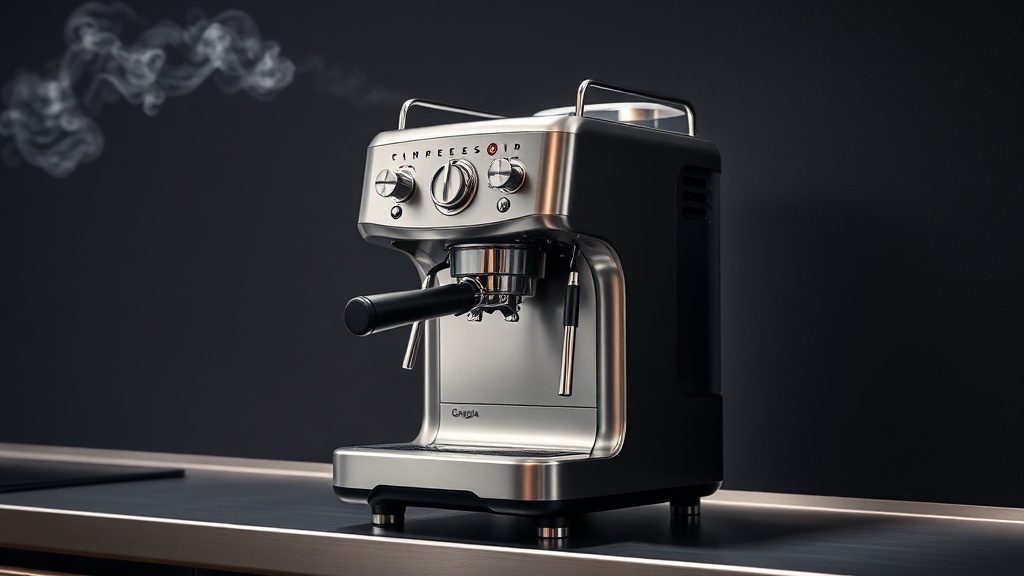
Could a Faulty Pump or Heating Element Be the Root Cause?
Steam pressure depends on both the boiler reaching proper temperature and the pump delivering consistent water flow. If the pump sounds weak or cycles erratically, it may not push enough water into the boiler for steam generation. Listen for a loud, rattling sound (indicates pump wear) or a buzzing noise without water movement (signals airlock or failed pump). Rebuilding the pump or replacing it costs between £25 and £40 (€29–€47 or $32–$50).
Similarly, a failing heating element can prevent the boiler from reaching steam temperature (around 120–130°C, 248–266°F). If the machine takes more than 2 minutes to heat up for steam, the element may be scaled or burned out. Measure resistance with a multimeter: a healthy element reads 20–30 ohms. A complete open circuit means replacement is needed.
For advanced diagnostics, consider installing a pressure gauge per our guide: Gaggia Classic Pro: How to Install a Pressure Gauge. Monitoring boiler pressure during steaming helps isolate pump or element issues.
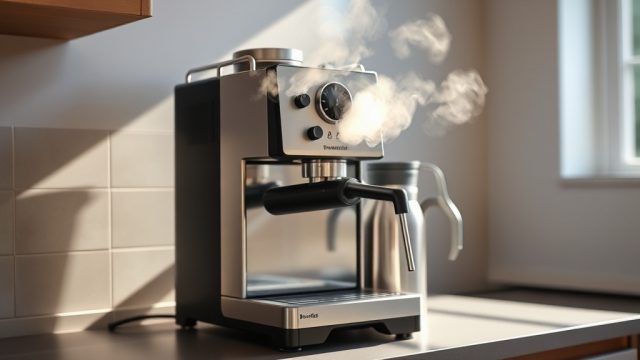
Are You Using the Correct Steaming Technique?
Low steam pressure can also stem from user error. The Classic Pro requires a specific warm-up routine: after switching to steam mode, wait at least 30–60 seconds for the boiler to reach peak temperature. Many users open the steam valve too early, releasing hot water instead of steam. Always purge a small amount of steam first to clear condensate. Also, the machine’s single-boiler design means you cannot brew and steam simultaneously—if you just pulled a shot, give the boiler 30 seconds to recover.
For perfect results, use a cold milk pitcher (between 4–6°C, 39–43°F) and position the steam tip just below the surface. The Gaggia Classic Pro’s steam wand has a limited steam duration (about 15–20 seconds of continuous flow before pressure drops), so work efficiently. Check out our Gaggia Classic Pro Milk Steaming: Tips for Silky Microfoam for advanced technique and milk temperature control.
What Owners Say
Long-term users of the Gaggia Classic Pro consistently note that low steam pressure is rarely a permanent defect. In online forums and reviews, the most common fixes cited are OPV adjustment (often from 12–13 bar to 9 bar) and removing the panarello attachment. One owner reported that after adjusting the OPV and descaling, his steam pressure more than doubled, allowing him to create latte art consistently. Another mentioned that a £8 ($10, €9) replacement steam tip with a single small hole dramatically improved foam quality.
However, some owners caution that the machine’s steam boiler is small (about 150ml), so it cannot compete with dual-boiler machines for continuous steaming. For heavy milk drinks like large lattes, they recommend steaming in two batches. Overall, the consensus is that with proper maintenance and minor modifications, the Classic Pro can produce professional-grade steam on a home budget.
Frequently Asked Questions
Q1: Why does my Gaggia Classic Pro have steam but no pressure?
A: This usually indicates a blockage in the steam wand tip or OPV set too high. Check for visible debris and adjust OPV to 9 bar.
Q2: Can hard water cause low steam pressure?
A: Yes, scale buildup inside the boiler reduces heat transfer and steam generation. Descaling every 2–3 months with a citric acid solution helps.
Q3: How do I test if my OPV is too high?
A: Install a pressure gauge on the portafilter. If brewing pressure exceeds 10 bar, adjust the OPV. Also observe steam flow—weak steam often points to high OPV.
Q4: Is removing the panarello safe for the machine?
A: Yes, the underlying metal wand is designed for direct use. Leaving the panarello off is safe and improves steam power, though it exposes a hot metal tip.
Q5: Should I replace the steam wand tip with an aftermarket one?
A: Aftermarket single-hole tips can improve steam velocity and dryness. Ensure compatibility with Gaggia Classic Pro threads (M8).
Q6: How long does the steam pressure last before needing a recharge?
A: With a single boiler, expect about 15–20 seconds of strong steam. For larger drinks, steam in two separate batches with a 30-second recovery between them.