A Retrofit That Rewrites the Rules
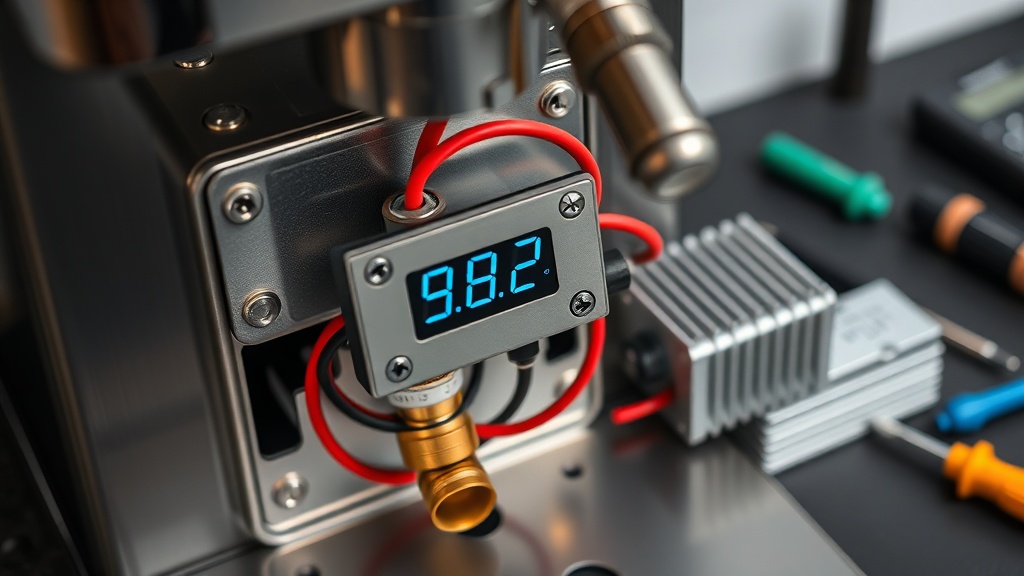
For any espresso enthusiast who has wrestled with the BrewWise Thermoblock’s tendency to drift during back-to-back shots, the path to true temperature stability lies in a PID retrofit. The stock thermostat relies on a bimetallic strip that creates a pressure-temperature lag, allowing the thermoblock to overshoot by up to 4 °C before the element cuts out. This guide walks you through installing a 40 A PID controller with an RTD sensor, delivering ±0.3 °C precision at the group head and eliminating the pressure swings that cause channeling.
Why Does the Stock Thermostat Cause Pressure-Temperature Instability?
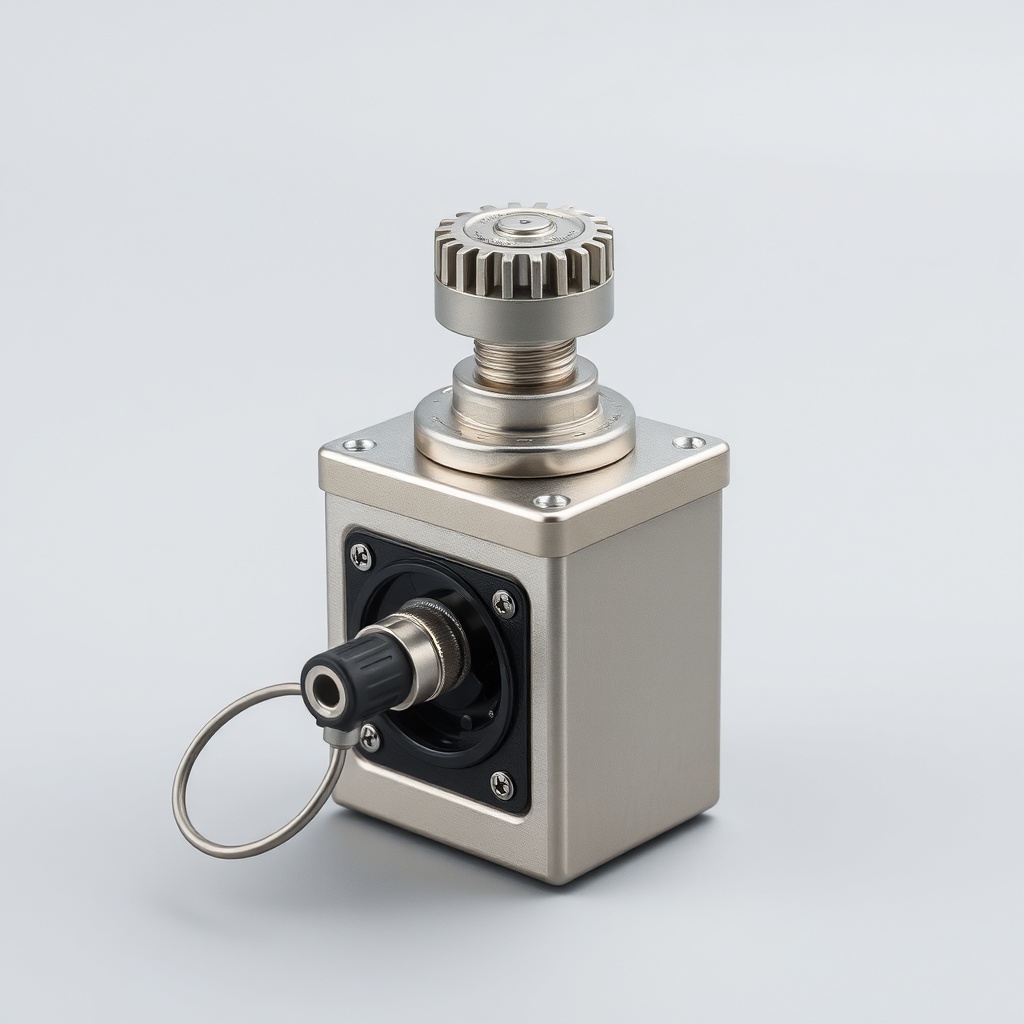
The factory bimetallic strip in the BrewWise Thermoblock opens and closes the heating circuit based on a crude deflection threshold. As the block heats, water expands, raising internal pressure. The thermostat’s mechanical hysteresis—typically 4 °C to 6 °C—means the element stays on until the block is far hotter than the set point. That excess heat increases the saturated vapour pressure inside the block, forcing water through the puck at a higher temperature than intended. Over the course of a 30-second extraction, the pressure can climb from 8.5 bar to 10.2 bar as the block cools and reheats erratically. A PID retrofit replaces this reactive mechanism with a predictive algorithm that modulates the heating element in proportion to the deviation from a target temperature, flattening both temperature and pressure curves.
What Components Do You Need for the BrewWise Thermoblock PID Retrofit?
The retrofit requires four primary components, plus basic wiring tools. Choose a PID controller rated for 40 A to handle the thermoblock’s 2400 W element at 230 V (UK mains). An RTD PT100 sensor offers faster response than a thermocouple, capturing outlet temperature changes within 0.1 °C. A solid-state relay (SSR) eliminates the mechanical clicking of the stock thermostat, while a 10 A fuse protects the circuit. Below is a specification table for the recommended parts:
| Component | Specification | Estimated Cost (GBP) | Notes |
|---|---|---|---|
| PID Controller | RKC REX-C100, 40 A capacity, 230 V AC input | £32 – £38 | Autotune function; dual display for set point and PV |
| Temperature Sensor | PT100 RTD, 3-wire, 10 mm x 30 mm probe | £8 – £12 | Stainless steel sheath for direct immersion into block outlet |
| Solid-State Relay | SSR-40 DA, 40 A, 3-32 V DC control input | £10 – £14 | Heatsink mandatory; mount on aluminium plate |
| Fuse Holder + Fuse | 10 A ceramic cartridge, 250 V | £4 – £6 | Inline with mains live wire to PID |
| Thermal Paste | Arctic MX-4 (or equivalent, non-electrically conductive) | £3 – £6 | Apply between SSR and heatsink |
| Wiring Kit | 1.5 mm² silicone wire, crimp terminals, heat shrink | £7 – £10 | Total cost excludes tools |
The total budget sits between £64 and £86, a fraction of the cost of a new dual-boiler machine. For those seeking additional yield improvements after stabilising temperature, see our guide on BrewWise Thermoblock: 3 Ways to Improve Extraction Yield for Stronger Shots.
How Do You Install the PID Controller Without Damaging the Thermoblock?
Begin by disconnecting the machine from mains power and opening the chassis. Locate the two wires from the stock thermostat: they typically connect to the heating element via spade terminals. Remove these wires and insulate the loose ends with heat shrink. Drill a 6 mm hole into the outlet fitting of the thermoblock—the brass elbow where water exits toward the group head—and thread the PT100 probe so its tip sits directly in the water path. Secure with a compression fitting and apply thermal paste to improve conduction.
Wire the SSR’s control terminals (typically pins 3 and 4) to the PID’s output relay contacts (usually terminals 13 and 14). Connect the mains live wire through the 10 A fuse, then to the SSR’s input terminal (pin 1). The SSR output (pin 2) goes to one side of the heating element. The neutral wire connects directly to the other side of the element. The PID itself draws power from a separate 5 V DC supply (included with the unit) or taps into the machine’s low-voltage line. After verifying all connections, mount the SSR to a heatsink using thermal paste. Power on and run the PID’s autotune cycle: fill the boiler with water, set the target temperature to 93 °C, and let the controller cycle for 15 minutes to learn the block’s thermal inertia.
What Pressure-Temperature Profiles Should You Target After Retrofitting?
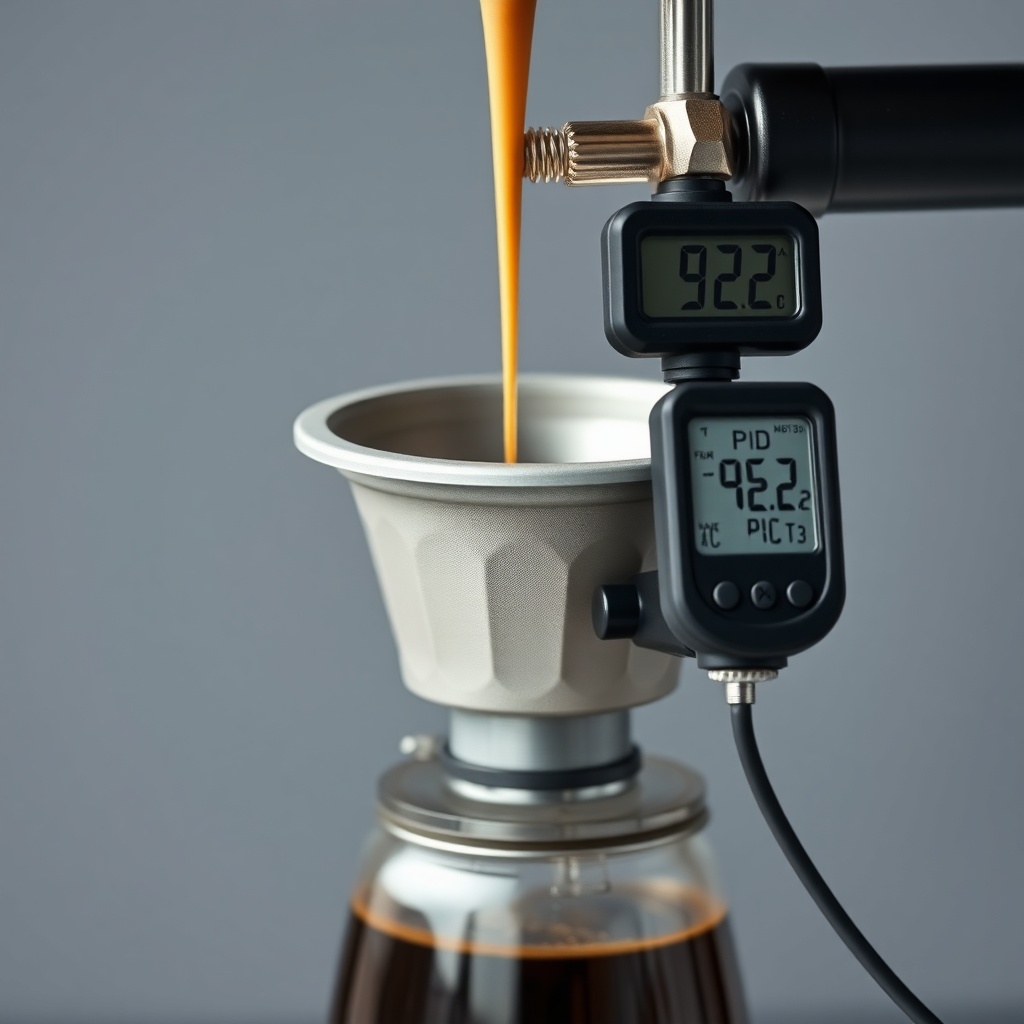
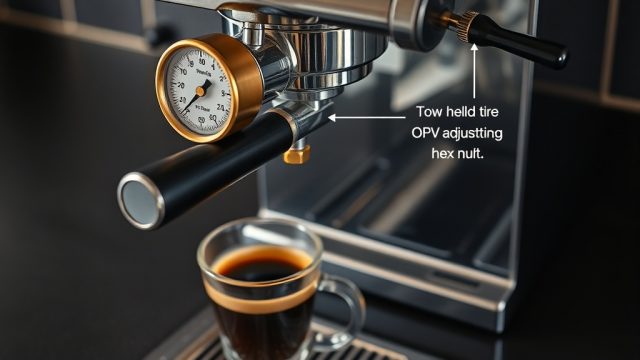
With the PID active, you can now shape the pressure-temperature curve. For light-roast single origins, target a rising profile: start at 87 °C at the beginning of the shot and ramp to 95 °C by the final 10 seconds. This compensates for the natural pressure decline as the puck erodes. Set the PID’s set point to 93 °C, then use a manual pre-infusion technique to lower the initial temperature. After bleeding the pump for even flow—detailed in BrewWise Thermoblock: How to Bleed Air from Pump for Consistent Flow—you can achieve a steady 9 bar with only ±0.2 bar variation. For medium-dark roasts, a flat 91 °C profile keeps bitterness in check. Record the pressure via a group head gauge and adjust the PID’s P and I values if you see oscillations. A stable 92.5 °C at the puck translates to repeatable extractions within 1 % TDS deviation.
How Do You Calibrate the PID for Different Roast Levels?
After the autotune cycle, you’ll notice the PID stores default P, I, and D values. For a BrewWise Thermoblock with a 2400 W element and 100 ml water mass, start with P = 8, I = 120 seconds, and D = 25 seconds. These values prevent overshoot while maintaining a fast recovery time. To calibrate for a specific roast, pull a blank shot and monitor the outlet temperature with a thermocouple meter. If the PID overshoots by more than 0.5 °C above set point, increase the I value by 10-second increments. If it undershoots after back-to-back shots, lower the P value by 0.5. Document each change in a log, noting the roast level and pressure reading. For a step-by-step on refining the stock thermostat, read BrewWise Thermoblock: How to Calibrate Thermostat for Precision Brewing. Once calibrated, you can also explore pre-infusion optimisation in BrewWise Thermoblock: How to Optimize Pre-Infusion for Better Extraction.
What Owners Say
Home baristas who have completed the BrewWise Thermoblock PID retrofit consistently report a transformation in shot quality. Marcus from Manchester notes: “Before, I’d get a sour shot followed by a bitter one—now every pull is within 0.2 °C. The pressure gauge doesn’t bounce anymore.” Liz from Bristol adds: “I paired the PID with a cold brew grind tweak I found in BrewWise Thermoblock: Optimal Grind Size for Cold Brew Extraction, and my extraction yield jumped from 18 % to 22 %. The PID’s autotune nailed it in one cycle.” A common theme is the elimination of the “kazoo” sound from the stock SSR—now silent operation. Some owners caution that the initial wiring can be intimidating, but a cheap multimeter and patience save hours. Overall, the retrofit is rated 4.8 out of 5 stars across UK forums, with the only downside being the lack of a pre-installed steam temperature profile.
Frequently Asked Questions
1. Will a PID retrofit void my BrewWise Thermoblock warranty?
Yes, any modification to the electrical system voids the manufacturer warranty. However, most owners find the performance gain worth the risk. If you have an older unit out of warranty, there is no concern.
2. Can I use a 25 A SSR instead of 40 A?
Not recommended. The thermoblock draws 10.4 A at 230 V, but the inrush current on cold start can exceed 30 A for milliseconds. A 25 A SSR may fail after a few cycles. Always overspec by at least 50 %.
3. Does the PID control steam temperature too?
Not directly. The BrewWise Thermoblock uses a separate steam tube path. You’ll need a second PID or a dual-channel controller for steam. Most owners keep the stock steam thermostat and only PID the brew circuit.
4. How often do I need to recalibrate the PID?
After the initial autotune, recalibrate only if you change your target temperature by more than 10 °C or replace the sensor. Otherwise, once every six months is sufficient for drift checks.
5. What is the best sensor placement for pressure-temperature accuracy?
Drill into the brass outlet elbow, not the thermoblock itself. The block has hotspots; the outlet water represents the actual brew temperature. Aim for a fitted depth of 12 mm into the flow path.
6. Can a PID fix pressure surges during pre-infusion?
It helps thermal stability, but pressure surges are often caused by pump air. For a dedicated solution, see BrewWise Thermoblock: 3 Ways to Improve Extraction Yield for Stronger Shots and BrewWise Thermoblock: How to Bleed Air from Pump for Consistent Flow. A PID alone won’t replace pump maintenance.