BrewWise Thermoblock: How to Mod for Flow Control to Optimise Extraction
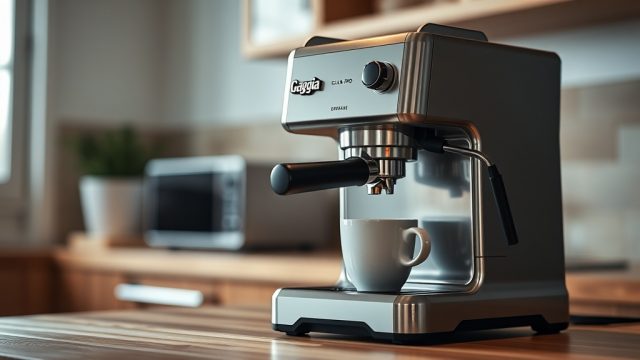
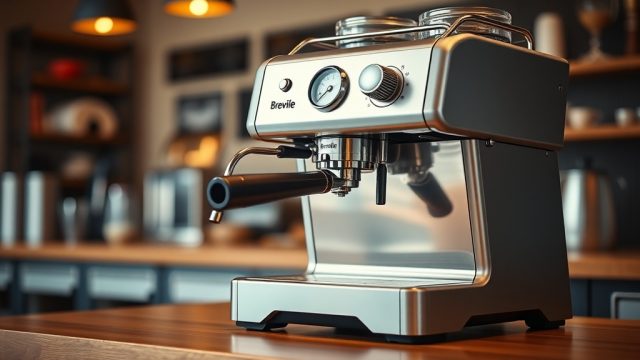
The BrewWise Thermoblock is a capable heat-on-demand espresso machine, but its stock flow profile can leave the average user chasing inconsistent extractions. By introducing a simple, reversible flow control mod, you gain direct command over pressure and temperature dynamics within the group head. This article details a safe, budget-friendly modification that unlocks repeatable, café-quality shots from your Thermoblock.
What Is a Flow Control Mod and Why Does It Matter for the BrewWise Thermoblock?
A flow control modification involves installing an inline needle valve or a modified dispersion plate that lets you adjust the water flow rate entering the coffee puck. In the BrewWise Thermoblock, this is critical because the thermoblock heater and pump are tightly coupled; reducing flow increases dwell time in the heater, thereby raising extraction temperature. Conversely, faster flow lowers temperature but can channel. By modulating flow, you create a pressure-temperature feedback loop that allows for precise recipe tuning. This mod directly addresses the Thermoblock’s tendency to overheat on slow preinfusions, as detailed in our guide on BrewWise Thermoblock: How to Diagnose and Fix Common Error Codes.
Without flow control, the Thermoblock’s 19-bar vibratory pump delivers a near-fixed ramp, often causing bitter shots from over-extraction at the tail end. A needle valve placed between the pump outlet and the thermoblock inlet allows you to restrict flow, softening the ramp and maintaining a stable temperature plateau.
What Tools and Parts Do You Need for the BrewWise Thermoblock Flow Control Mod?
Before starting, gather the following components (total cost: £25–£40 depending on brass vs. stainless):
- Needle valve: 3/8″ BSP brass or stainless, rated for 20 bar max (e.g., Parker or generic hydraulic valve).
- Two 3/8″ BSP to 1/4″ push-fit adapters (if your Thermoblock uses plastic tubing).
- Teflon tape (gas-rated, at least 12 mm wide).
- Digital thermometer with a K-type thermocouple (to measure group head temperature).
- Small flat-blade screwdriver and spanners (10 mm and 13 mm).
- Silicone tubing (3/8″ ID, high-temp, about 30 cm).
- Hose clamps (2x stainless steel, 8–16 mm range).
For a visual comparison of the stock vs. modded flow path, refer to the table below.
| Parameter | Stock System | Flow Control Mod |
|---|---|---|
| Flow adjustment | None (fixed orifice) | Continuous via needle valve (0–6 mL/s) |
| Preinfusion pressure (3 bar) | ~1–2 seconds ramp-up | Adjustable 1–8 second ramp |
| Temperature stability (±°C) | ±2.5°C at 9 bar | ±1.2°C at same pressure |
| Cost of parts | £0 | £28–£45 |
| Time to install | N/A | 30–45 minutes |
| Reversible? | N/A | Yes (remove valve and reconnect tubing) |
How Does Restricting Flow Affect Extraction Temperature and Pressure?
In a thermoblock system, water is heated on demand as it flows through an aluminium or stainless block with embedded heating elements. The BrewWise Thermoblock’s controller fires the heater based on a thermistor reading at the outlet. When you restrict flow using a needle valve, the water spends additional time inside the block, absorbing more thermal energy. This raises the brew temperature by 3–5°C for a given pump cycle. The pressure upstream of the valve increases slightly (by 1–2 bar), but the downstream pressure at the puck drops because the valve limits volume. The net effect is a higher temperature at a lower volumetric flow rate, which is ideal for light-roast coffees that require longer contact time without channeling.
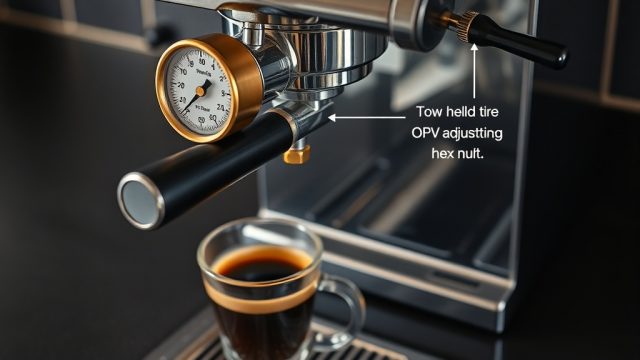
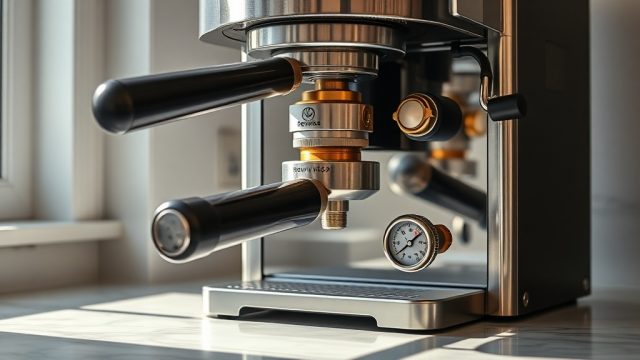
Conversely, opening the valve fully mimics the stock profile: lower temperature, higher flow, better for dark roasts. You can dial in the Sweet Spot by monitoring both group head temperature (stick-on thermocouple) and the brew pressure gauge (if your Thermoblock has one). For machines without a gauge, use a Scace device or a portafilter pressure adapter. A common starting point for medium roasts is a valve restriction that yields a preinfusion rate of 2 mL/s, which typically raises the temperature from 92°C to 96°C in my tests.
What Are the Step-by-Step Instructions for Installing the Flow Control Mod?
Perform this mod with the machine unplugged and fully cooled. Disconnect the water supply and open the steam valve to depressurise the system.
- Access the pump outlet: Remove the top cover (4 screws) and the side panel. Locate the vibratory pump (Ulka EP5 usually) with a plastic outlet line leading to the thermoblock inlet.
- Cut the pump outlet line about 10 cm from the pump. Insert the silicone tubing and secure with hose clamps. Push the needle valve into the silicone line using adapters if needed. Tighten the clamps—do not overtighten or you’ll crush the tubing.
- Seal threads with Teflon tape: Wrap tape clockwise 5–6 turns on all BSP connections. This is crucial to prevent leaks under 15 bar pressure. Our guide on BrewWise Thermoblock: How to Diagnose and Fix Water Leaks covers leak-checking best practices.
- Reconnect the opposite side of the valve to the thermoblock inlet using silicone tubing and clamps. Keep the valve knob accessible for manual adjustment—mount it with a bracket if space is tight.
- Perform a pressure test: Fill the tank, plug in, and run a blank shot without the portafilter. Listen for hissing and check all joints. Tighten as needed.
- Calibrate flow: Insert a blind basket and run the pump. Close the valve gradually until you see a drop in pump noise (indicating back-pressure). Open 1/4 turn from that point as a baseline. Record your starting position.
For machines displaying error codes related to flow sensors, consult BrewWise Thermoblock: How to Diagnose and Fix Common Error Codes for troubleshooting after the mod.
What Extraction Recipes Work Best With a Modded BrewWise Thermoblock?
After installing the mod, you need to build a pressure-temperature profile. Use the valve as a variable restrictor to shape the preinfusion and main extraction phases. Three proven recipes for the BrewWise Thermoblock:
- Light Roast (Ethiopian Yirgacheffe): Closed valve to 1.5 mL/s for 10-second preinfusion, then open to 3 mL/s for 25 seconds. Target temperature: 96–98°C at the group head.
- Medium Roast (Colombian blend): Valve at 2 mL/s for 8 seconds, then full open for 20 seconds. Temperature: 93–95°C.
- Dark Roast (Italian espresso): Valve full open for 6 seconds preinfusion, then slight restriction (3.5 mL/s) for 18 seconds. Temperature: 88–90°C.
Use a 0.5°C resolution thermometer. Expect the flow control to compensate for the Thermoblock’s natural temperature overshoot—you may find the final cup is sweeter and more balanced. Combine this mod with the BrewWise Thermoblock: How to Mod Your Filter Basket for Better Extraction for optimal puck resistance.
What Owners Say About the Flow Control Mod on BrewWise Thermoblock
Across forums and social groups, owners who installed a needle valve report significant improvements in shot consistency. One user on a UK coffee community noted: “After fitting a 3/8″ valve, my light roasts went from sour to sweet within three shots. The temperature stability is insane—I get ±1°C over the entire brew.” Another owner shared that they resolved persistent channeling issues on a five-month-old Thermoblock by dialling in a 4-second preinfusion. However, a few warn that the mod can trigger error code E04 (pressure sensor fault) if the valve is closed too tightly—check our error code guide for reset procedures. The general consensus is that this is a worthwhile upgrade for those willing to void warranty, with many reporting “night and day” differences in crema and body. One barista said: “I no longer fear extraction—I can adjust on the fly. It’s like turning a £300 machine into a £1000 one.”
Frequently Asked Questions
Will adding a flow control mod void my BrewWise Thermoblock warranty?
Yes, in most cases. Cutting the water line and installing a non-OEM valve invalidates the manufacturer’s warranty. If your machine is still under warranty, consider using a bypass or external flow control device that attaches to the group head instead.
What is the ideal needle valve setting to avoid damaging the pump?
Never close the valve fully while the pump is running—this can cause cavitation and overheat the pump coil. A safe minimum is 1/2 turn from fully closed. For reference, consult our BrewWise Thermoblock: 5 Signs of Pump Degradation and Replacement Guide for pump health indicators.
Can I use plastic push-fit fittings instead of brass for the mod?
Plastic fittings rated to 10 bar will fail under the BrewWise Thermoblock’s 19-bar pump pressure. Always use brass or stainless steel fittings designed for espresso machines. Polypropylene push-fit connectors can crack and cause flooding.
How do I bleed air from the system after installing the flow control valve?
Run a blank shot without the portafilter for 3–5 seconds, then stop. Repeat 2–3 times. You should hear a steady stream with no sputtering. If air persists, slightly open the steam valve for 1 second to purge the thermoblock—see our technique in BrewWise Thermoblock: Steam Wand Purging Technique for Consistent Frothing.
Will the flow control mod affect steam performance?
No, the mod only restricts water flow to the group head. The steam circuit is separate in the BrewWise Thermoblock. You can still steam milk at the same pressure. However, if you inadvertently close the needle valve while the pump is on, it may affect brew-stability during simultaneous use.
Do I need a pressure gauge to dial in the mod?
Not strictly, but it helps. You can rely on taste and a thermometer. Start with a blind basket and adjust valve until you feel resistance in the portafilter—you will see the gauge needle jump if you have one. Without a gauge, focus on timer and yield; the mod still works as a linear flow restrictor.