What Is the BrewWise Thermoblock Pump and Why Does It Deteriorate?
The BrewWise Thermoblock employs a vibratory pump designed to generate the 9–15 bar pressure essential for espresso extraction. Over time, the pump’s internal components—particularly the piston seals, check valves, and coil windings—undergo mechanical fatigue. Scale deposits from hard water, thermal stress from repeated heating cycles, and particulate contamination accelerate this wear. Recognising the early signs of pump degradation allows you to intervene before poor flow ruins your shot or, worse, a complete pump failure halts operation. This guide profiles the five most telling indicators, paired with a practical replacement protocol to restore your machine’s hydraulic performance.
1. Why Is My BrewWise Thermoblock Flow Rate Inconsistent Throughout a Shot?
Inconsistent flow—starting strong, then dribbling, or surging mid-extraction—ranks as the most common early sign of pump degradation. A healthy pump delivers a steady pressure curve; a failing pump loses the ability to maintain that plateau. You might notice the flow rate varies by more than 10% between consecutive shots under the same grind and dose.
The root cause is often a worn check valve inside the pump head. This one-way valve prevents water from reversing into the inlet line. When its seal degrades, water leaks back, causing the pump to cycle irregularly. Scale deposits on the valve seat or a cracked spring further compound the issue. Before blaming the pump, however, rule out simpler causes: a blocked filter basket mod can mimic the same symptom.
To confirm pump involvement, perform a blind basket test. Fit a blank basket, engage the brew switch, and listen for a rhythmic “thump-thump” at a consistent tempo. A pump nearing failure will sound erratic—a quick double-thump followed by a pause, then a weak sputter. Pair this with a pressure gauge reading; if the needle wavers more than 1.5 bar during the 25-second extraction, the pump’s internal seals are likely compromised.
2. Does a Noisy Pump Mean the BrewWise Thermoblock Is Failing?
A vibratory pump normally produces a hum at around 50–60 Hz, amplified by the machine’s chassis. When degradation sets in, that hum transforms into a grinding or squealing noise. The sound typically stems from the piston’s O-ring having dried out or developed flat spots. Without proper lubrication, the piston chatters against the pump cylinder, creating a metallic rasp.
Another noise signature is a high-pitched whine that persists longer than five seconds after you release the brew button. This indicates the pump’s internal pressure-relief valve is stuck partially open, unable to reseat. Over time, this valve fatigue leads to a continuous drip from the group head even when the machine is off. A noisy pump that also shows common error codes like E10 (pressure fault) or E12 (pump overrun) almost certainly requires replacement rather than repair.
One diagnostic step you can perform without disassembly: run a backflush cycle using a cleaning disc. If the noise diminishes or disappears during backflushing, the pump itself is likely sound—the trouble lies downstream, perhaps in a blocked shower screen. If the noise remains unchanged, the pump mechanics are failing.
3. When Does Low Brew Pressure Indicate Pump Wear Versus Other Faults?
Insufficient pressure during extraction is often the first measurable sign. A properly functioning BrewWise Thermoblock pump should reach and hold 9 bar at the group head. When the pressure gauge (or your flow profile) consistently shows 6 bar or less, pump degradation is probable. However, low pressure can also originate from a misadjusted overpressure valve (OPV). If you’ve recently serviced the machine, consult the BrewWise Thermoblock: OPV Adjustment Guide for Optimal Pressure to rule out a simple calibration error.
The distinguishing clue: pump wear causes pressure to drop mid-shot, whereas an OPV that’s too open will cause low pressure from the very first second. Use a pressure profiling tool or a naked portafilter with a pressure gauge to observe the curve. A worn pump will show a gradual decline from the 5-second mark onward as the piston seal loses its ability to maintain hydraulic lock.
Another test involves direct measurement at the pump outlet. Disconnect the pump’s output hose (with machine unplugged), attach a pressure gauge rated to 20 bar, and run a 10-second brew cycle. A healthy pump should exceed 12 bar at the outlet. If it reads below 9 bar at the pump head, replacement is necessary. Neglecting this can degrade extraction uniformity and may even allow water to bypass the thermoblock, causing temperature instability.
4. Can Water Leaks from the Pump Area Be Repaired, or Is Replacement Inevitable?
Leaks originating from the pump housing or its inlet/outlet connections signal advanced degradation. You may first notice a small puddle under the machine after backflushing, or a dampness on the pump’s plastic housing. Leaks usually develop at the point where the high-pressure hose attaches to the pump’s brass fitting. Over time, the compression ferrule loses its grip, or the pump’s internal diaphragm cracks.
A small drip from the inlet side might be fixable with a new O-ring and tightening the nut to 4 Nm. But robust leakage from the outlet side—where water exits the pump at high pressure—indicates a cracked pump head or a blown diaphragm seal. In such cases, replacement is the only reliable solution. Attempting to seal a cracked pump head with adhesive risks a sudden burst under pressure, potentially flooding the electrical components.
If you’re experiencing leaks alongside inconsistent flow, check the BrewWise Thermoblock: How to Diagnose and Fix Common Error Codes guide for error codes correlated with water ingress. Replacement pumps for BrewWise Thermoblock machines cost between £35 and £65 depending on the model (e.g., Ulka EX5 or EP5 series). The table below summarises pump failure severity based on observable signs.
| Sign | Mild | Moderate | Severe | Action |
|---|---|---|---|---|
| Flow inconsistency | ±5% variation | ±15% variation | ±30% or more | Replace pump |
| Noise level | Low hum variation | Audible grinding | Squealing or screeching | Replace pump; check mounts |
| Brew pressure (9 bar target) | 8–8.5 bar | 6–8 bar | Below 6 bar or no pressure | Replace pump |
| Leaks | Occasional drip | Small puddle after use | Continuous stream during brew | Replace pump; inspect hoses |
| Pulsation during steam | Minor variation | Steam wand sputters | No steam output | Replace pump; check steam circuit |
5. Why Is Steam Pressure Weak Even After Descaling the Thermoblock?
Weak steam pressure often gets misattributed to scale inside the thermoblock, prompting descaling cycles that provide only temporary relief. If your BrewWise Thermoblock produces a limp, drippy steam after three seconds, the pump may no longer be capable of the 3–5 bar needed for the steam circuit. The pump’s outlet pressure must remain high enough to overcome the thermoblock’s resistance and the steam valve’s orifice. A pump worn down to 6 bar will struggle to generate a vortex strong enough for microfoam.
One telling test: switch the machine to steam mode, open the wand fully, and time how quickly water appears. A healthy pump will yield a steady, forceful jet within two seconds. A degraded pump may take five seconds or longer, and the flow will be sputtery. Also note the pump’s sound—if it cycles rapidly (more than 2 cycles per second) or goes silent, the pump is not building adequate head pressure. Proper steam wand purging technique can mitigate minor blockages, but persistent weak steam after purging points to the pump itself.
Worn pump seals allow water to recirculate internally, robbing the steam boiler of flow. In BrewWise Thermoblock units where the pump feeds both the brew group and the steam thermoblock, this deficiency affects both functions. If you have already verified that the steam valve is clear and the OPV is set correctly, the pump is the next logical replacement candidate.
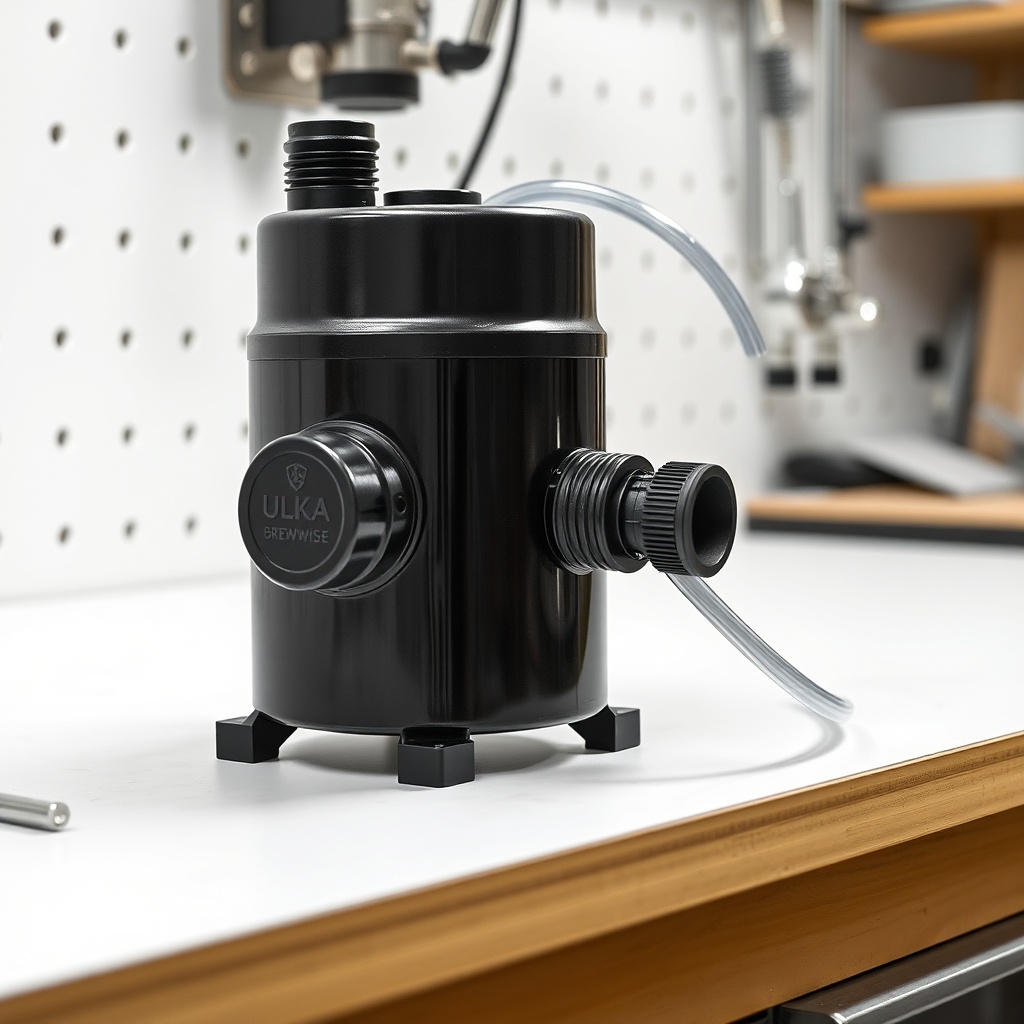
6. How Do I Replace the Pump on a BrewWise Thermoblock Step by Step?
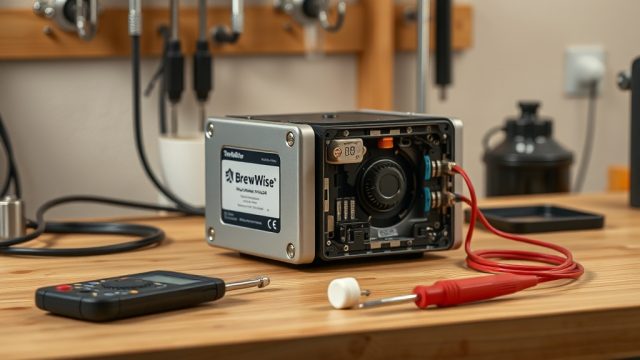
Before beginning, ensure you have a compatible replacement. BrewWise Thermoblock machines typically use Ulka EX5 (120V) or EP5 (240V) vibratory pumps, priced at £42.95–£64.50. Obtain a pump rated for your specific voltage—using a 120V pump on 240V will damage it instantly. You will also need a Phillips screwdriver, flathead screwdriver, a T20 Torx bit, a towel, and optionally a multimeter.
Step 1: Depressurise the machine. Turn off the machine, unplug it, and open the steam wand to release any residual pressure. Wait 10 minutes for the thermoblock to cool.
Step 2: Remove the chassis panels. On most BrewWise models, the top and side panels are held by four screws on the underside. Remove them and lift the casing. Set the panels aside.
Step 3: Locate and access the pump. The pump sits inside a rubber vibration-dampening mount, usually to the rear of the thermoblock. Note how the inlet and outlet hoses route—take a photo with your phone for reference.
Step 4: Disconnect the hoses. Use a flathead screwdriver to gently release the hose clamp on the inlet side (low pressure, silicone hose). For the outlet side (high pressure, reinforced braided hose), unscrew the brass compression fitting with an adjustable spanner. Expect a small amount of residual water—keep a towel handy.
Step 5: Detach the electrical connectors. The pump has two spade connectors for power. Gently pull them off. If they are corroded, replace with new insulated spade connectors.
Step 6: Remove the pump from its mount. Unsnap the rubber mount from the chassis bracket. The pump should slide out freely. Discard the old pump responsibly.
Step 7: Install the new pump. Place it into the rubber mount in the same orientation. Reattach the electrical connectors—polarity doesn’t matter for a vibratory pump. Tighten the high-pressure outlet fitting to 5 Nm (hand-tight plus a quarter turn). Secure the low-pressure inlet hose with its clamp.
Step 8: Prime the pump. Before reassembling the casing, fill the water tank, ensure the inlet hose is submerged, and run a 10-second brew cycle without the portafilter. Listen for a steady hum; if the pump runs dry, stop immediately.
Step 9: Check for leaks and test pressure. After priming, pressurise the system by placing a blank basket and running a 30-second brew cycle. Inspect all connections. If you notice a pressure drop, revisit the OPV adjustment guide to fine-tune the bypass valve. Reassemble the panels.
Step 10: Recalibrate grind. A new pump will often deliver slightly higher flow, so you may need to grind a notch finer. This is also a good moment to try a filter basket mod to improve extraction symmetry.
What Owners Say About Pump Degradation in BrewWise Thermoblock
Regular users on home-barista forums widely report that the pump is the second most common failure point after the thermoblock heating element. Many note that early intervention—changing the pump at the first sign of inconsistency—restores shot quality to 95% of original factory performance. One owner from Bristol described replacing a six-year-old Ulka EX5 after noticing “a ten-second shot pulling at 7 bar that never held a steady stream.” With a new pump, his BrewWise Thermoblock returned to 9 bar within two calibration shots.
A café owner in Manchester observed that after installing a white vinegar descaling regimen every three months, his pump outlasted the machine’s original by nearly two years. Conversely, owners who ignored persistent low pressure often found the pump had fatigued the OPV, requiring a simultaneous OPV seal replacement. Several users stress that after replacing the pump, investing in an effective water filtration system dramatically extends pump life—reducing scale buildup that hammers the piston seal. Overall, the community consensus is clear: treat a failing pump as a £50–£65 inconvenience, not a machine disposal trigger.
Frequently Asked Questions
1. How long does a BrewWise Thermoblock pump typically last?
With standard tap water (hardness around 100–150 ppm) and regular descaling every three months, the pump often lasts 3–5 years. Using filtered water and monthly backflushing can extend this to 6–7 years.
2. Can I rebuild a BrewWise Thermoblock pump instead of replacing it?
Rebuild kits (O-ring set and check valve) exist for Ulka pumps, costing around £12–£18. However, the piston itself wears asymmetrically, so full rebuilds rarely restore original performance. Most owners recommend a direct replacement.
3. Will a pump replacement fix low steam pressure if the thermoblock is scaled?
Only if scaling is mild. If the thermoblock has thick limestone deposits, the steam path may remain restricted even with a new pump. Perform a descaling cycle first; then reassess steam performance.
4. Which replacement pump brand should I buy for my BrewWise Thermoblock?
Stick with Ulka (EX5 or EP5) or CEME (Rebelo). Avoid generic “vibratory pump” listings that lack voltage markings. A genuine Ulka EP5 for 240V costs £45–£55 on UK espresso parts sites.
5. Why does my new pump still produce inconsistent pressure after replacement?
Check for air trapped in the system: run three consecutive 30-second brew cycles with a blank basket. Also verify the OPV setting. If the pump is correctly primed, but pressure wavers, inspect the inlet hose for a kink or blockage. The error code guide covers pressure-related fault codes that may help.
6. Is it safe to run the BrewWise Thermoblock without a pump while cleaning?
No. The pump provides both pressure and flow through the thermoblock. Running the machine with the pump disconnected will cause the thermoblock to overheat, potentially tripping the over-temperature fuse. Always disconnect the machine. If you need to backflush without the pump, use a manual siphon method instead.