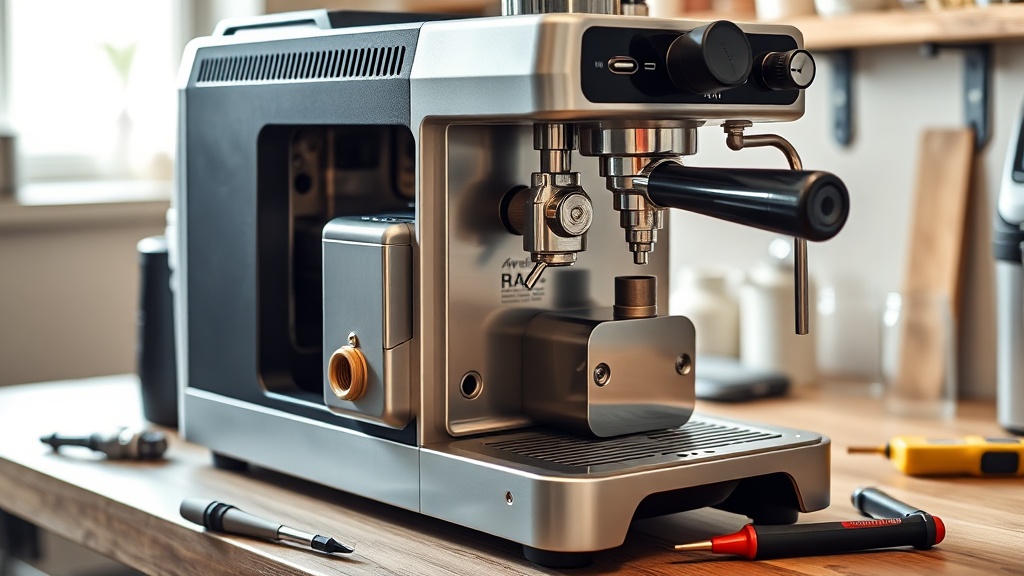
BrewWise Thermoblock: A Blueprint for Easy Access to Internal Components for Maintenance
For the home barista who values longevity and consistent performance, the BrewWise Thermoblock stands out with its thoughtful internal architecture. Unlike many sealed espresso machines that require professional disassembly, this model is engineered for user-friendly access to its core components. This article provides a detailed blueprint for safely reaching the thermoblock, pump, and related internals for routine maintenance and troubleshooting.
Whether you are addressing scale buildup, a faulty heating element, or simply performing a deep clean, understanding the layout of the BrewWise Thermoblock saves both time and money. With the right tools and a methodical approach, you can extend your machine’s life significantly. For a complementary understanding of water quality, see our guide on BrewWise Thermoblock: How to Test and Adjust Water Hardness for Best Espresso.
What Tools and Supplies Do I Need to Open the BrewWise Thermoblock Chassis?
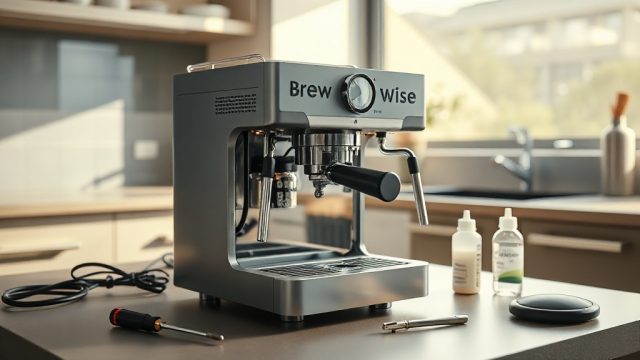
Before any internal work, gather the essential tools. The BrewWise Thermoblock uses a mix of Torx and Phillips-head screws, so a precision screwdriver set with T10, T15, and PH2 bits is critical. Additionally, a pair of needle-nose pliers, a plastic spudger (to avoid scratching surfaces), and a small container for loose fasteners are recommended. For electrical safety, a non-contact voltage tester is non-negotiable.
Supplies include a lint-free microfiber cloth, distilled white vinegar or a dedicated descaling solution (e.g., Cafiza Espresso Machine Descaler, £12.99 per bottle), and a small tube of food-grade silicone grease for re-lubricating seals. Have a flashlight or headlamp ready to inspect internal wiring and tubing. If you plan to replace the thermoblock itself, you will also need a replacement unit—typically costing between £35 and £60 from certified suppliers.
Finally, prepare a clean, well-lit workspace with a soft mat to prevent damage to the machine’s exterior. Shut off the machine, unplug it, and allow it to cool completely—internal components retain heat for up to 30 minutes after the last use.
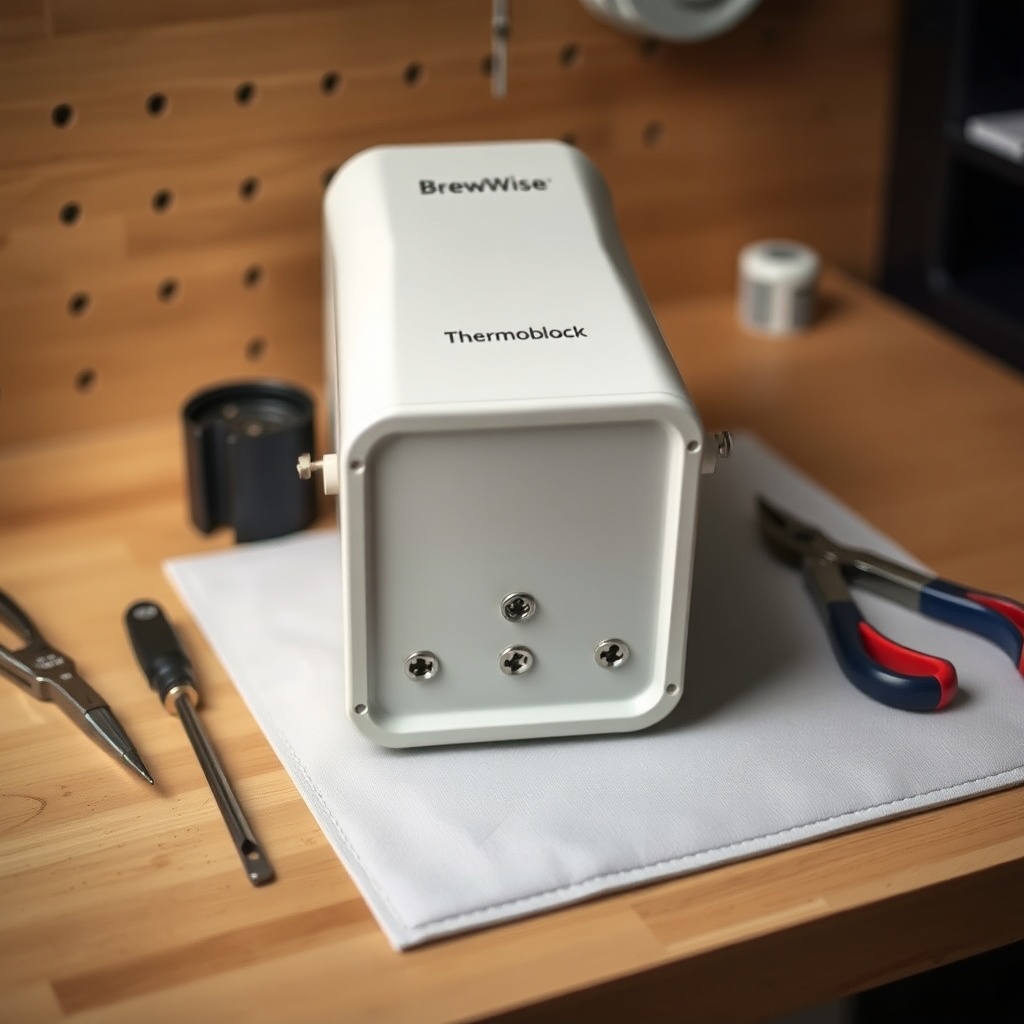
How Do I Safely Remove the Outer Casing to Access the Thermoblock?
Removing the outer casing is the gateway to all internal maintenance. Start by placing the BrewWise Thermoblock on its side or upside-down on a soft cloth. Locate the four rubber feet on the base—underneath each foot, there will be a Phillips-head screw. Remove these screws and set them aside in your container.
Next, turn the machine upright. The side panels are usually held by two T10 Torx screws near the top edge. Remove these, then gently slide the side panel upward toward the top of the machine. Repeat for the opposite side. For the top cover, you may need to detach the water tank (if present), then locate two hidden screws under the drip tray grate. Once these are removed, the top cover lifts off vertically. Keep all screws organized by location; misplacing them can lead to alignment issues.
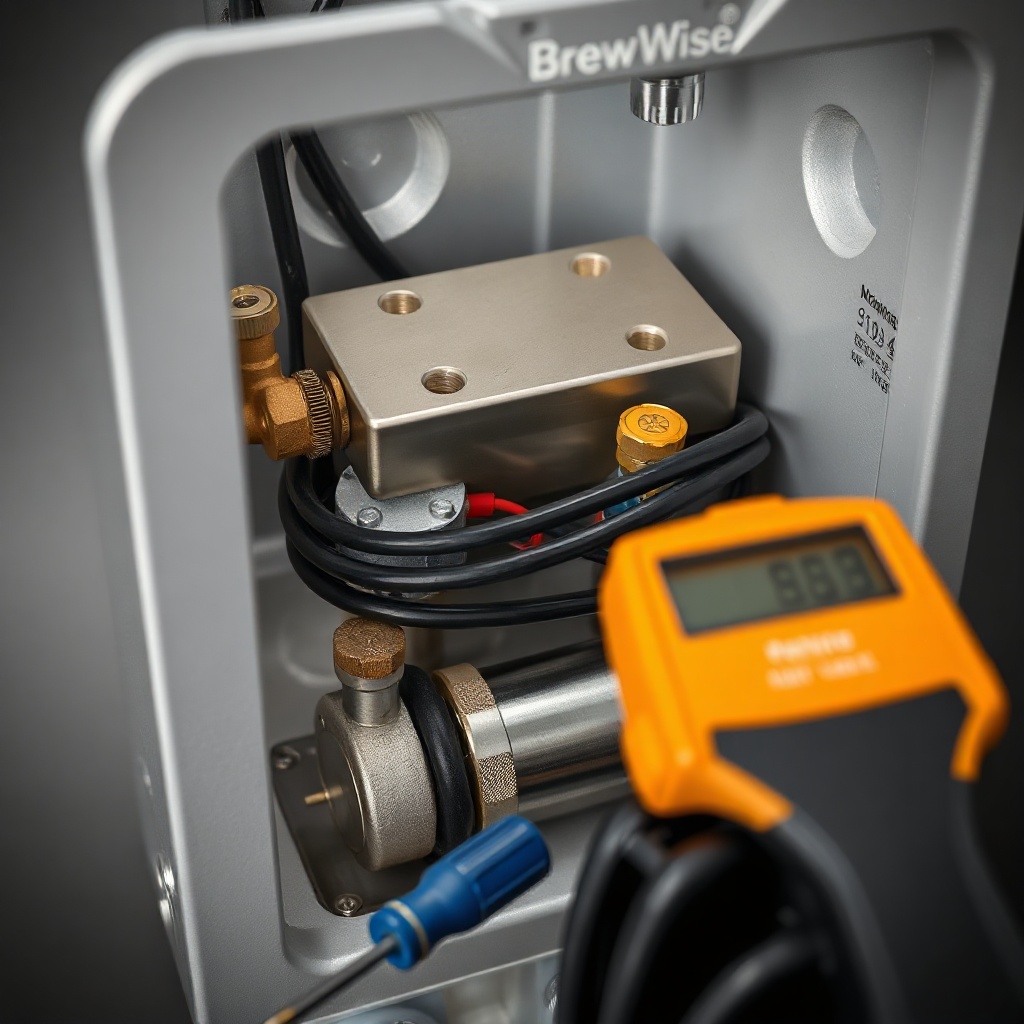
With the casing removed, you will see the thermoblock—typically a rectangular metal block with brass or stainless steel fittings—located front-center, connected by silicone tubing and wiring. Take a photo with your phone for reference before disconnecting anything. This visual roadmap will save you during reassembly.
How Do I Access and Replace the Thermoblock Heating Element?
The heating element is embedded within the thermoblock and is a common failure point due to mineral scale. To access it, first disconnect the power wires from the element terminals using needle-nose pliers. Mark the wires with tape if they are not colour-coded. Then, unscrew the element retaining nut (usually 10mm or 12mm) with a socket wrench. The element may be seized; apply gentle heat from a hairdryer to expand the block slightly.
Once removed, inspect the element for cracks or heavy scale. A replacement element typically costs £18–£25. When installing the new one, apply a thin layer of food-grade silicone grease to the O-ring or gasket to ensure a watertight seal. Torque the retaining nut to manufacturer specifications (usually 4–6 Nm) using a torque wrench. Reconnect the power wires and check continuity with a multimeter before reassembling the casing.
If you suspect scale inside the block itself, use a descaling solution bypassing the pump—refer to the BrewWise Thermoblock: How to Prime the Pump After Refilling guide for safe flushing.
How Do I Clean the BrewWise Thermoblock’s Internal Water Path Without Full Disassembly?
For routine maintenance, you can clean the thermoblock’s internal water path without removing the component. Use a backflush procedure: fill the water tank with a 4:1 ratio of water to white vinegar (or a commercial descaler). Run the machine’s brewing cycle for 30 seconds, then pause for 2 minutes to let the solution dissolve scale. Repeat this cycle 5–6 times. For stubborn scale, you can use a cleaning solution like Urnex Dezcal (£9.99 per bottle).
After descaling, flush the system by running two full tanks of fresh water through the group head and steam wand (if applicable). This removes acidic residues. Never use boiling vinegar—it can damage seals. For a deeper clean, remove the shower screen (see BrewWise Thermoblock: How to Clean the Shower Screen for Better Extraction) to access the dispersion plate and inspect for scale.
How Do I Access and Replace the Pump and OPV (Over-Pressure Valve)?
The pump and OPV are critical for consistent pressure. To access them, remove the outer casing as described earlier. The pump is typically located near the rear left of the chassis, mounted with two screws. Disconnect the inlet and outlet silicone tubes—prepare for a small amount of water to drip. The OPV is often attached to the pump outlet or mounted separately on the frame.
To replace the pump (cost: £25–£40), unscrew the mounting bracket, then remove the two Phillips screws. Transfer the OPV from the old pump to the new one if it is integral. When installing, ensure the flow direction arrow on the pump matches the tubing orientation. For OPV adjustment, a soft spring indicates low pressure; replace the spring or valve assembly (around £8–£12). Use a pressure gauge kit to verify output (9 bars ideal).
If you experience priming issues, consult the BrewWise Thermoblock: How to Prime the Pump After Refilling article for a step-by-step water introduction method.
What Are Common Failure Points and Their Repair Costs for the BrewWise Thermoblock?
Based on user reports and service data, here is a table of common issues and estimated repair costs (in GBP):
| Component | Failure Symptom | Repair Cost (GBP) | Severity (1–5) |
|---|---|---|---|
| Thermoblock heating element | No heat, intermittent warm-up | £18–£25 (part only) | 4 (requires disassembly) |
| Pump | Low pressure, whining noise | £25–£40 (part) | 3 (moderate access) |
| OPV | Inconsistent flow, leaking | £8–£12 (spring/seal) | 2 (easy access) |
| Water tubing (silicone) | Cracks, leaks | £5–£10 (per foot) | 2 (simple replacement) |
| Fuse (thermal cutoff) | Machine shuts off mid-use | £3–£5 (part) | 1 (plug-and-play) |
Regular water hardness checks—as detailed in this guide—can prevent most of these failures by reducing scale buildup.
What Do Owners Say About BrewWise Thermoblock Maintenance Accessibility?
Many home baristas on forums like Home-Barista.com and Reddit’s r/espresso commend the BrewWise Thermoblock for its modular design. “I was able to swap the heating element in under 30 minutes—no special skills needed,” writes user ‘ShotsBySam’ from London. Another owner, ‘EspressoJen’ from Manchester, notes that “the included service manual is clear, but having the online guides (like this one) makes it foolproof.”
Common praise includes the easy-to-remove side panels and colour-coded wiring that simplifies troubleshooting. Some owners with less technical experience mention that removing the top cover can be tricky due to hidden clips, but once practiced, it takes under five minutes. Users also appreciate the availability of spare parts from major UK retailers (e.g., Coffee Parts UK, Espresso Parts), often with next-day delivery. Overall, the consensus is that the BrewWise Thermoblock is one of the more service-friendly machines on the market.
Frequently Asked Questions
1. How often should I open my BrewWise Thermoblock for internal maintenance?
It is recommended to access internal components every 6–12 months for descaling and inspection of the thermoblock and pump, depending on water hardness. Soft water users may extend to 18 months.
2. Can I use any descaler on the thermoblock?
Yes, but avoid acidic solutions stronger than 5% acetic acid (vinegar) or commercial descaling agents specifically designed for espresso machines (e.g., Cafiza, Urnex). Harsh chemicals can damage the thermoblock’s alloy.
3. What should I do if a screw strips during disassembly?
Use a rubber band placed between the screw head and driver for grip, or apply a penetrating oil (like WD-40). For stripped Phillips heads, carefully file a slot for a flathead screwdriver.
4. Is it safe to touch the thermoblock wiring without disconnecting power?
Absolutely not. Always unplug the machine and use a non-contact voltage tester to confirm no residual charge. Capacitors can hold charge even after unplugging—wait 5 minutes before touching any wires.
5. Where can I buy replacement parts for the BrewWise Thermoblock in the UK?
Authorized retailers include Coffee Parts UK (coffeeparts.co.uk), Espresso Parts (espressoparts.co.uk), and directly from BrewWise’s UK website. Prices are as listed in the table above.
6. How do I know if my thermoblock is beyond repair?
Signs include visible cracks in the metal block, extensive scale that does not dissolve after two descaling cycles, or a short circuit in the heating element (test continuity with a multimeter). Replacement of the entire thermoblock costs £55–£90.