Why Does the De’Longhi Magnifica S Need a Grinder Burr Replacement?
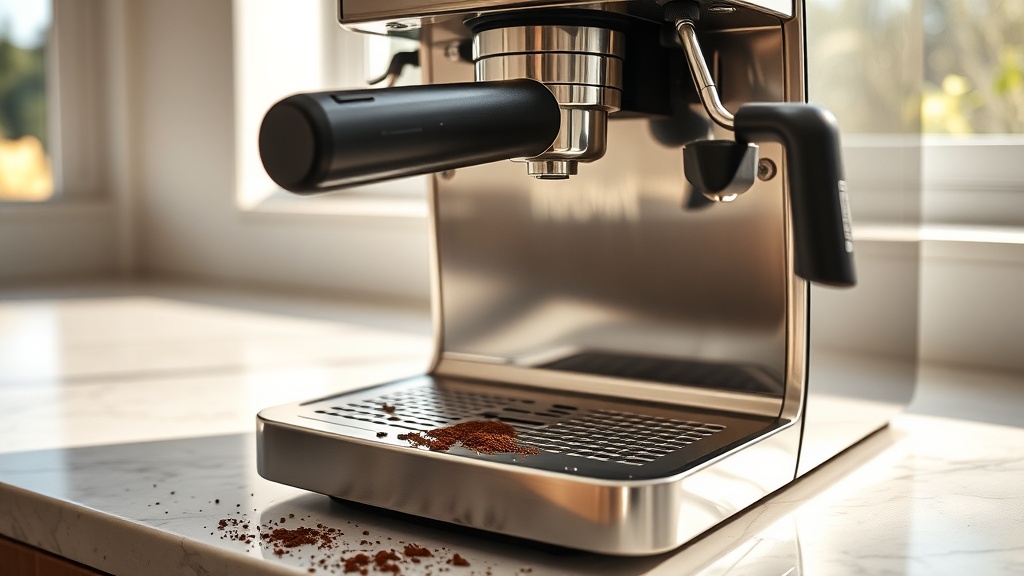
The De’Longhi Magnifica S is a workhorse of the home espresso world, churning out cup after cup with its integrated conical burr grinder. Over time—typically after 5,000 to 8,000 shots, or two to four years of daily use—the stainless steel burrs will dull. Worn burrs produce inconsistent grounds, leading to channeling, bitter or sour shots, and a telltale decrease in crema quality. Replacing the burrs restores the machine to its factory-fresh grinding precision, ensuring each 14-gram dose extracts evenly. This guide walks through every step, from identifying when replacement is needed to the final reassembly.
How Can I Tell When the Burrs Are Worn?
Recognising the signs early saves you from chasing other issues like a faulty pump or blocked brew group. Listen for a whining or screeching sound during grinding, which indicates the burrs are no longer cutting cleanly. Visual inspection is straightforward: remove the bean hopper and grind size adjustment knob, then lift out the upper burr carrier. If the inner ring of cutting teeth appears rounded or chipped, replacement is due. Another reliable test is the shot timer: a fresh 18-gram dose should take 25–30 seconds. If you see a sudden drop to 15–18 seconds with no grind size change, suspect dull burrs. For more on dialling in your grind, see our companion article De’Longhi Magnifica S: How to Adjust Grinder Settings for Perfect Extraction.
Coffee taste is the final judge. A shot from worn burrs often tastes hollow or ashy, even if your water and beans are top-tier. Track your output: if you’re adding three to four clicks finer on the adjustment dial every month just to maintain the same flow rate, the burrs are past their prime. Replacing them at this point resolves what some users mistakenly attribute to a failing brew thermostat.
What Tools and Replacement Burrs Do I Need?
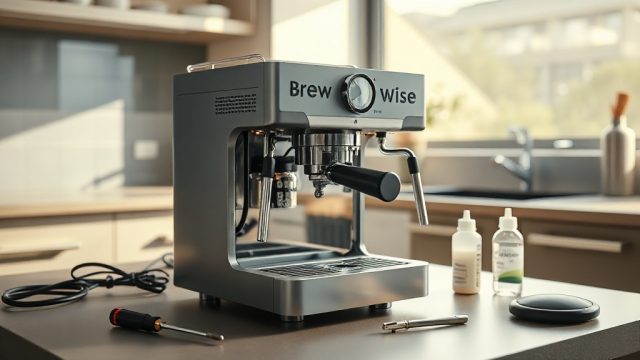
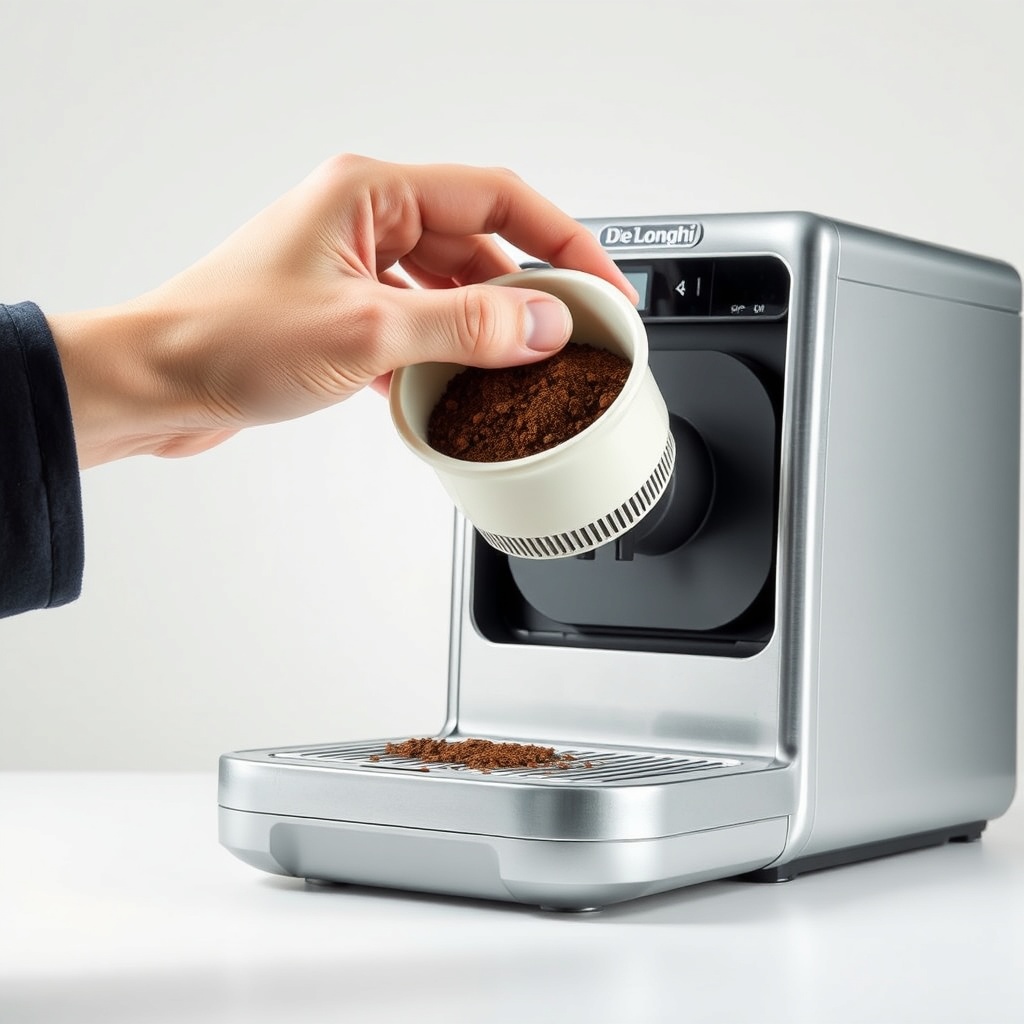
Before starting, gather the correct parts and tools. De’Longhi offers OEM burr sets (part numbers generally include “5313” or “5513” depending on the regional variant, but confirm with your machine’s serial number). Third-party options from Eureka or Fiorenzato are also compatible, though OEM ensures exact hardness and alignment specs. Expect to pay between £35 and £55 for an OEM set in the UK, or €40–€60 across Europe. You’ll also need a Philips-head screwdriver, a small flathead screwdriver, a soft brush, and a microfibre cloth. A torque screwdriver (set to 0.6 Nm) is recommended but not essential—hand-tightening works if you’re careful not to overtighten.
| Symptom | Severity | Estimated Replacement Cost (UK £) |
|---|---|---|
| Grinding sound changes, no taste issue | Mild | £35–£40 |
| Inconsistent shot time, reduced crema | Moderate | £40–£45 |
| Bitter/sour shots, frequent clogging | Severe | £45–£55 |
| Burrs visibly chipped or worn flat | Critical | £50–£55 + possible brew group service |
Also have a small container to catch loose grounds and a vacuum cleaner on hand. Work on a stable, well-lit counter. If you’ve never cleaned the brew group before, now is the perfect time to run the De’Longhi Magnifica S Cleaning Cycle: How to Run It after reassembly—this flushes out any debris left behind.
How Do I Remove the Old Upper and Lower Burrs?
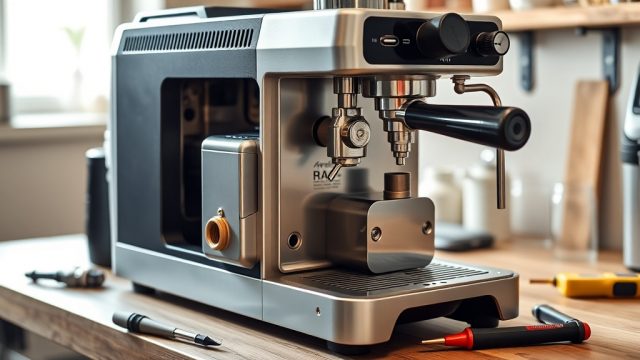
Begin by unplugging the machine and opening the service door on the left side. Remove the drip tray and coffee grounds container. Pull out the bean hopper by twisting it anti-clockwise and lifting. Use the flathead screwdriver to gently pry off the white plastic grind size adjustment ring—note its position (usually between 3 and 5 for espresso) so you can reset it later. Inside, you’ll see the upper burr carrier secured by three Phillips screws. Remove those screws and lift the carrier out. The upper burr is a ring with a central hole; it may need a gentle tap to loosen. Clean the carrier and the surrounding chamber with the soft brush.
For the lower burr, you need to access the drive shaft. Remove the three screws holding the lower burr carrier plate. The plate is keyed to the shaft—lift it straight up. The lower burr is a disc that sits inside the plate. Some models have a retaining screw in the centre; if present, remove it with the Phillips screwdriver. The lower burr may be held by friction alone; rock it gently side to side to release. Place both old burrs aside. Inspect the drive shaft for coffee residue—use a dry cloth to wipe it clean. Dirt here can misalign the new burrs.
What Is the Correct Assembly Sequence for New Burrs?
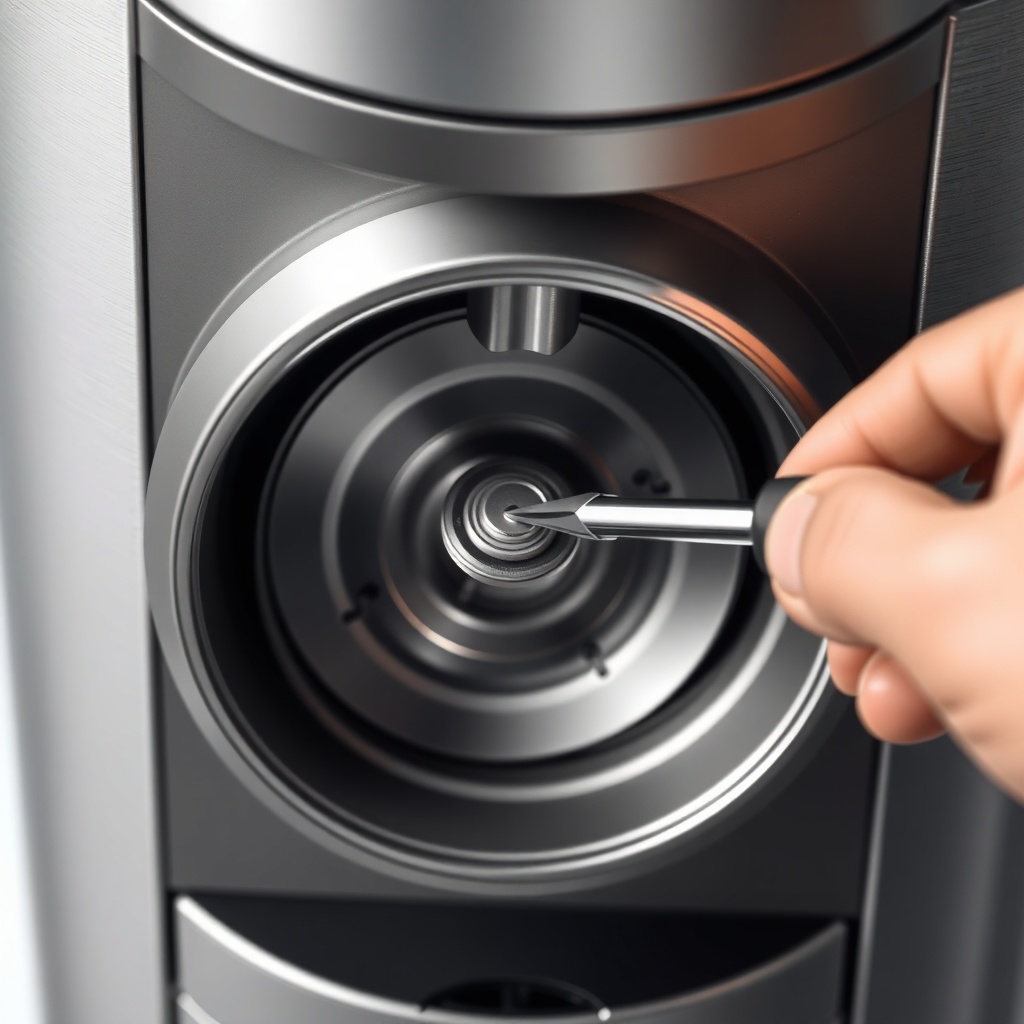
Insert the new lower burr into the carrier plate, ensuring it sits flush. If there’s a centre screw, tighten it to hand-tight—do not torque. Place the lower burr carrier assembly onto the drive shaft, aligning the flat sides. The plate should drop down fully without forcing. Secure it with the three screws, tightening evenly in a star pattern to avoid tilting. Now take the new upper burr and press it into the upper carrier. The burr should snap into the rubber gasket—ensure it’s centred. Reattach the upper carrier with its three screws, again in a star pattern. Do not go beyond finger-tight; the screws are small and strip easily.
Refit the grind size adjustment ring by aligning it with the marks you noted earlier. The range for espresso is usually 2 to 4 clicks from zero. Push it down until it clicks into place. Reinstall the bean hopper, twisting clockwise until it locks. At this point, run the grinder empty for 5–10 seconds to seat the burrs. Check for unusual noises. Then load beans and grind a single dose—discard it. Adjust the grind size if needed; the new burrs may require a coarser setting than the old set. For precise dialling, see De’Longhi Magnifica S: Adjusting the Automatic Espresso Grinder for Perfect Dose.
What Owners Say
Long-term users on UK and European forums frequently praise the Magnifica S for its repairability. One owner noted that after replacing burrs at the 5,500-shot mark, his extraction time stabilised from erratic 12–28 seconds to a consistent 26 seconds. Another user reported a noticeable improvement in crema thickness and mouthfeel after the swap. The most common complaint? The initial setup—specifically removing the stuck upper carrier from years of coffee oil build-up. A dab of food-grade silicone grease on the carrier threads can prevent this. Several owners also stress the importance of checking the water hardness setting post-replacement, as altered grind retention can affect machine logic. Read more in De’Longhi Magnifica S: Best Water Hardness Setting for Optimal Performance.
Conversely, a minority of users found that even after a full burr replacement, their shots still ran fast. In most of those cases, the actual cause was a clogged brew group or scale on the thermoblock, not the grinder. Cross-check by inspecting the auto frother steam wand for blockages and running a descaling cycle. This holistic approach ensures you aren’t replacing parts unnecessarily. Overall, the community consensus is clear: a burr swap every 18–24 months for heavy users keeps the Magnifica S performing like new for a decade or more.
Frequently Asked Questions
Can I replace only the lower burr without changing the upper?
No, De’Longhi recommends replacing both burrs as a matched set. Mixed wear patterns cause uneven particle distribution and poor extraction. The £35–£55 investment is worth the consistent results.
How often should I replace the burrs on the Magnifica S?
For daily use (3–5 shots per day), replace every 18–24 months. For lighter use (1–2 shots), every 3–4 years. Professional or café use demands annual changes. Track your shot counter or calendar reminders.
Will replacing the burrs void my warranty?
No, if you use genuine De’Longhi parts and follow the manual. Third-party burrs may void warranty if they cause damage. Always keep your purchase receipt and note the machine’s serial number.
My Magnifica S grinds too slowly after replacement—normal?
Yes, for the first 20–30 shots. New burrs have sharper edges that grip beans more aggressively, slowing the grind speed. This stabilises as the burrs season. If the grind is still slow after 50 shots, check for obstructions in the chute or brew group.
Do I need to recalibrate the grind size setting after replacement?
Always. New burrs change the zero point. Start at a medium setting (4–5 on the dial), grind, adjust finer until you hit a 25–30 second shot for a double. Reference the De’Longhi Magnifica S vs Philips 2200 article for comparative grind range nuances if you’re considering upgrades.
Can I clean the old burrs instead of replacing them?
Cleaning with a brush removes coffee oil and debris but cannot restore worn cutting edges. Once the teeth are dull, cleaning won’t fix extraction issues. Consider it a temporary measure until you order a replacement set. For stubborn oil buildup, soak the old burrs in a food-safe degreaser—but polishing burrs is rarely effective.