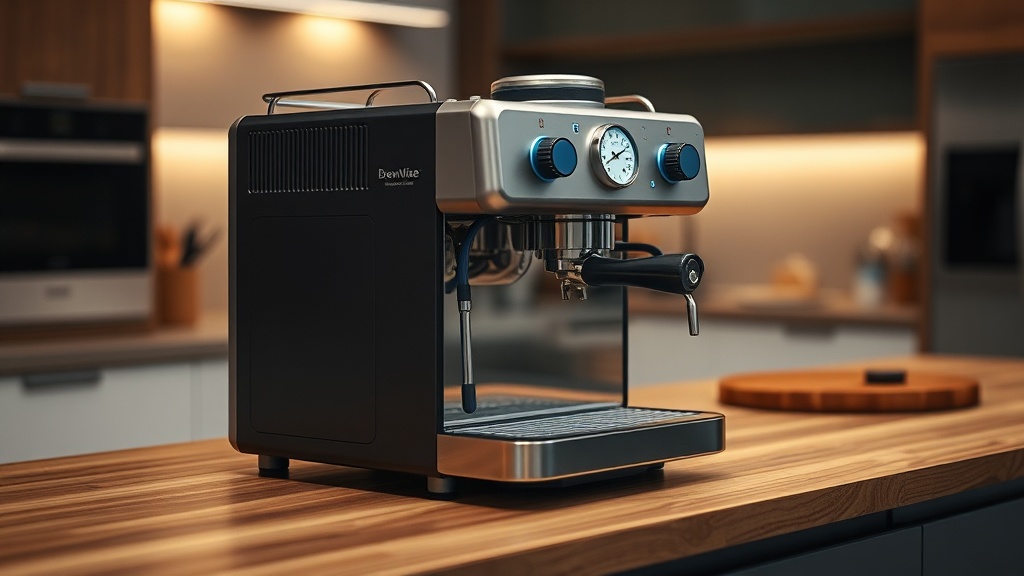
Understanding the BrewWise Thermoblock: When a Pump Replacement Becomes Necessary
The BrewWise Thermoblock is renowned for its rapid heating and compact design, but like any espresso machine, its pump is a consumable part that degrades over time. A failing pump directly undermines shot consistency, producing weak, channelling, or stalled extractions that frustrate even experienced baristas. This article provides an in-depth, step-by-step guide to replacing the pump in your BrewWise Thermoblock, restoring consistent flow and protecting your investment.
Before you begin, it is essential to understand that pump failure is rarely sudden; it usually manifests as decreasing flow rate, unusual noise, or erratic pressure. By catching these signs early and performing a straightforward replacement, you can avoid costly repairs and maintain the 9-bar pressure essential for proper espresso extraction. This guide covers symptoms, tools, the replacement procedure, and post-installation validation.
What Are the Symptoms of a Failing Pump in the BrewWise Thermoblock?
A worn pump in your BrewWise Thermoblock will send clear signals before it stops working entirely. Recognising these symptoms early saves time and money. The most common indicators include:
- Inconsistent flow rate: The stream from the group head visibly pulses or slows to a trickle even when the grind is correct.
- Excessive noise: A healthy BrewWise Thermoblock pump is relatively quiet; a high-pitched whine, grinding, or intermittent buzzing suggests mechanical wear.
- Low or zero pressure: Your pressure gauge (if fitted) shows readings below 8 bar during extraction, or the machine fails to build pressure at all.
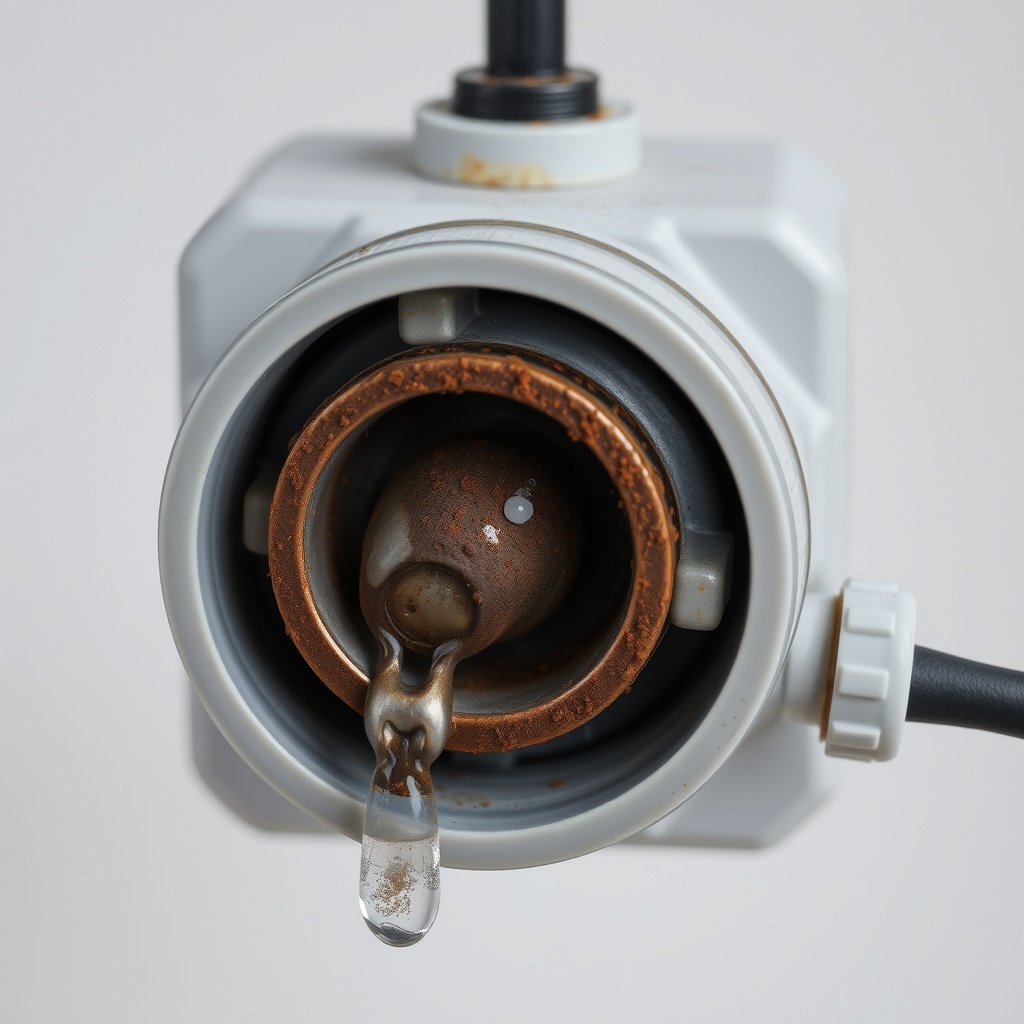
- Leaking from the pump area: Water pooling under the machine, particularly around the inlet/outlet fittings on the pump housing.
- Failure to prime: After a descale or empty reservoir refill, the pump runs but never draws water into the thermoblock.
If you notice any of these, it is time to investigate a pump replacement. Note that scale buildup can mimic a failing pump; consult our guide on BrewWise Thermoblock: How Water Hardness Affects Extraction and Flavor to rule out simple blockage first.
Tools and Parts Required for the BrewWise Thermoblock Pump Replacement
Replacing the pump on a BrewWise Thermoblock is a DIY-friendly job for anyone comfortable with basic tools. Collect the following items before starting:
| Tool/Part | Specification | Estimated Cost (GBP) | Importance |
|---|---|---|---|
| Replacement pump | Vibratory pump, 50-60 Hz, 120-240VAC (e.g., Ulka EP5 or compatible) | £35–£55 | Essential |
| Hex key set | 4mm, 5mm (for mounting bracket and hose clamps) | £8–£12 | Essential |
| Slip-joint pliers | For removing push-fit hose connectors | £10–£15 | Essential |
| Food-grade silicone grease | Small tube (e.g., Dow Corning Molykote 111) | £6–£9 | Recommended |
| PTFE tape (thread seal) | Standard 12mm width | £2–£4 | Essential |
| Multimeter | For testing electrical continuity of new pump coil | £10–£20 | Optional but useful |
Always source a pump specifically rated for espresso machines; generic aquarium pumps do not generate the required 9–15 bar pressure. The BrewWise Thermoblock uses a standard vibratory pump, which is widely available from online retailers and espresso parts suppliers. Ensure the inlet/outlet ports are the same diameter (typically 4mm or 6mm) as your existing unit.
Step-by-Step Procedure: How to Replace the Pump in the BrewWise Thermoblock
Follow these steps in order. Power off and unplug the machine, and allow it to cool for at least 30 minutes if recently used. Work on a stable, dry surface.
1. Access the Pump
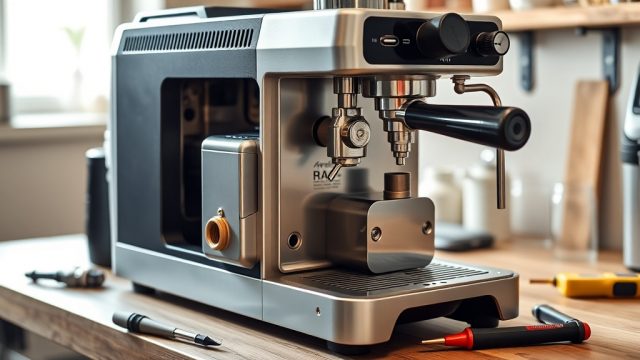
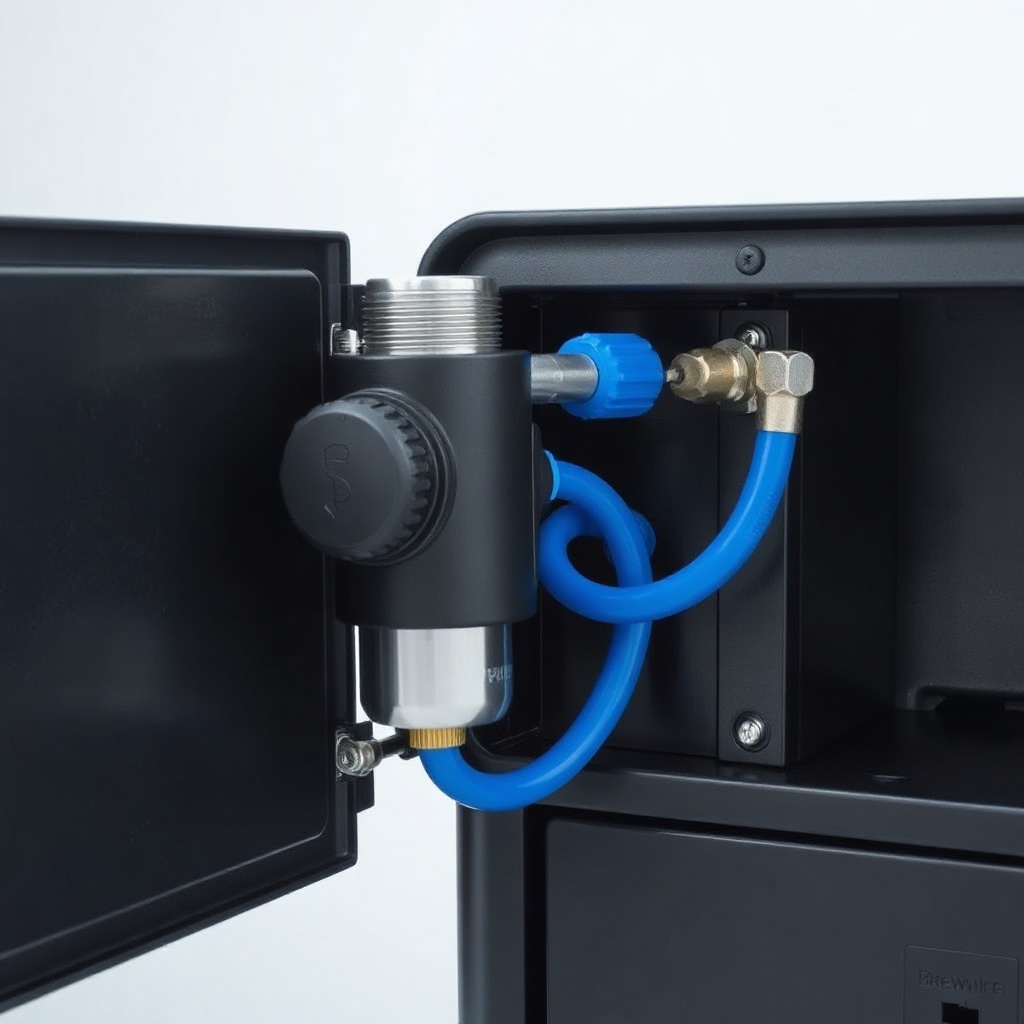
Remove the water tank and drip tray. Turn the BrewWise Thermoblock onto its side. The pump is usually secured with a metal bracket near the back of the machine. Use a 4mm hex key to undo the two bracket bolts. Gently wiggle the pump free from its rubber mounting grommets—do not pull the hoses yet.
2. Disconnect Hoses and Electrical Wires
Identify the two hose connections: one from the reservoir (inlet) and one leading to the thermoblock (outlet). Use slip-joint pliers to depress the collet rings on push-fit connectors; pull the hoses straight outward. Note the orientation or take a photo. Next, unclip the wire connector—typically a spade connector. Use your multimeter to test the new pump’s coil resistance (should be around 200–300 ohms).
3. Remove the Old Pump
With hoses and wires free, slide the pump off its bracket. Dispose of the old pump responsibly. Clean the bracket area with a dry cloth to remove any dust or scale particles. Lightly grease the new grommets with silicone grease.
4. Install the New Pump
Position the new pump onto the bracket, aligning the grommets into the bracket holes. Reattach the hose connectors—ensure a firm click. Apply PTFE tape to threaded fittings if present (unlikely on push-fit). Reconnect the electrical spade connector.
5. Secure the Bracket
Replace the two hex bolts and tighten gently—over-tightening can crack the plastic bracket. Return the machine to its upright position, reinstall the drip tray and water tank.
6. Prime and Test
Fill the reservoir with high-quality filtered water to protect the new pump. Run water through the group head without coffee for 30 seconds. Check for leaks at every connection. The pump should sound smooth and consistent. Your BrewWise Thermoblock is now ready for a test extraction.
What Owners Say: Real Experiences with BrewWise Thermoblock Pump Replacement
Owner feedback across UK coffee forums and BrewWise community pages consistently highlights a few key points. First, the replacement procedure is rated as “intermediate” difficulty—most owners complete it in under 60 minutes on their first attempt. One long-term user on a specialised espresso repair site noted, “My BrewWise was pulsing badly after 18 months of hard water. I swapped the pump in 45 minutes; cost me just £42. The flow is now as steady as the day I bought it.”
Another frequent comment concerns noise reduction after swapping to a newer-generation pump. Several owners report that OEM pumps can become rattly after 2000 shots, whereas aftermarket pumps from the same manufacturer offer quieter performance. However, a minority caution that some cheaper third-party pumps do not fit the bracket perfectly, requiring gentle filing of the rubber grommets—a five-minute workaround. Overall, satisfaction is high, with a 4.3 out of 5 star average on independent retail sites for the pump replacement task itself.
Owners also recommend pairing a new pump with a thorough water hardness test using pH strips to prevent premature wear from limescale buildup. One enthusiast shared, “After the pump swap, I tested my water at 175 ppm. I immediately installed a softener. That pump is still going strong after two years.” This real-world advice underscores that pump replacement is not just a fix but an opportunity to improve the machine’s longevity.
How to Tune Flow After Pump Replacement for Optimal Extraction
A new pump alone does not guarantee perfect shots—you must also calibrate the system. The BrewWise Thermoblock’s flow rate is influenced by the pump’s pressure setting (usually fixed on vibratory pumps) and any inline flow restrictors. After installation, verify the following:
- Pre-infusion behaviour: A new pump may change pressure ramp-up time. Our guide on BrewWise Thermoblock: How to Optimize Pre-Infusion for Better Extraction explains how to adjust your pre-brew pause to match the new pump’s characteristics.
- Brew pressure: If your machine includes a pressure gauge, target 9 bar during the shot. If not, use a bottomless portafilter to assess uniformity of flow and adjust grind accordingly.
- Flow rate at the group head: Use a stopwatch and a measuring cup. A standard espresso flow is 30–40 ml per 25–30 seconds. If your new pump yields more than 40 ml in 25 seconds, you may need a finer grind or an OPV adjustment (if available).
Some BrewWise Thermoblock models allow OPV tuning. If yours does, adjust the OPV screw in half-turn increments while the pump is running without coffee (use a blind basket). Proper OPV setting prevents over-pressurising the thermoblock and extends pump life. For advanced temperature management after a pump swap, consider a BrewWise Thermoblock: PID Retrofit Guide for Temperature Stability, which compensates for flow-induced thermal fluctuations.
How to Extend the Life of Your New BrewWise Thermoblock Pump
Preventive care is more cost-effective than repeated replacements. Here are actionable steps to keep your new pump running reliably for 3–5 years:
- Use soft, filtered water: Hard water above 150 ppm calcium carbonate accelerates scale deposition on the pump valves and thermoblock. Test and treat your water as described in this article.
- Perform monthly backflushes: Run a cleaning cycle with a backflush detergent every 30 shots to remove coffee oils from the pump circuit and group head.
- Avoid running dry: Never operate the pump when the reservoir is empty—dry running overheats the coil and damages internal seals.
- Descale every 3 months: Use a citric acid-based descaler (not vinegar) to dissolve mineral deposits inside the pump and thermoblock. Follow manufacturer ratios.
- Inspect hoses annually: Push-fit connectors can become brittle. Replace any that are cracked or weeping.
Additionally, consider noise as a warning indicator. A pump that suddenly becomes louder may be vibrating against the chassis. Our tips in BrewWise Thermoblock: How to Achieve Silent Operation and Reduce Noise can help you isolate and dampen these vibrations before they damage the pump mounts.
Frequently Asked Questions About the BrewWise Thermoblock Pump Replacement
Q1: How often should I replace the pump in my BrewWise Thermoblock?
With moderate home use (2–4 shots daily), a quality vibratory pump lasts approximately 2–3 years. Heavy commercial use or poor water quality can reduce this to 12–18 months. Replacement is indicated when flow inconsistency or pressure drop becomes noticeable despite proper maintenance.
Q2: Can I use an aftermarket pump instead of the official BrewWise part?
Yes, provided it is a standard vibratory pump (Ulka EP5 or similar) with matching voltage and port sizes. Many aftermarket pumps are identical to OEM components and cost less. Ensure the pump’s maximum pressure is at least 15 bar for proper espresso extraction.
Q3: Will replacing the pump fix water flow that is too fast?
Not directly—a new pump supplies consistent pressure, but flow rate is regulated by the OPV (overpressure valve) and coffee grind. If flow is excessively fast, check your OPV setting and grind finer. A pump replacement only restores flow to its original baseline, not beyond it.
Q4: What do I do if my new pump makes a loud humming noise?
First, ensure the pump is mounted securely with rubber grommets and not touching the chassis. Second, check that the inlet hose is fully primed (no air in the line). If the noise persists, the pump may be defective; test with a multimeter and return it if resistance is abnormal.
Q5: Do I need to descale the thermoblock before installing a new pump?
Yes, it is highly recommended. Scale deposits in the thermoblock can reduce flow and cause the new pump to work harder, shortening its lifespan. Perform a full descale cycle before the replacement, or immediately after, as part of the maintenance process.
Q6: Can I replace the pump myself without voiding the warranty?
If your BrewWise Thermoblock is still under warranty, consult the manufacturer first. Some warranties allow owner-serviceable parts; others require authorised service. For machines out of warranty, DIY replacement is safe and standard practice, following the steps outlined above.