What Makes Burr Alignment Critical on the Breville Barista Express Impress?
The Breville Barista Express Impress is a sophisticated machine that integrates grinding, dosing, and tamping into a single workflow. At its heart lies a 30mm conical burr grinder, responsible for reducing beans to uniform particles. Burr alignment—ensuring the fixed and rotating burrs are perfectly parallel—determines whether your espresso yields balanced extraction or channeling and sour notes. Misalignment as small as 0.05mm can produce fines that clog the basket and slow flow dramatically. For owners serious about shot consistency, aligning the burrs is not a luxury—it is a necessity that transforms the Impress from a convenience tool into a precision instrument.
This guide explores the signs of misalignment, step-by-step alignment procedures, and how proper adjustment interacts with the machine’s pressure profile. If you are also adjusting extraction pressure, refer to our Breville Barista Express Impress: Pressure Profile Adjustment Guide for Better Extraction for complementary tuning.
How Can You Tell the Grinder Burrs Are Misaligned?
Misalignment manifests through several observable symptoms during brewing. First, observe the puck after extraction: a well-aligned burr set produces a dry, evenly coloured puck with no cratering or wet spots. Misalignment causes uneven particle distribution, leading to one side of the puck extracting faster than the other, visible as a light patch on one quarter of the spent puck. Second, time your shot: a 1:2 ratio at 18g should pull in 25 to 30 seconds. If you maintain the same dose and grind size but the flow rate drifts noticeably over successive shots, burr alignment may be the culprit. Third, listen to the grinder: a rhythmic knocking or high-pitched whine during grinding suggests the burrs are contacting unevenly.
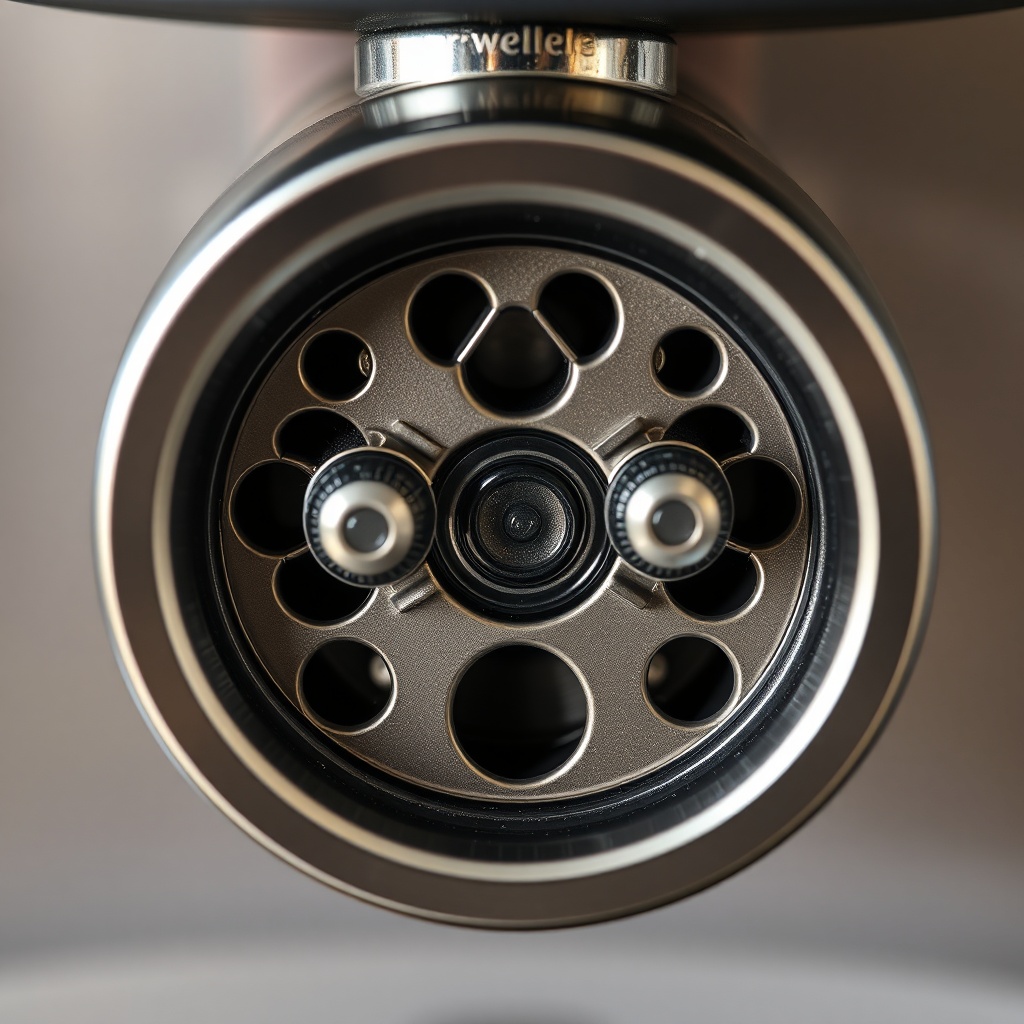
For a more quantitative check, remove the hopper and upper burr carrier, then mark the rotating burr with a felt-tip pen in three radial lines. Reassemble and run a few grams of beans. Inspect the marks: clean, uniform removal across all three lines indicates alignment. Any untouched sections point to a gap. Table 1 summarises severity levels of misalignment.
| Severity | Gap Variation (mm) | Puck Appearance | Flow Rate (18g dose, 30s target) | Recommended Action |
|---|---|---|---|---|
| Minimal | 0.00–0.02 | Uniform dark brown, no channeling | 25–30s with ±2s consistency | No adjustment needed |
| Moderate | 0.02–0.05 | Light patch on one side, minimal wetness | 28–34s, drift across consecutive shots | Check burr carrier seating; shim if necessary |
| Severe | 0.05–0.10 | Cratering, wet spots, or sandy surface | 35–45s, coarse grind yields fast flow | Disassemble and clean burr threads; align carrier base |
| Critical | >0.10 | Channeling visible, sputtering during extraction | Irregular, often stalls or gushes | Replace burrs (see Breville Barista Express Impress: When and How to Replace the Grinder Burrs) |
What Tools Do You Need to Align the Burrs?
Proper alignment requires minimal but specific tools. You will need a Phillips-head screwdriver (size #1 or #0) to remove the upper burr carrier. A small stiff brush cleans coffee residue from threads. For shimming, use food-grade aluminium foil or purpose-cut brass shims (available in 0.10mm thickness from specialty espresso suppliers). A digital calliper helps measure carrier depth consistently. Some advanced users employ a machinist’s straight edge or a feeler gauge, but these are optional for most home baristas. Lastly, a marker pen (any colour) for the mark test described earlier. Avoid using oil or lubricant near burrs—dry assembly only. If your machine’s steam system needs attention while you have it apart, review our Breville Barista Express Impress: Steam Wand Not Frothing Milk? Troubleshooting and Fixes to combine maintenance tasks.
How Do You Perform a Burr Alignment Step by Step?
Begin by unplugging the machine and removing the bean hopper. Discard any beans, then unscrew the upper burr carrier by turning it counterclockwise. Clean both burrs with a brush—pay attention to the threads, as residue can tip alignment. With the carrier removed, inspect the three mounting points on the carrier base. These are plastic arms that snap into the grinder housing. Over time, they can warp or accumulate coffee oil, causing the carrier to sit unevenly. Wipe them with a damp cloth and let dry.
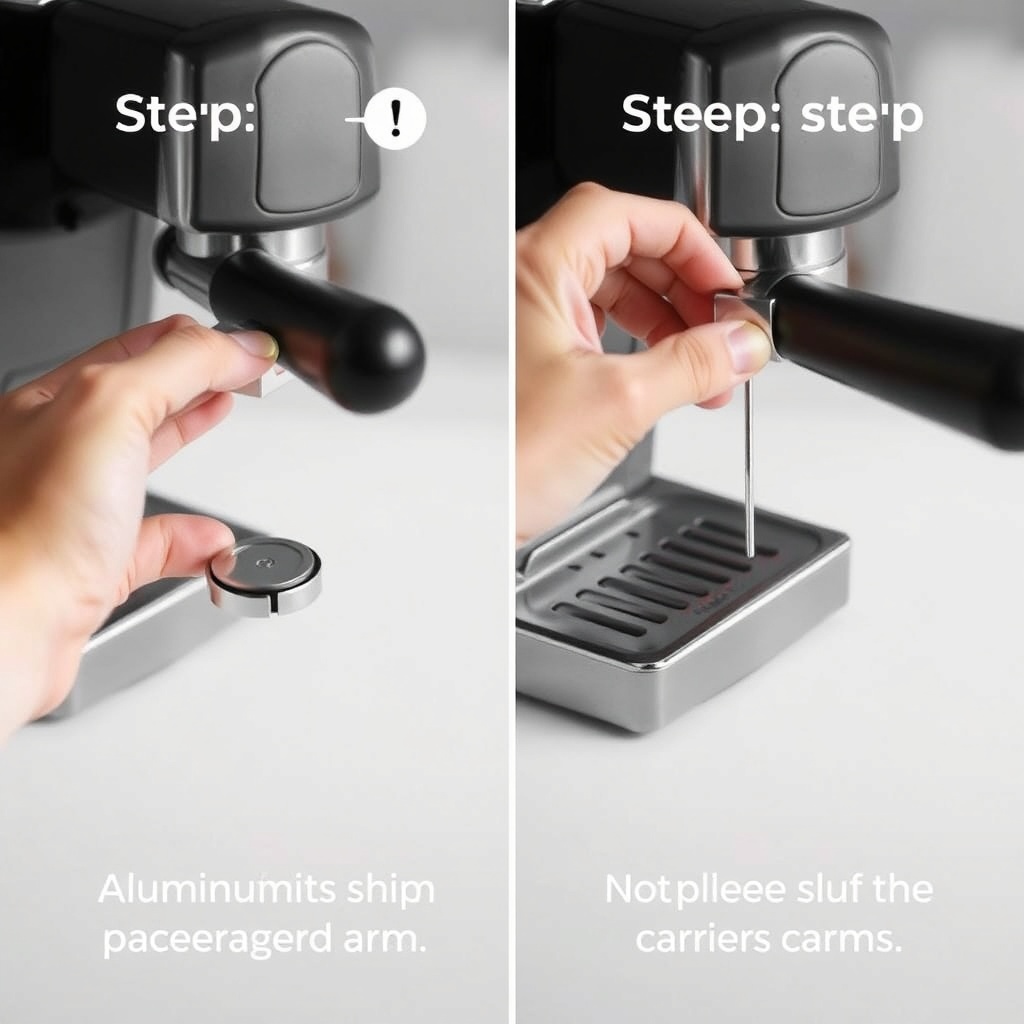
Now perform the mark test: replace the carrier, grind a few grams of stale beans, then remove the carrier again. If the mark pattern shows uneven removal, proceed to shimming. Cut a small strip of aluminium foil (about 5mm × 10mm) and place it under one arm of the carrier—the arm corresponding to the untouched mark. Reassemble and repeat the test. Each shim changes the gap by roughly 0.02mm. Continue until the marks are uniform across all three radial lines. For deeper misalignment, you may need to replace the burrs—our guide on Breville Barista Express Impress: When and How to Replace the Grinder Burrs covers removal and installation.
Once alignment is satisfactory, fine-tune the upper burr adjustment ring on the machine’s exterior. The Impress has 30 grind settings; after alignment, the optimal range for espresso typically falls between 5 and 12. Run two or three shots to verify consistency. If the flow remains erratic, double-check that the carrier snapped in evenly. A common oversight is reassembling the carrier slightly crooked due to a stray bean fragment lodged in the groove. Use compressed air to clear the housing before final assembly.
How Does Burr Alignment Affect Dose and Tamping?
The Impress uses an integrated dose control system that measures ground coffee by weight as it falls into the portafilter. Misaligned burrs produce a wider particle-size distribution, meaning the dose weight can fluctuate by 0.3–0.5g per shot simply because fines pack differently in the dosing chamber. Once you align the burrs, the particle distribution narrows, and the dose sensor reads more consistently. This synergy also improves tamping: the Impress’s assisted tamping mechanism uses a lever to create uniform pressure. With uniform grind particles, the tamped puck resists channeling, and the machine’s pressure profile can maintain a stable 9 bar during extraction.
For users who have adjusted the Breville Barista Express Impress: Pressure Profile Adjustment Guide for Better Extraction, alignment ensures those pressure adjustments translate into real flavour improvements. Without proper burr alignment, even a perfectly profiled pressure curve will produce inconsistent results. Water preferentially channels through the large particles while over-extracting fines, creating bitterness and astringency alongside sourness. A single alignment session, costing you no more than 30 minutes, can create a step change in shot repeatability that no other adjustment can match.
What Owners Say
Online communities and owner reviews frequently highlight burr alignment as a “hidden upgrade” on the Impress. Many users report that out-of-the-box machines exhibit moderate misalignment—typically favouring one side of the puck. After performing the shim method described above, owners claim their shot timing stabilised within ±1 second across five consecutive shots. “My machine is a year old and I wish I’d done this sooner,” writes a forum member on a UK-based coffee forum. “I was about to return the unit for inconsistent flow. Now I’m pulling shots that rival my local café.” Another owner, using medium-roast single-origin from a roaster in Manchester, noted that after alignment they could grind at setting 7 instead of 10, saving time and reducing static retention.
However, a minority of owners warn that excessive shimming can cause the carrier to sit proud of the housing, leading to grinding noise and premature burr wear. The consensus recommendation is to use no more than two layers of foil (0.05mm total shim depth) and to replace the burrs rather than stacking shims if misalignment exceeds 0.10mm. Many also combine alignment with a switch to a Breville Barista Express Impress: Advanced Milk Frothing Techniques for Latte Art after they achieve consistent espresso, indicating that alignment unlocks the machine’s full potential for milk-based drinks as well.
Frequently Asked Questions
1. How often should I check the burr alignment on my Breville Barista Express Impress?
Check alignment every 6 months or after grinding 10 kg of coffee, whichever comes first. Frequent users might check quarterly. Environmental factors like humidity and bean oil can settle on carrier arms and shift alignment subtly over time.
2. Can I align the burrs without removing the hopper?
No. The upper burr carrier is only accessible by removing the hopper and the locking ring. The process takes roughly 20 minutes including cleaning, so budget that time before your next brew session.
3. Will aligning the burrs void my warranty?
No, as long as you do not damage the carrier arms or electronics. Cleaning and minor adjustments are considered normal maintenance. If you need to replace the burrs, check warranty terms; some dealers require authorised service.
4. What if the mark test shows uniform removal but my shots still channel?
Then the issue likely lies in your puck preparation—dose, distribution, and tamping—or your Breville Barista Express Impress: Milk Frother Not Working? Troubleshooting and Fixes if you’re steaming simultaneously. Also verify your water mineral content; hard water can cause scale that affects flow. See Breville Barista Express Impress: Best Water Filter for Mineral Balance for filter recommendations.
5. Does burr alignment affect the steam wand performance?
No directly. However, a machine that is consistent in espresso extraction encourages you to focus on frothing technique. Many owners align burrs and then upgrade their milk texturing using our Breville Barista Express Impress: Advanced Milk Frothing Techniques for Latte Art guide. The steam wand itself has separate maintenance routines covered elsewhere.
6. Should I upgrade to aftermarket burrs for better alignment?
Aftermarket burrs (like espresso-specific 30mm conical sets) can offer tighter manufacturing tolerances, but the Impress’s plastic carrier system remains the weak link. Replacing burrs without addressing alignment on the carrier yields minimal benefit. Always align the carrier first; if the burrs themselves are worn or chipped, then replace them following our replacement guide.